



I’ve mentioned quite a few times this past summer that I had a “night time” project going, while I’m at home taking care of dad.
The project I’ve been working on is the Santorini Floral kit that I carry here in the shop.
These kits have been a bit of a Godsend for me lately. They allow me to have something I can do with my hands in the evenings, that don’t require much thought, planning, magnification, or even specific lighting.
While I know some stitchers find counted work more exacting when it comes to attention, thinking, and so forth, I find it just the opposite. The kits supply everything I need. I don’t have to think of stitches (!) or colors or anything. I’m just following a chart, but only up to a point. Because these folk designs often involve a lot of repetition with their classic border motifs, I can generally work without the chart once I’ve done a motif or two.
Still, I did manage to make a good mistake on this piece. I’ll show it to you below and I’ll tell you what my solution is for it.
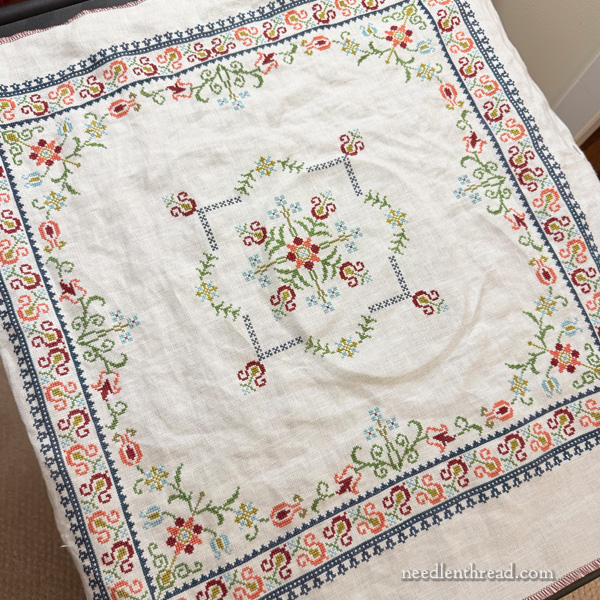
This is the piece after finishing the design. I still needed to hem it when I took this photo. In fact, I haven’t finished the hem yet – it’s been my hospital work.
At first, I really only worked on this at night while sitting with my dad, when I had down time. When he ended up in the hospital a couple weeks ago, I had finished the cross stitch on the piece, but hadn’t started the hem. So I began toting it with me to the hospital, to work the drawn thread hem when I had time.
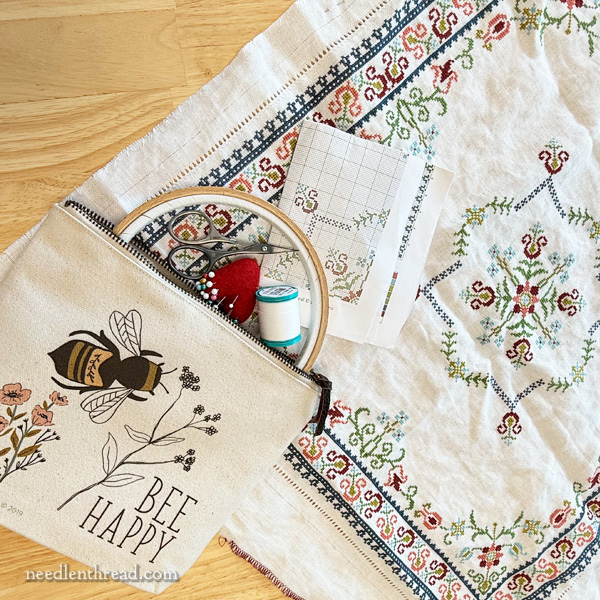
To tote the project, I put everything in a canvas zipper pouch that fit in a larger tote with all my daily needs. I took along the typical goods: scissors, threads, a small felt pincushion that had a few pins in it, Scotch tape in case I had to remove any stitches and needed some fuzz removal, a hoop, the chart, and a small screwdriver for the hoop.
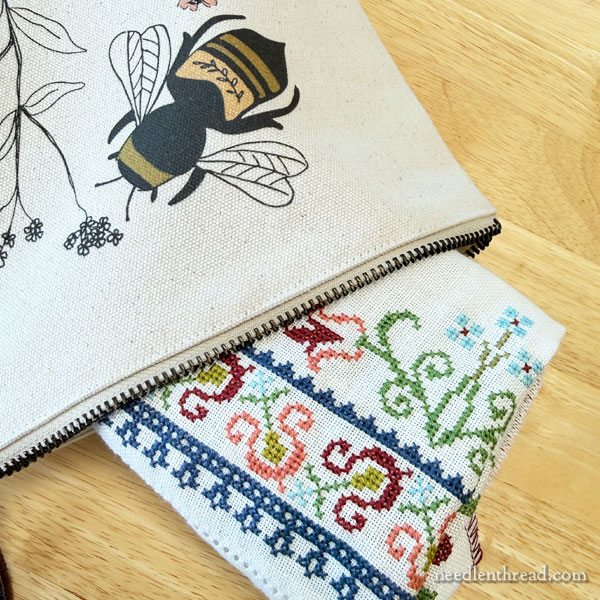
It’s surprising how small this piece folds down!
I mentioned that I like these projects because they don’t take a lot of thought.
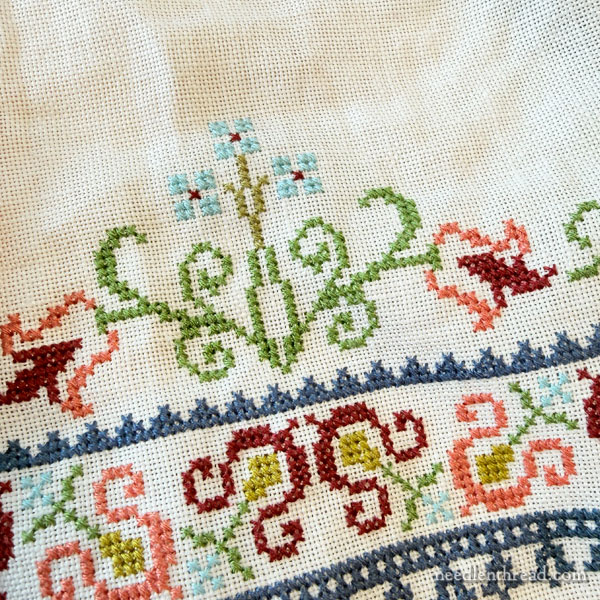
They do take some thought, though. While much of the design is repetition, I discovered that you need to think ahead to where the repetition either ends or changes up a bit.
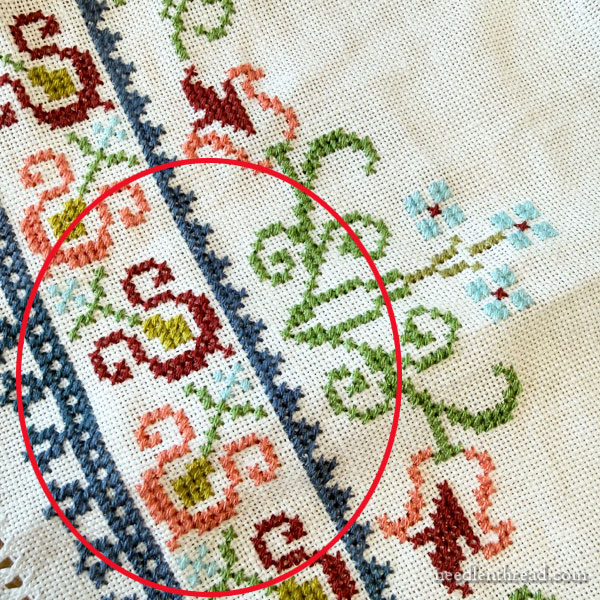
In the photo above, that’s the halfway point on one side of the cloth.
Notice that small dark red motifs on the boarder. Notice that, at the halfway point, the dark red (which alternates with pink motifs) repeats itself while changing direction.
Then, as you approach the corner, the motifs land in just the right orientation and color to give you this corner motif:
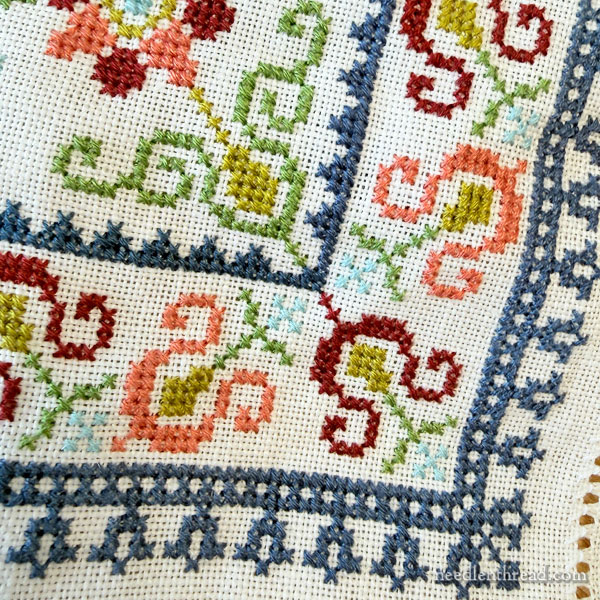
You can see the pinker motifs on each side of the red corner motif, both pointing in the correct direction.
That’s how the corner should look.
But if you happen to be stitching along without thinking, just repeating the design and not paying attention to that center point where the red motif repeats itself and switches directions, you might end up with the alternating motifs (red, pink) running all the way along the boarder with no directional switch at the center point, and no repeat of the dark red.
And this is problematic because, when you reach the end of the side and approach the corner, the last motif on the side right before the corner will be pointing in the wrong direction, and it will be the wrong color – at which point, you’ll end up having to change the direction of the motif and repeat the color where there isn’t supposed to be a color repeat.
In short, you’ll end up with something like this in the corner:
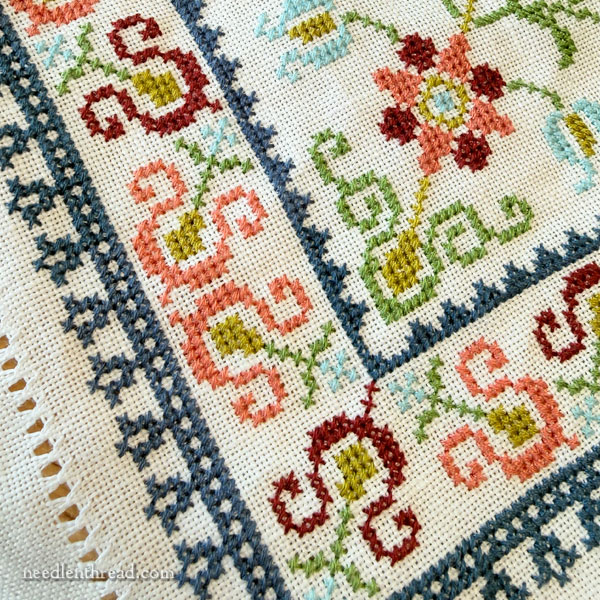
Now, many stitchers out there might say “Oh no! I would have to pick all that out and correct it. It would drive me crazy!”
But I say…
What are the chances that anyone besides myself will ever notice this?
And I answer myself thus:
Pretty darned slim.
So I left it.
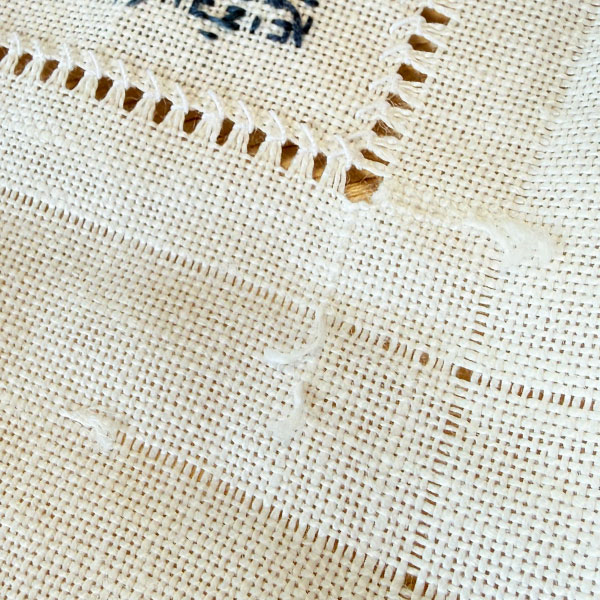
Now I just need to work on the drawn thread hem.
Normally, I’d set all this up while working at a table with access to an iron. But since I’m toting it with me now to the rehab hospital, I’m just going to trim the fabric for the hem along a withdrawn thread to make sure it’s straight. Then I’ll finger press the hem in and pin it a little way along the hem. Then, I’ll sew up that little bit, finger press and pin the next little bit, sew forward a little, and so forth.
I’ll save the miters for last, using a different approach from my usual approach to mitering a corner. And hopefully, I’ll take pictures of that and show you the process.
So that’s where I am on this night-time-gone-hospital project.
I’ve also set up another similar project, but on the new one, I’ve taken the Avlea folk design and enlarged it from a small mat to a larger runner. To work it larger, I modified the design quite a bit, making it more complex and a bit heavier, so that it fills the runner adequately. I used this Celandine design as the foundation, and “grew it” from there. I’ll show you that down the road.
If my eyesight were a bit better and I didn’t need magnification for embroidery, I’d take this maniturgium project with me. But I can’t work on that without a magnifier lamp. So I’ll stick with these folk projects for now. They’re comfortable to work on. I like the 30-count linen that they’re on a lot! The threads of the linen are nice and round, they’re easy to see, and it’s just nice to have something methodical, repetitious, and easy to stitch while I’m hanging about these facilities.
We’ll see what the future brings!
Hope you’re all doing well!

Leave A Comment