


Today’s lesson for the Bee-Jeweled Pincushion is rather short and sweet!
The longest stretch of stitching on this project is in the next lesson, where we tackle the bead embroidery. Oooooh, fun! I love sewing on beads!
But in the meantime, you’ll want to get all the floss embroidery finished. I always try to leave bead embellishment on any particular area on a project for the last, because it’s sometimes a pain in the neck to embroider with floss around beads. The floss can catch on the beads, and I always figure why put up with those little frustrations that slow you down while you’re stitching?
So today, I’ll tell you how to stitch these very very very simple little floss flowers across your flower line.
You can already tell how simple these flowers are, can’t you? I probably don’t need to tell you how to stitch them, even!
But here are some tips for you, anyway!
The white flowers are stitched with two strands of the white floss (DMC Blanc – the same floss used on the top of the pincushion). I used a #7 crewel needle.
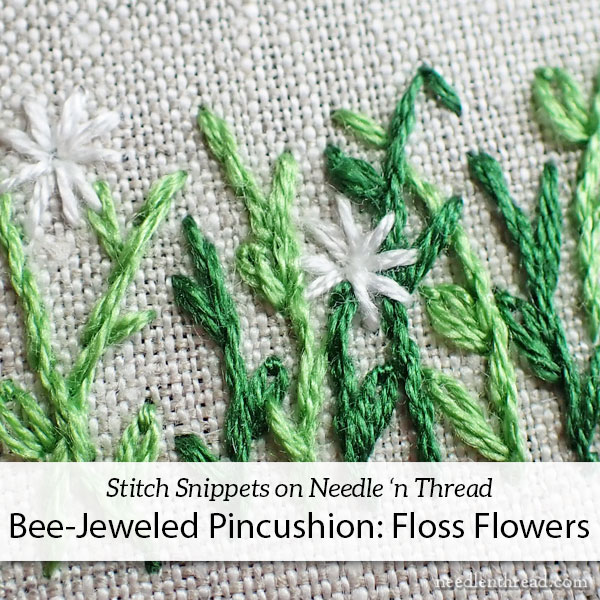
The flowers are made up of straight stitches that converge at a center point. You can’t get much simpler – but it just goes to show you that embroidery doesn’t have to be complicated to be effective.
When stitching little flowers like this that come together at a center point, it makes more sense to stitch from the outside perimeter of the flower into the center point. In other words, end all the straight stitches in the center, in pretty much the same hole.
Otherwise, if you try to come up in the center hole with each stitch, you’ll end up eventually displacing your stitches, splitting them, and making a bit of a mess of each flower.
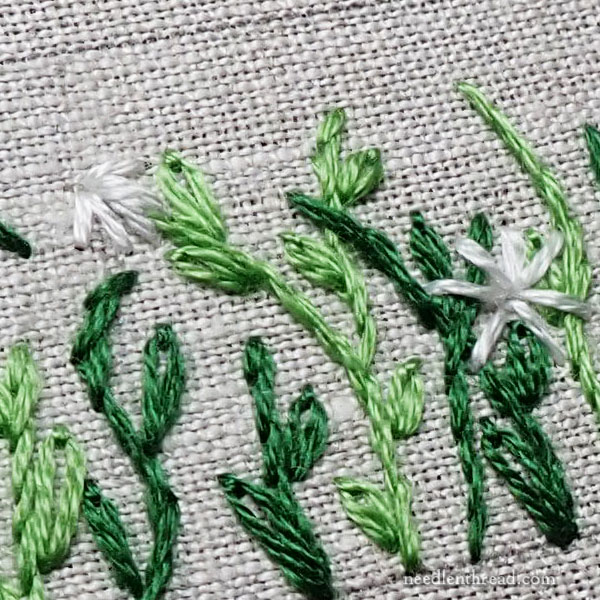
For circular, front-facing, head-on flowers, stitch spokes around in a circle. You might stitch anywhere from 7 to 10 spokes on a flower.
For side-facing flowers, embroider only about a quarter of a circle, with the center “tip” of the side facing flower the highest point on the flower (see the left flower in the photo above).
Feel free to overlap stems and leaves.
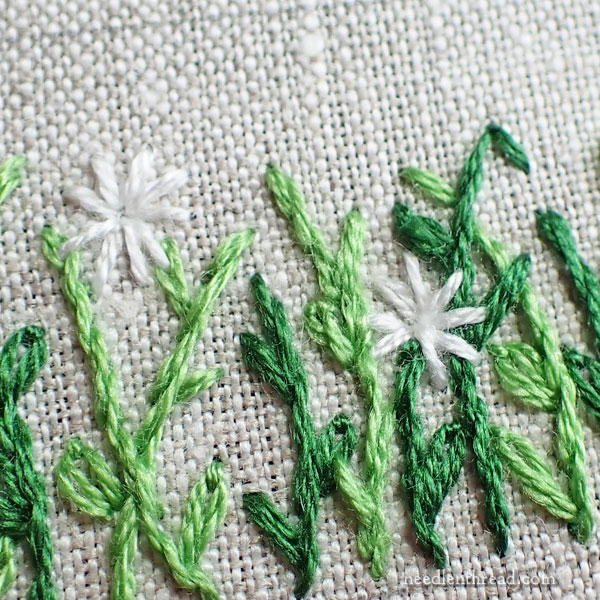
Even though the flowers look tiny – and they are pretty small! – the individual straight stitches should be longer than you think. I’d shoot for just under or just at 1/4″ long for each stitch.
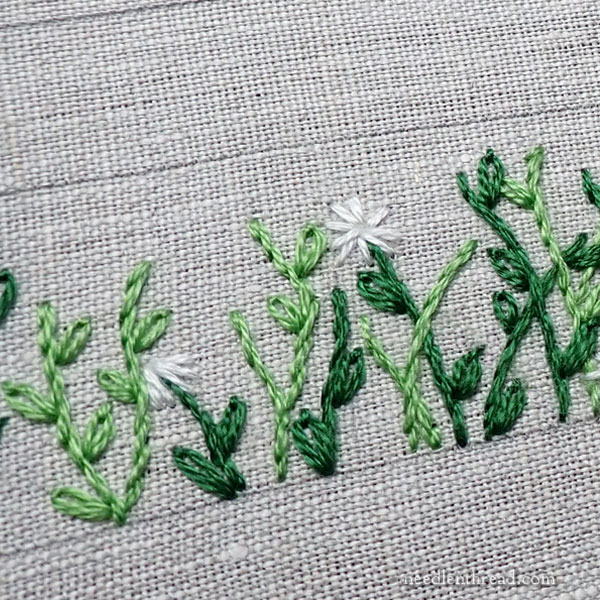
Stitch 2-3 flowers in each section of the strip, spacing them out, and working them at different heights. Some will be at the top of stems, some perhaps near the base (short flowers), and some floating midway up the stems.
It’s ok if the flower petals seem to overlap a little as you fill up the flower shape, especially when you’re stitching relatively full flowers. That overlap will be hidden when you add the bead center to the flowers.
The petals don’t have to be evenly spaced or symmetrical. Probably best if they’re not!
The center of the flower is worked in a yellow 15/0 seed bead – I’ll give you the color list on those beads shortly, but if you have your own bead stash, I used all 15/0 seed beads on this project.
However, don’t add the yellow beads yet. You’ll do all the beads at the same time, in order to conserve Fireline and to minimize thread build up on the back of the project.
Work your way across the whole flower line with your little white flowers, being sure to stagger their placement along the line of stems (some high, some middle, some low).
If you carry your thread across the back of the work to the next flower, turn your work over and slide the thread under the backs of the stitches that are already there. This will keep the back tidy.
And that’s it!
Kit News
On Friday, we managed mailing all the kits that were purchased last week. For those who did not get in on this batch, if you want a kit for this project, please contact me and request advanced notice for the Bee-Jeweled Pincushion kits.
I sent emails to everyone that I received a request from. I apologize if your email didn’t show up. Some people wrote in and said they found theirs in spam or junk. All I can do is send the email. Unfortunately, I can’t guarantee that it is delivered. Sometimes, email service providers will block emails that their system considers spammish. This happens frequently with comcast, aol, and sometimes even with gmail – though gmail will often just filter to junk or promotions. So if you had that frustrating experience, I’m awfully sorry. We can try again!
Right now, getting some of the supplies is a slow proposition, but I’m doing my best. I’ll let folks know when they’re available again.
Looking for More?
You can find this lesson, and all the previous lessons for the Bee-Jeweled Pincushion project in this project index.
I’ll have a solid materials list out for you a little later in the week.
And if you are a Needle ‘n Thread member over on Patreon, you’ll find all the instructions for the side of the pincushion (greenery, floss flowers, and bead embroidery) available over there. The PDF download was posted yesterday.
Hope your week’s off to a great start! I’m looking forward to some glorious spring-like weather today (70’s!) before we plunge back into sub-freezing frigid winter tomorrow. Lots of work to do in the studio this week! And lots to share with you down the road! Have a fabulous day!
I no longer use fire line for bead embroidery. I use a Japanese thread called SoNo. It is 100% nylon and very strong. It looks and acts like regular white thread but is stronger. It comes in black, white, a beige and I believe red. I buy it at my local bead store. You should try it. I believe you will like it. It is actually made for beading.
Thanks for the recommendation! I’ll look it up!