


Quick News: We’ll be starting the Garden Swirl stitch-along this coming Monday, July 28th. My intention was to start tomorrow, but we had unavoidable delays in shipping the kits, so this will give more people more time to get their kits.
On to today’s topic:
A while ago, a kind reader wrote in with a recommendation for a light / magnifier combo unit that she uses and likes. Because I get a lot of questions about magnifiers, I thought Hmmmm… I should get one and try it out!
And so I did.
I don’t always use magnification when I stitch. In fact, I find it easier not to use it – and for most work, I’m ok without a magnifier.
In most circumstances, good lighting is the key to seeing well when stitching. When folks ask me about magnification because they’re struggling to see, my first question is generally, “What kind of light do you use?” Often, the answer is regular household light. Sometimes, it’s an Ott light. So usually, I recommend trying a high Kelvin (up to 6,500K) task light first. A good light will often (though not always) eliminate the perceived need for magnification, and it will help reduce eye strain while you’re stitching.
But occasionally, I need magnification. And when I need magnification, I want a light source built in.
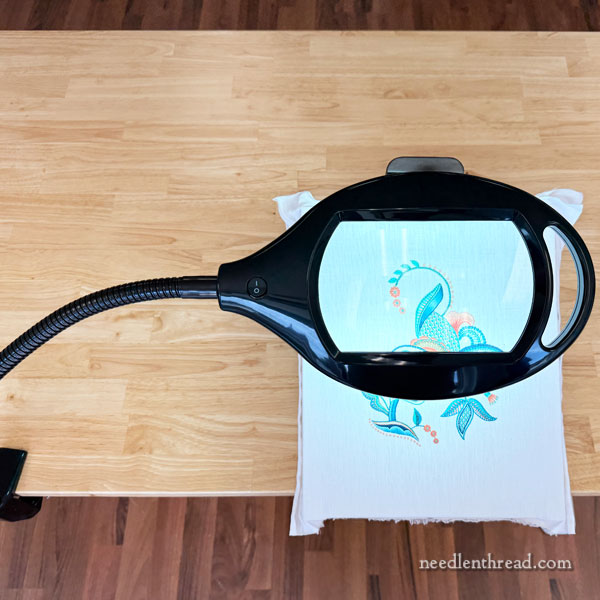
The magnifier I’m currently trying out is this clamp-on magnifier / light combo unit from Rockler (no affiliation).
In the past, I’ve used (and reviewed) similar magnifiers, most of which were on floor stands. The clamp feature works well for me in the studio, because I always work at a table or at trestles that have a table that can support the clamp.
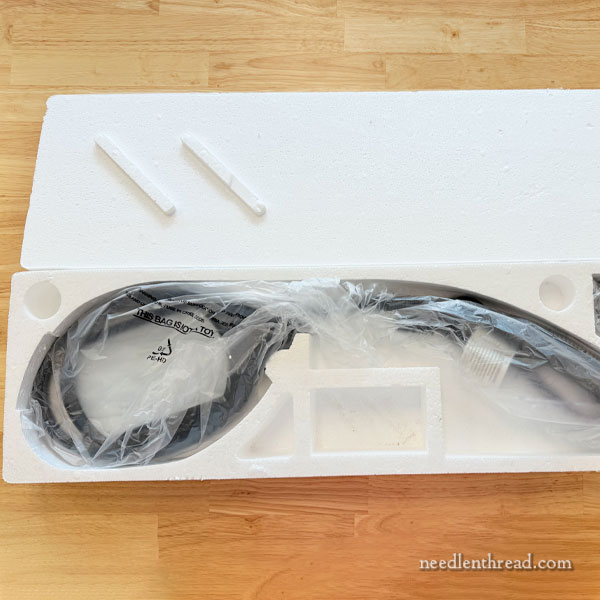
The unit came well packaged and in good order. It also shipped and arrived quickly.
It’s not a very complicated piece of equipment …
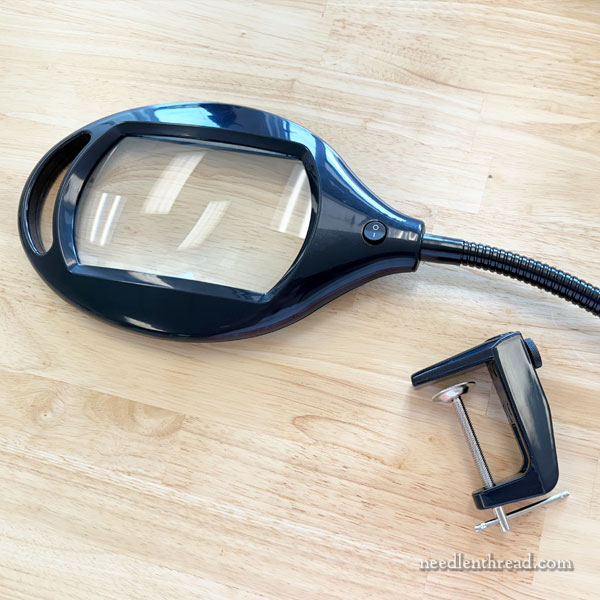
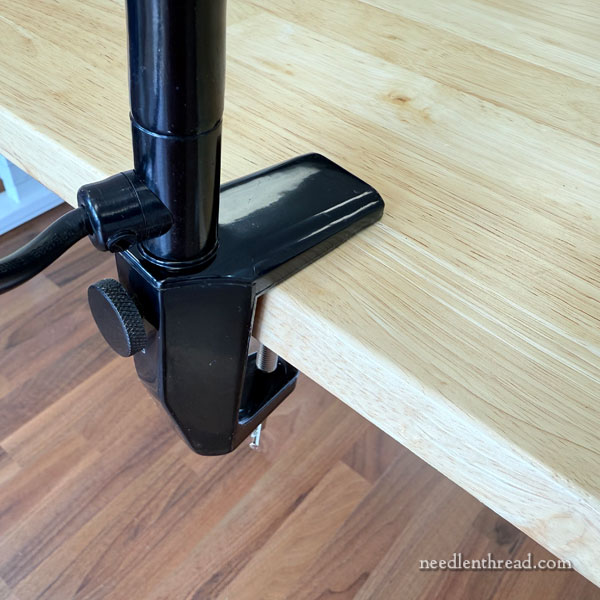
… since there are only two pieces: the gooseneck magnifier and the clamp that it fits into.
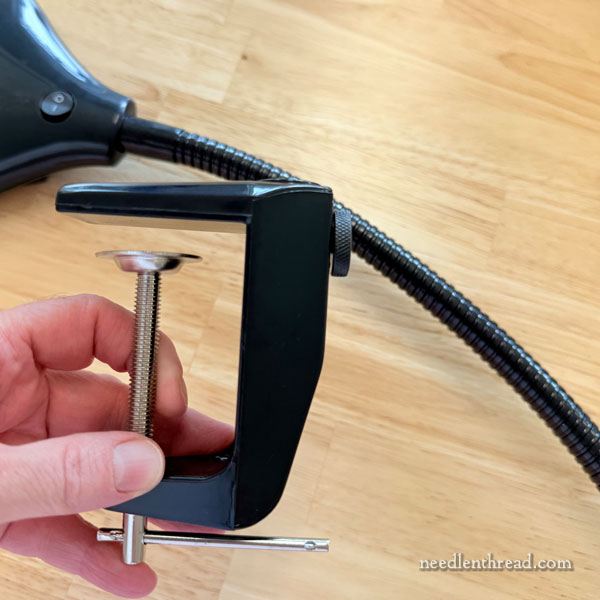
At first, I was a little concerned that the clamp didn’t quite look sufficient. I’m used to using some pretty hefty clamps in the studio for all kinds of purposes.
But in fact, it’s fine.
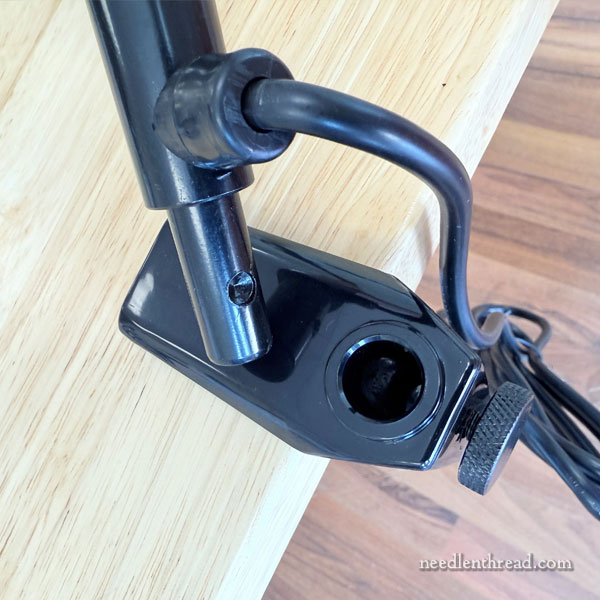
You screw the clamp into place on your table edge, and then you insert the gooseneck base into the hole on the clamp, aligning the dent at the base of the gooseneck with the screw that tightens the gooseneck into place.
Easy set up!
The gooseneck is pretty stiff, which is what you want. Many goosenecks notoriously relax over time, so I’m glad this one is very stiff.
It’s not too stiff to handle and manipulate, but it is quite stiff.
The gooseneck is not particularly long, either. It’s 18″, in fact. For me, this is a good thing, because I’ve also discovered over the years that the longer a gooseneck is, the more quickly it becomes less stable. The length of this is sufficient for my needs, and I think it contributes to the sturdiness of the neck.
The head has a handle on the outside end of it, for swiveling the head. You can swivel it quite comfortably and easily to align your field of vision with your work surface.
Lights & Magnification
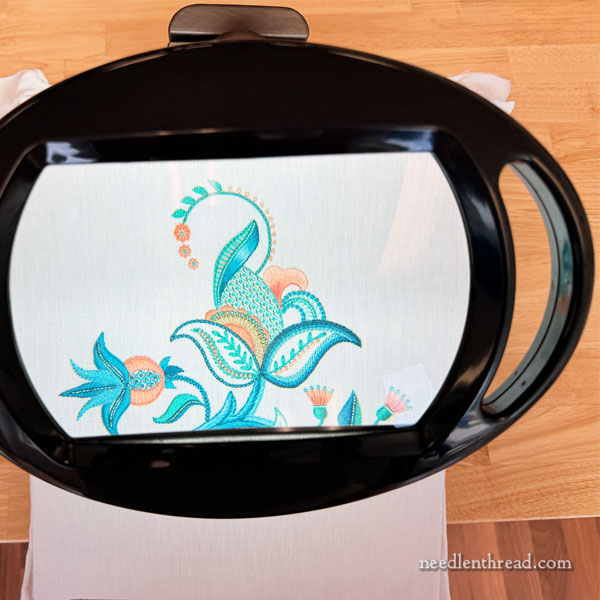
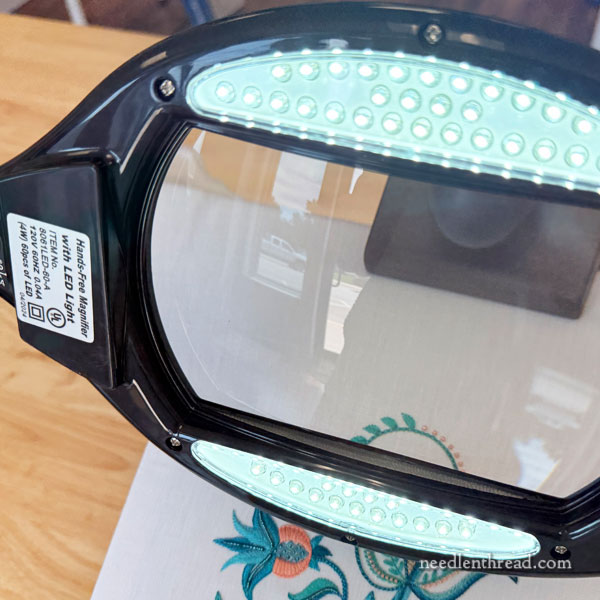
It’s very hard to give a sense of the magnification and the lighting, using photos – especially when I’m not photographic genius. But the magnification and the lighting are both good. The LED lights are sufficient to illuminate the work under the magnifier well.
The magnification is what I’d call “light” (or low) magnification – for those who would benefit from some magnification, but who don’t need heavy-duty, high magnification. The magnification specifications are 3 diopter with 0.75x magnification (objects are 75% larger).
I find this a good strength for me, and I like the fact that there is little discernible warping when looking through the lens because the magnification isn’t super strong.
Get What You Need
Personally, I’d say don’t over-do magnification, if you can avoid doing so. Get what you need that’s helpful, but don’t go all out for the highest level of magnification, if you don’t need it. The higher the magnification, the more the viewing field tends to warp and the more difficult it is to adjust your eyes to the differences of movement and so forth.
Other Specs
Other useful specifications to take into consideration: the cord is 7 feet long, which is a pretty good length; the clamp opens to 2.5″ and the depth of the clamp (the space it “bites” on the table) is about 1 1/8″. You don’t need a lot of depth to the table for the clamp to hold, but if you have a table with a lip, anything smaller than 1 1/8″ lip will be difficult to get a good hold on the table.
If you’re looking for some light (low) magnification with decent light, this unit may work well for you. Just be sure to read the description thoroughly to make sure it fits your stitching circumstances. The reviews on it are also pretty good overall, but you might want to go through them to learn more about other users’ experiences.
So far, I like it! I’m hoping it continues to work well for me, especially because I have an upcoming project that is a little finer than usual. I’ll keep you posted on how that holds up and works out!
See you Monday, when we kick off Garden Swirl!
I have a stitching acquaintance I’ve known for almost 40 years and she always uses a magnifier. Her stitching is exquisite, but she has occasionally seen something “wrong” and asked me about it. I always say to stand back a couple of feet from the magnifier and look at it again. I find magnifiers tiring and very rarely use one.
Yes, it all depends on one’s eyes! I know some stitchers who simply could not do needlework anymore if they didn’t have a magnifier. I know what you mean about finding it tiring to use one. I do, too – there’s a certain increased “intensity” when looking through a magnifier. But there are times when I just don’t have a choice! And that’s when I’m glad we live in an age where magnifiers are available.