


After 20 years of blogging, I always think I’ve answered just about every question about design transfer, but then someone surprises me and says, “I’ve searched all over your site for an answer to this, and I can’t find it!”
And then I search all over my site looking for an answer, too, because I can’t remember whether I’ve written about it or not.
Such was the case with the topic of transferring embroidery designs with carbon paper (or similar products).
I have touched on this topic before here and there (specifically, a million years ago, I used this method to transfer the design on this project), but I’ve not jumped head-first into it because I don’t often use carbon methods and materials for transferring designs.
Still, I have the tools and materials for this approach for the occasional times I do use it, so let’s talk about the process, the pros and cons, how it’s done, types of transfer mediums out there for this approach, and so forth.
I’m pretty sure this will comprise two (or more) blog posts to cover the topic thoroughly. But at least by then I’ll be able to say, “Oh yes. I’ve written about that, and you can find it here!”
The carbon transfer process harkens back to the days of The Carbon Copy. Carbon paper has been around since the early 1800’s, and carbon copies enjoyed their heyday in the Age of the Typewriter. Using carbon paper was an efficient way of making duplicate copies.
In arts and crafts and sewing, carbon copy methods work more or less the same way as carbon paper in a typewriter, except your hand and an implement of some sort – a ballpoint pen, a stylus – takes the place of the typewriter.

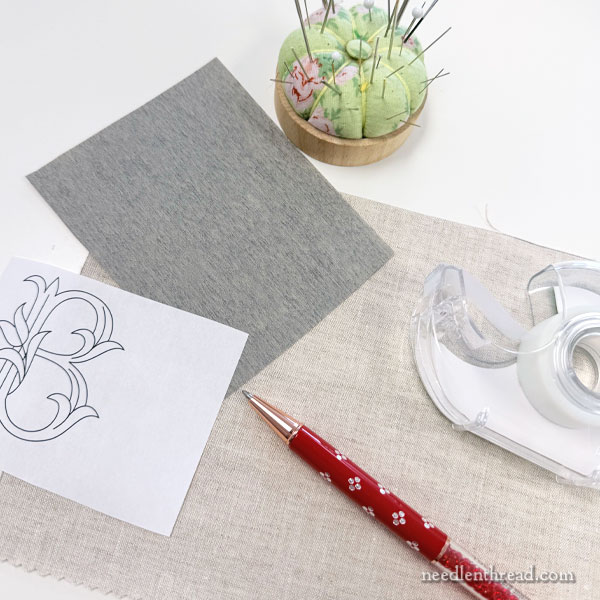
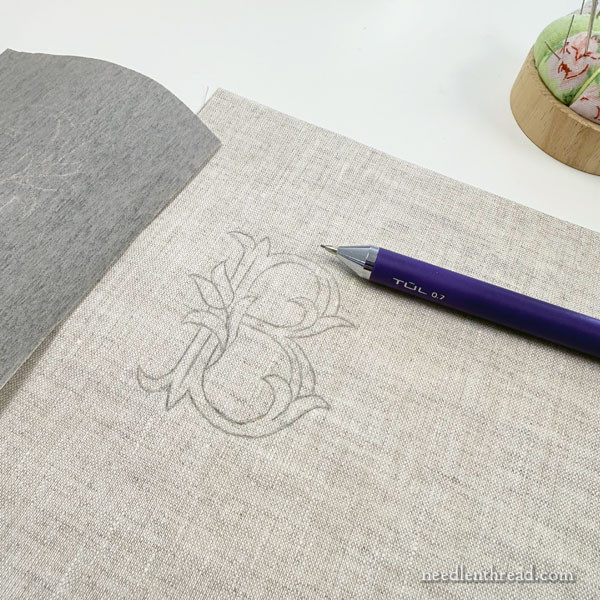
For the carbon transfer process in sewing applications, you place your fabric on a hard surface, you place a sheet of carbon transfer paper on top of the fabric, carbon-side down, and then you place the pattern on top of the carbon paper. It is helpful to somehow secure all layers so they don’t shift while you’re making your copy. I generally use bits of tape for securing.
You can see the layers for the carbon transfer process in the first photo above.
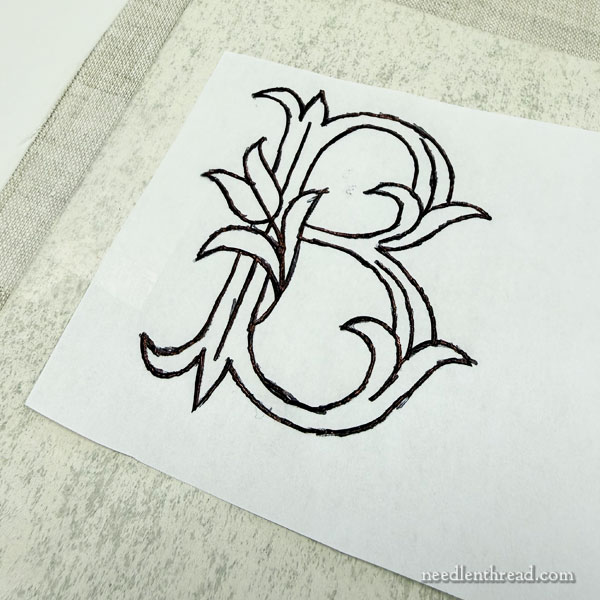
Next, you draw over the lines of your design, applying enough pressure to get the carbon to transfer to the fabric.
So that’s the concept, and it sounds pretty easy, and it does work in many cases. But there are extenuating circumstances that can make this transfer process a little more difficult that you’d think.
For example, not all carbon transfer mediums behave equally.
Additionally, the fabric you’re working on can affect the transfer.
And then there’s the pressure you have to exert – depending on the carbon product, the paper your design is printed or drawn on, the fabric you’re using, and so forth. If you have to exert a lot of pressure to get your transfer, it can often be exhausting.
Because of this latter point especially, I would say that it’s not always the easiest and most “comfortable” way of transferring. But, again, it depends on factors.
And many times, it works. And even if it doesn’t work as well as you’d like, you can take measures to make the transfer better.
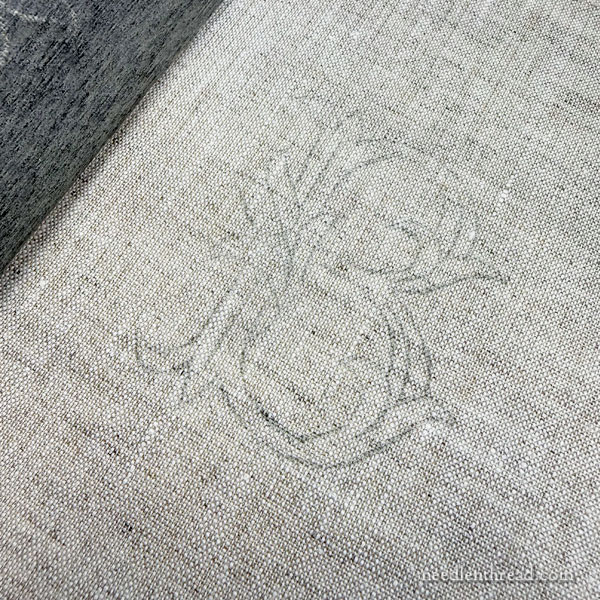
For this sample that I’m working through here, I’m using “dressmaker’s carbon” in a medium gray color.
Mostly, dressmaker’s carbon is not used to transfer detailed designs. It’s used to transfer the (larger) lines of a sewing pattern onto fabric, to give cutting guides, but not really to supply a detailed design line for meticulous hand stitching.
But it’s the most common transfer medium you’ll find in needlework / sewing-related stores.
You can see the impression of the transfer on the back of the carbon above – and you’d think it would have made a pretty good transfer. But in fact, it didn’t really come out that clear.
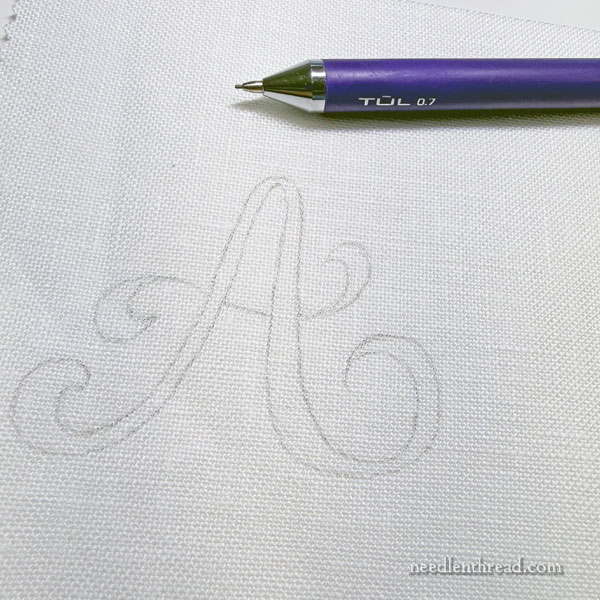
I went back over the design with a mechanical pencil to touch it up, and now it’s much clearer and would make a suitable guide for embroidering.
The fabric I’m working on here is a light-to-medium weight, closely woven natural-colored linen with a smooth “hand” or fabric surface.
In this case, this particular dressmaker’s carbon worked, but taken on its own, it didn’t work great. It needed the help of the mechanical pencil, making the process one step more complicated.
I know what you’re thinking – and I thought the same thing!
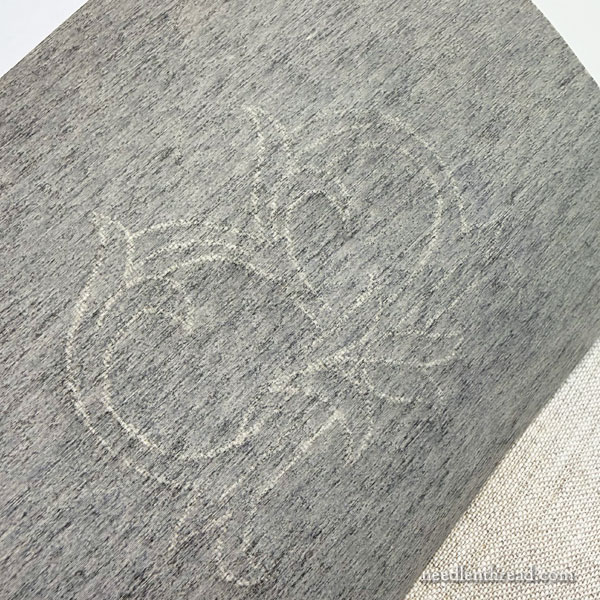
I thought, The color of the fabric coupled with the grayish tone of this particular dressmaker’s carbon doesn’t work well. I bet it would work better on white fabric than on natural!
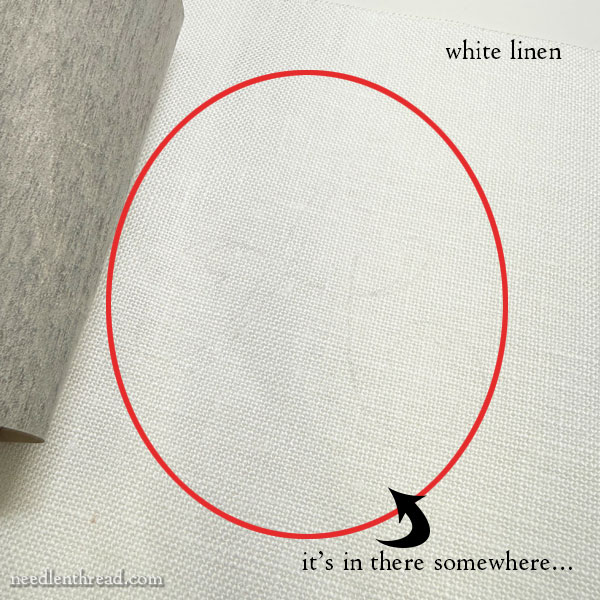
Well. That’s on medium weight white linen.
Not too satisfactory.
It still required the use of the mechanical pencil – even more so, in fact, than with the natural fabric.
Why?
No idea.
But that’s the way it worked.
There are different brands and types of dressmaker’s carbon, and it comes in different colors – white, yellow, red, blue, and grey are common colors for dressmaker’s carbon.
Dressmaker’s carbon can be used for embroidery design transfer, but it is not ideal. As mentioned, it isn’t really meant for transferring the detailed designs which are often typical for hand embroidery.
Those are a couple examples of playing around with only one kind and one color of dressmaker’s carbon, just to give you an overview of how carbon transfers work.

But wait! There’s more!
There are other options for this type of transfer technique, so we’re going to explore the subject further. To this end, I pulled out a nice variety of linens in various weights, in both white and natural – and even in black – to play with the process.
Coming up, I’ll share some tips, pros & cons, suggestions & alternatives as we further explore the topic of using carbon transfer techniques for detailed hand embroidery designs!
Coming Up!
Later this week, I’ll be reviewing a new embroidery book on the market, and I’ll be hosting a give-away for a digital copy of that book. Look for that on Friday!
On Wednesday, we’ll talk about the Letter we Love.
Oh what is the letter we love? What sound are we extra-fond of?
Without any trouble, you know it’s a W when you hear W-W-W-W!
(Couldn’t resist a little Ernie & Bert…)

Many years ago I took a class from Susan O’Connor with my local Smocking Arts Guild of America (SAGA) chapter. The project was an elaborately embroidered silk clutch, which I still use today. The silk fabric was black, so we used white carbon paper to transfer the design. It worked quite well, and required very little touch up with a white chalk pen. One of the participants thread traced the whole design in colors corresponding to the finished embroidery.
I tend to transfer with carbon paper when I am working with dark fabric, and highly recommend the paper made by Saral. The white is a bit powdery, so I prefer the yellow. It does an excellent job.
In 2024 I took a class in Mountmellick embroidery with Dolores Dempsey from the Mountmellick Embroidery and Heritage Centre in Ireland. While the designs were worked on the cotton fabric jean fabric traditionally used for Mountmellick work rather than linen, Dolores had us using standard office carbon paper to transfer the designs. By the time the design was stitched, there would be a faint blue sheen on the fabric and threads around the design lines. Once the stitching was completed, several hours of soaking in water removed the carbon paper lines and the smudges from them that developed during stitching. [Fascinating to me was that after soaking, we BOILED the fabric to turn the slightly off white fabric into the bright white usually seen with Mountmellick work.]
I hope your medical procedure went well, and you are on the road to a speedy recovery! Thanks for all you do!
Design transfer is by far my least favorite part of embroidery. I love pre-transferred designs!! Interestingly, I like the carbon paper method, mainly because I can actually see what I’m tracing lol. I also use a light board a lot, but I find it hard to see the finer details to trace through my fabric…just my two cents.
When researching my own solutions, I found from other sewing people that Richard the Thread (small sewing store in LA) has really good tracing paper (carbon wax paper)… it’s not erasable, but for me, it has done by far, the best job for actually transferring the design, carbon paper wise.
Well done Mary! The thing that you might not know is there are two distinctly different types of tracing paper for sewing. There is “tracing paper” the kind most dressmakers use which is pigment mixed with wax and dispersed on a paper backing. It would give a much better result I think. Each package has literally the colours of the rainbow ( R O Y G B I V W) plus white….no black. If one were to trace with a stylus with a ball tip about this size -O -you should get good contact proceeding as you described above. The trick is to try all of the colours on a scrap or selvage edge to see which shows up clearly and the least….if you follow my train of thought. Sometimes white shows up well on white or one might have to go to yellow or blue. Then it is incumbent on one to establish the amount of pressure that gives the desired outline. NEXT AND THIS IS IMPORTANT take your samples and press them face up and/or face down – with and/or without steam. Have a look at your test runs because some brands of tracing paper are permanent and some will disappear with the heat of an iron. If the marks stay the next test is to wash or soak your test samples and press on a cloth. wet or dry as one would for embroidery to be mounted and see what happens.
Now there is another tracing paper called Chaco paper and it is chalk (essentially) sprayed or lightly bonded to a paper back. You apply it the same way as described by you above. This paper is not permanent. It will make a beautiful transfer. BUT…it is so non-permanent that one’s hand movements while stitching your pattern will brush the tracing completely off. It is the modern definition of hell to try to replace the missing sections. With a bit of care the wax based paper is your best bet and there is a possible bonus that ironing will remove it. If you are really stuck you could trace your pattern (using the wax based paper) on the back, remembering to reverse the design then use chalk to trace a couple of inches of design as you go. Clover, Clothilde and even Fabricland and any other sewing supply business will stock a pencil loaded with chalk refills that trace a fine line in whichever colour you wish. They are about the size of a Sharpy.
For my money, I would use a light hand with a mechanical pencil (2B) and trace just inside your pattern. Knowing that you did this you can confidently stitch at the very outside of your mark and Voilá the marks are obscured. If you want to be really careful, as our Mary is, you could also use stem stitch around the design for a crisp finish.
You can buy a bag of various sized styli from Clover and Clothilde and fabric or art supply stores.
Simple right?
Regards M
Just had a thought …If you want to you could colour code your transferred design while you trace. Hmm I might try that just to see how it works. If your pattern and fabric are well secured it should be a breeze!
Okay.
Over and out!
Regards
M