


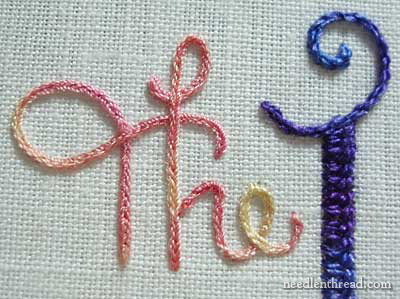
This is a brief exercise in the Hand Embroidered Lettering series here on Needle ‘n Thread. The word is short – “The” – and I’m using a fairly easy stitch for it (the heavy chain stitch). I’ll tell you why I chose this stitch, show you the thread I’m using, and give you a look at the lettering sampler so far.
The word “The” on this lettering sampler needed to be embroidered with a fairly fine thread, as the letters are small and a little loopy, but I didn’t want the word itself to be so finely stitched that it got lost in the sampler.
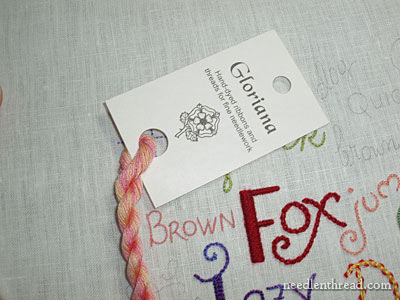
I selected this Gloriana twisted silk, overdyed in pinks and yellows, because it’s a pretty thread, kind of like a buttonhole silk, only finer.
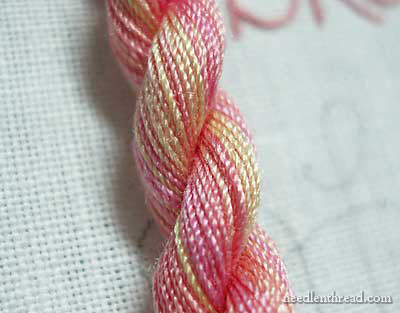
In fact, it’s a beautiful thread! With the lighter colors of the thread, I wanted a stitch heavier than a stem stitch or a chain stitch, so that the word would show up next to the bolder colors around it. Hence, I settled on the heavy chain stitch. If you don’t know how to work this stitch, check out the video tutorial for the heavy chain stitch – it will get you started.
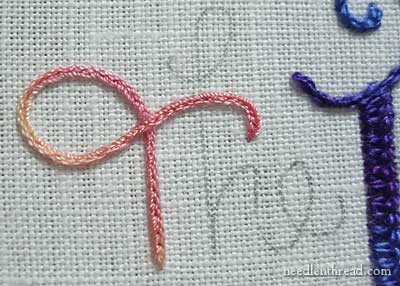
I began at the base of the vertical line of the T, and worked up and around the loop on the right, then crossed over the top of the vertical line.
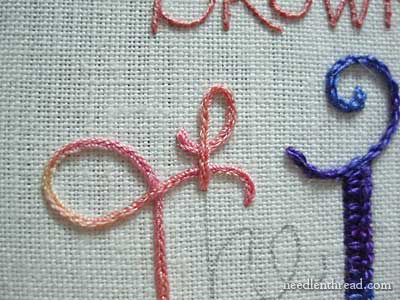
I began the H at the top loop, worked around the loop, and headed down the vertical spine of the letter, crossing over any embroidered paths in the way.
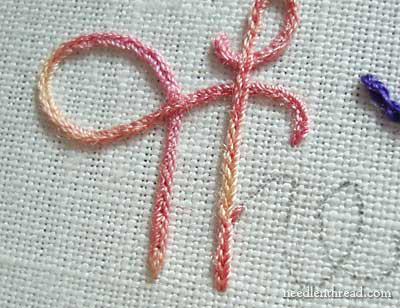
When I got to the end of the vertical spine, I jumped up to the hump of the H, beginning with my anchor stitch to hold the first chain loop. This is a little different from the instructions in the video, but obviously, you can get the same results with heavy chain stitch by stitching the anchor stitch first, then passing both loops through it to start the line. In fact, I’ve become accustomed to stitching the anchor stitch first, then stitching the loops. The effect is the same.
And then I followed through to the end of the word, crossing over any embroidered lines as I came to them.
It’s not the most exciting word on the sampler, I suppose, but I really Really Like the heavy chain stitch for lettering. It makes a bold, even, smooth line and looks really good on lettering.
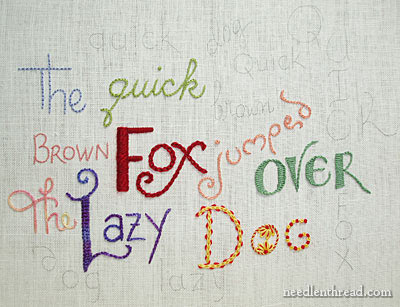
Here’s the sampler so far.
This particular tutorial doesn’t go into a lot of detail on the actual stitching of the word, because we’ve pretty much covered all the basics in previous tutorials. If you want to catch up on the basics that got us to this point in the sampler, you should go back to the previous lessons in this series of tutorials on hand embroidered lettering and text. There, you’ll find all the hints, tricks, and tips on writing with your needle and thread.
Hello Mary,
Thanks for these tips, I likee to read your lessons, even if I do not take part actually to the project.
I have a question regarding the thread, compared to the one of Stef Francis. (I've got also the one you used in purple)
Is the Gloriana quite similar or is it thiner ? thicker ?
Thanks for your answer,
have a nice day
Coeur de freesia
Hm… I think my comment just disappeared…. I'll try again!
Compared to the Stef Francis I've used so far, this Gloriana silk is much finer, with a tighter twist (similar to buttonhole twist, but the thread size is finer). The Gloriana silk holds the shape of the stitches better – due to its tighter twist. The Stef Francis produces almost "puffy" stitches because it is loose and soft, whereas the Gloriana produces a precise, tight stitch. They're both nice threads for embroidering with – it just depends on the look or feel you want.
Hope that helps!
MC
The combination of the thread with the chosen stitch really produces a gorgeous outcome. The word looks almost like a silken twisted trim cord was laid on the cloth. Of course, Mary, your perfect execution takes it to this level.
Curious-are there additional words I see pencilled in around the sampler or are those just shadows?
I'm truly enjoying this site, check it every day because I know so little about embroidery and want to learn more. But a question about this heavy chain stitch: do you use a tapestry needle (with the dull point)? It seems a sharp would catch as you slide it under the loops.
Hi, Laura – Yep, those are more words! The other words are more or less "filler" – to practice other stitches and play with other threads.
Hi, Irene – I used a regular embroidery needle. You can use a tapestry needle, and you're right, it would slide under more easily, but it works fine with a regular embroidery needle, too. I don't like using a tapestry needle with surface embroidery – not quite sharp enough to pierce the linen….
Hope that helps!
Thanks for the comments!
MC
Mary, I actually have a quick question: from my own experience the heavy chain stitch sort of twists inwards on curves, and pulls on the fabric (especially noticeable in circles which from experience creates either a raised or fallen disc, even if the shape is not that small, I also notice this effect a little in the top loop and bump of your "h" and in the top of the "e"); is there anything that one can do to combat the heavy chain stitch buckle? Is it just a matter of loosening up your stitch tension while going around curves?
Yes, Emily, you're right – and I didn't notice that until I saw it in the photos (the stitching is pretty small…!)
Yes, the trick is to decrease the length of your stitches and to let up on tension a bit, especially on the outside of the curve so that the stitch has more thread so it can lie flat. Think of it kind of like turning when you're rowing a canoe – you let up on the outside of the turn, but continue working on the inside, in shorter strokes! Well, my analogy might limp a bit there, but that would do the trick – give more thread to the outside of the curve, lightening up on tension, and decrease your stitch length.
Hope that helps!
MC
Thank you verry much Mary ,your lesson is very
instructive
wonderful site, thanks for being so informative. I shall look forward to more great ideas.
Thank you so much, for your videos. I love hand embroidery.