April 15, 2026
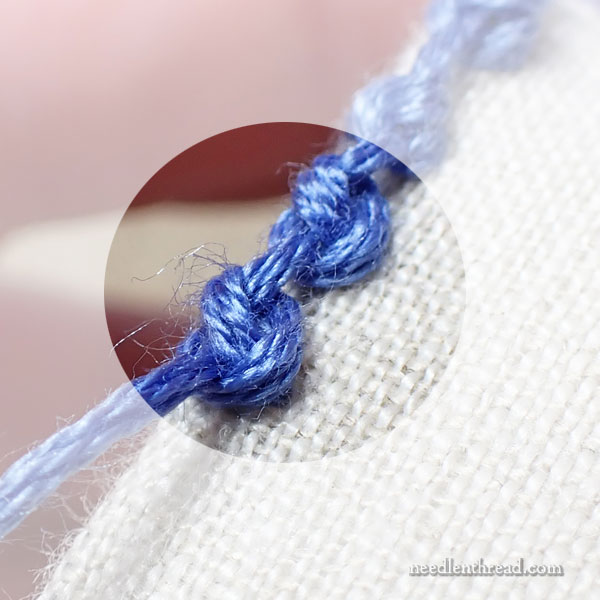
R is for Ribbed & Raised!
If I had to pin down my favorite topic to explore and write about on Needle ‘n Thread, it would be the Embroidery Stitch.
I like exploring embroidery stitches, playing with specific stitches, trouble shooting them, putting them to work in a variety of ways, experimenting, sampling – you name it, if it has to do with any kind of stitch play, I like it!
So that’s one thing you’ll find in abundance in the archives on Needle ‘n Thread – a wide variety of articles, tutorials, tips, and so forth for embroidery stitches.
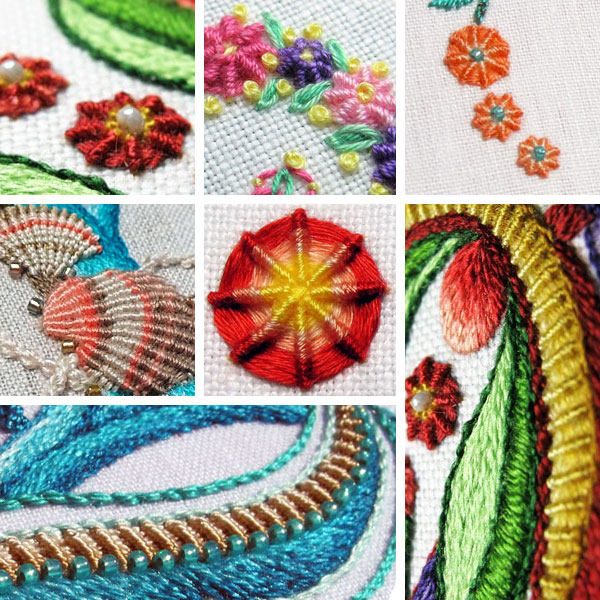
As we continue the ABC Archive Dive series, today, for R, we’re going to look at one of my favorite textural stitches, the ribbed stitch. Whether you’re working it linearly (is that word?) or in the round, ribbed stitch (also called ribbed spider web, ribbed wheel, ribbed backstitch, raised backstitch, and so on!) is a fun, tidy looking, textured, and versatile stitch.