Once upon a time, whitework embroidery was different from most of what we see today in the world of whitework.
This isn’t to say that we don’t see beautiful whitework embroidery produced today. Not at all! Because we do! Take, for example, many of the exquisite pieces of Jenny Adin-Christie (like this one). Beautiful!
But in some respects it is still different from the fine whitework of ages past.
Perhaps the best visual example of what I mean can be found in the book Lady Evenlyn’s Needlework Collection by Mary-Dick Digges, et al., where you can see cataloged the extraordinary and extensive collection of astounding whitework pieces amassed by Lady Evelyn Steward Murray (1868-1940). In fact, if you are in any way drawn to whitework embroidery and its history and development, it’s well worth adding a copy of this book to your library if you can get your hands on it.
In any case, the whitework of old is different. And it’s different for a number of reasons. Generally, we can just say “things change.” Fashions change. Tastes change. Society and trends and fads and wars and social upheaval and marketing and on and on – these influence the interest, value, time, effort, and more that we put into things that, in the past, may have garnered more interest, more effort, more value, more time, more care, and so forth.
And when Things Change, more things change – including the availability of materials. When the wider-spread ability or interest in using certain materials diminishes, manufacturers stop making those materials. A diminishing population of skilled or interested parties results in an extinct supply of the materials used by that smaller and smaller skilled segment of the population. It is, in a sense, the rule of supply and demand driven by the bottom line.
A few things have definitely changed in the “material world” of fine whitework embroidery, and the two most notable are fabric and threads. Today, it is nearly impossible to find the same exquisite quality of linen that was used a century ago. Handle or examine antique linens and you’ll know what I mean!
And it is nearly impossible to find some of the threads that were used in fine whitework. They are simply not made because they are not in demand. The skilled populace that used them, the interest in using them, and perhaps even the skill to manufacture them have diminished or disappeared. Because Things Change. C’est la vie!
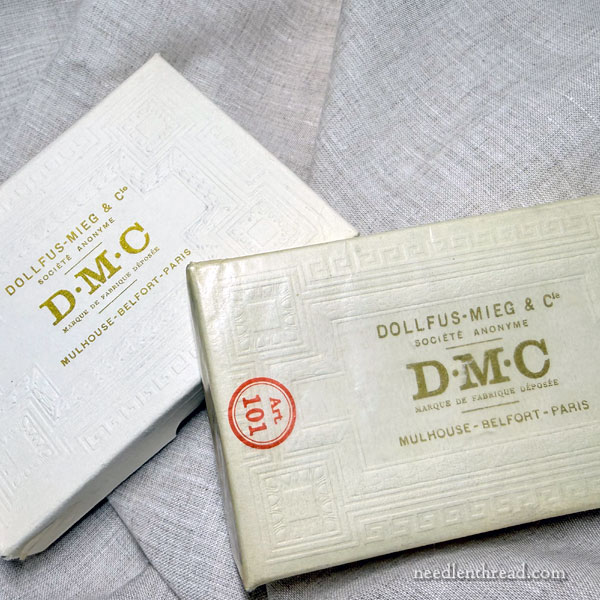 Continue reading “Rare Treasures: Fine Threads for Whitework”