


Today, we’re going to take a very quick look at a transfer medium that’s available on the needlework market, manufactured by Clover. It’s called Mesh Transfer Canvas.
We’ll take a close-up look at what it is and how it works, and then we’ll talk about its use in the area of surface embroidery.
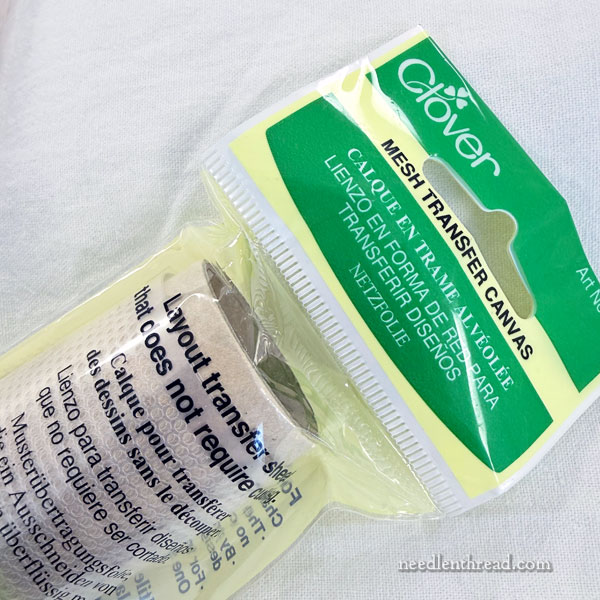
This product comes packaged in a roll. It’s a thin, stiff sheet of Polyethylene Terephthalate, a thermoplastic polymer – like the stuff used to manufacture beverage bottles and food containers. It’s stiff, resilient, often clear, provides a barrier against moisture and oxygen. (Incidentally, when it’s produced as a textile, it’s called “polyester.”)
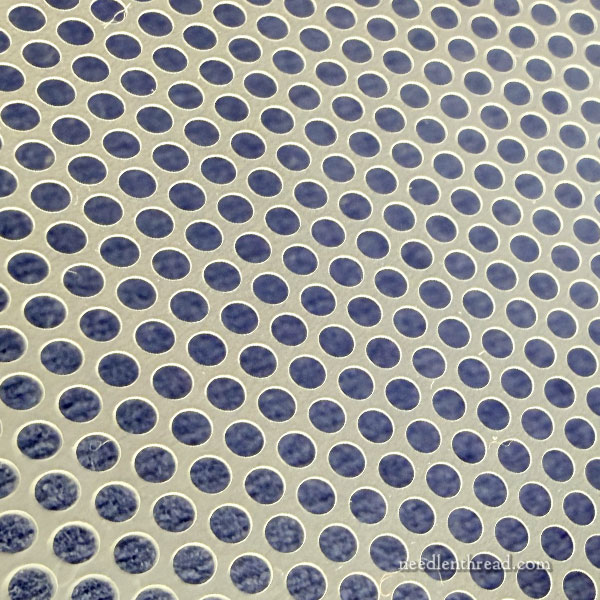
The plastic sheet is perforated with evenly spaced holes. In the scheme of things, these holes are small, but when it comes to design transfer for surface embroidery, they’r actually pretty big!
This is the basic concept behind using this as a transfer method for an embroidery design:
Lay the plastic sheet atop your design and, using a Sharpie or similar (you can also use a pencil, if you’re tracing onto the matte side of the plastic), trace the design carefully onto the plastic sheet.
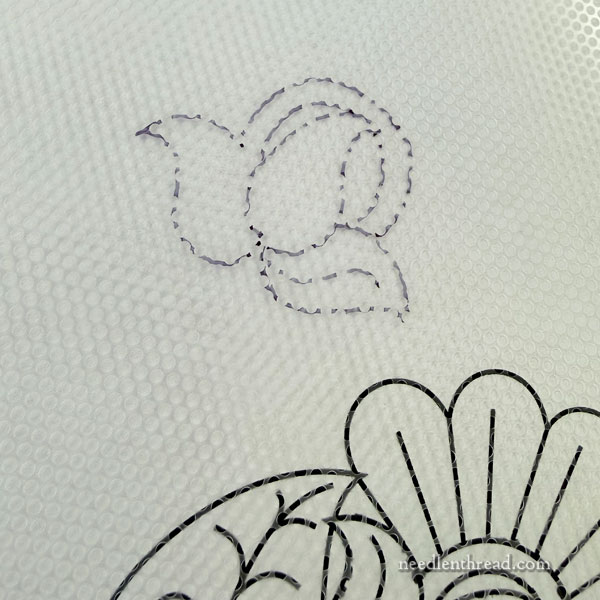
Above, you can see the design in the lower part of the photo, behind the transfer mesh. In the upper part of the photo, that small bit with the broken lines is the traced result of a small portion of the design, on the plastic. For this, I used a fine-tipped Sharpie.
You have to take care as you trace the design, because those holes in the plastic make it very difficult to draw a continuous, smooth design line. But if you go slowly, you can trace a semblance of the design onto the plastic.
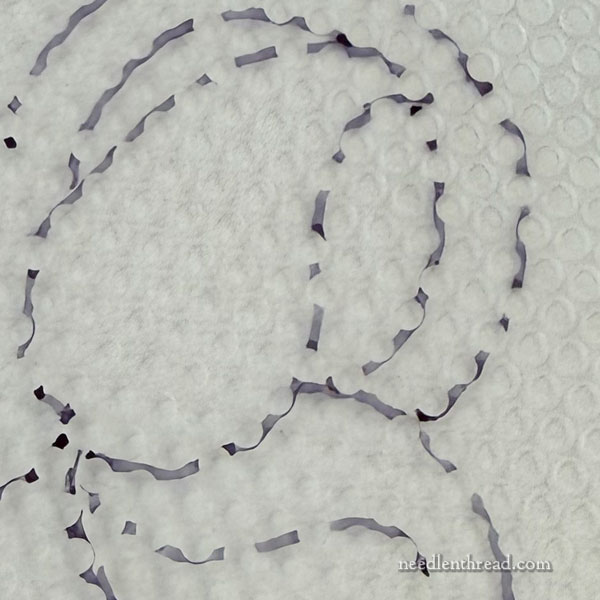
If you used a heavy, fat-tipped marker, you would achieve a bolder design line on the plastic, because you’d cover more area around the holes in the plastic, but I rarely use a bold-tipped anything for design transfer. In fact, I never do. The finer I can make my design lines, the better.
So, if the design is in any way a detailed design, it is difficult to achieve a detailed tracing, because the design tracing is interrupted by the rather large holes.
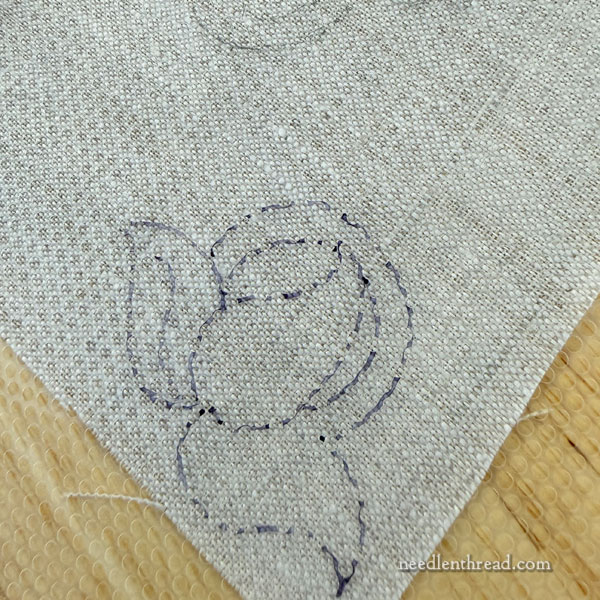
Once you have your design adequately traced onto the mesh, lay the mesh design-side up on your ground fabric.
Above, the transfer mesh is lying on the corner of a piece of linen.
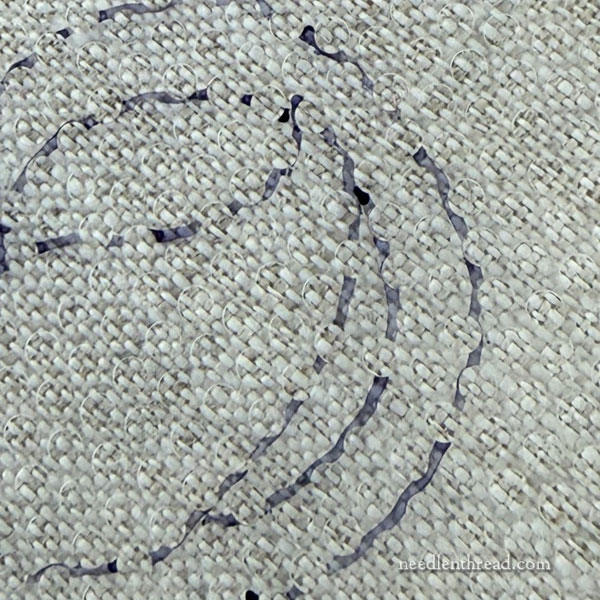
You can see the mesh better in this close-up, and you can see that the tracing on the mesh is interrupted by the large holes.
Now you are meant to use your favorite transfer medium (a pen, pencil, water-soluble pen, or whatever works best for you) to trace over the design that’s on the mesh, presumably leaving a dotted outline of the design on your fabric.
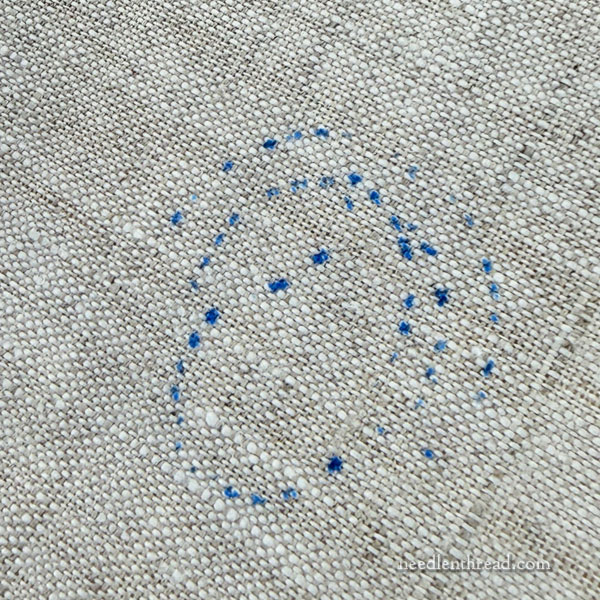
It is very difficult (ok, almost impossible) to achieve a smooth transfer line during this part of the process, especially if you are using anything remotely fine-tipped. The pen tends to bump and skip over the holes, and of course, anywhere there isn’t a hole, you won’t have any transfer line. So you end up with a broken, spotted (or dashed) design line, as you can see above.
For that attempt, I used the DMC water soluble transfer pen I wrote about here. Had I used a softer, marker-type tip that creates a bold line, the open holes would have filled better, but they still would have produced a broken, bumpy line.
The Upshot
While I could see using this medium to transfer very bold, simple designs onto fabric, using heavy markers that you intend to cover with something like a heavy yarn, I find this method and transfer medium pointless for any kind of detailed embroidery design. It simply doesn’t work well – and there are many other approaches out there that render a more detailed design transfer!
But overall, that’s the concept of this particular brand of transfer mesh. And if you’re transferring a bold, simple design (a simple shape, like the kinds of shapes you might associate with the most basic of cookie cutters), I could see how this product could work ok enough to achieve transfer goals, if your design is to be covered with heavy yard or thread.
But in most cases for surface embroidery, I’d likely give it a miss!
Next, we’re going to look at a different product that uses the same concept, but produces a much better transfer under certain circumstances. We’ll also talk about alternatives that can be used, with a little patience, to achieve similar results.
Looking for More?
If you’re looking for more articles on transferring embroidery designs, you can find them under this topic tag: “Design Transfer.”
I am presently compiling an index that organizes the different types of design transfers and what they work well for. I’ll share that with you shortly!

Thank you for going through the effort to do this, sharing the steps and underwhelming results. I am the type of person who would look at that product, buy into the concept then bring it home with me. The photo of the transferred blue dots got a big sigh and an audible “nope” out of me. I would have been beyond frustrated!!
(I wonder if this product was inspired by something in used in screen printing?)
Thank you for your service!!