
Over the past weekend, I was searching through the archives here on Needle ‘n Thread, to find the answer an email:
Hi, Mary, I’m new to embroidery. I did some small kits and liked it and want to learn more…especially about what fabric and thread and making my embroidery look better… I came across your videos that are really helpful and they led me to your blog. As a beginner, there’s are a lot information out there to learn. What should I concentrate on for learning or what tips do you have to get started with?
Despite the explosion of needlework information online that’s happened over the past 20 years, I still get similar questions all the time. I would love to sit down with each person who contacts me, work with them, answer their questions in person, show them things they want to see in person, let them feel fabric and threads, explore ideas with them… but this is obviously a regretful impossibility!
To answer the “beginner tips” question, I wrote an article almost exactly ten years ago, with a concise list of tips to which I could direct beginners.
Now and then, it’s a good idea to re-visit these types of lists, tips, and explorations, whether you’re a beginner or not! You’d be surprised what tips you might pick up that you missed before, or what little reminders might spark a new idea for you!
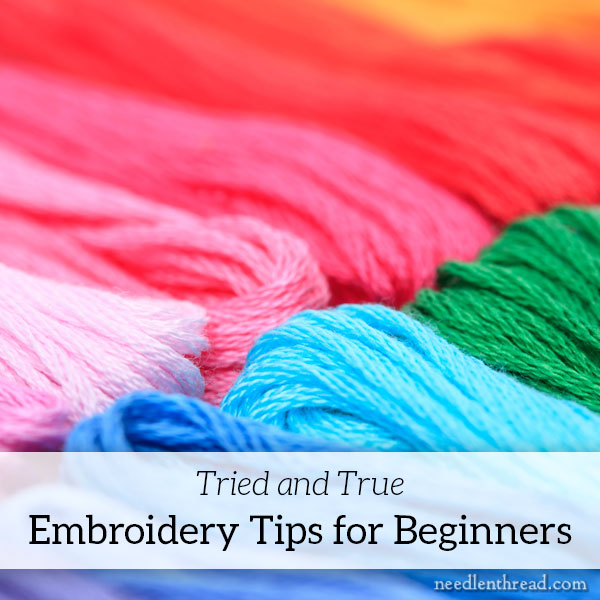
The article that I wrote ten years ago is called 8 Embroidery Tips for Beignners, and you can read it here.
The tips in that article include how to transfer a design, how to prepare floss, choosing hoops or frames, information about needles, embroidery scissors, and fabric, the embroidery environment, and my personal top ten essential embroidery stitches for beginners to learn.
In the past ten years, I’ve written more on pretty all those topics, but the core information there is still pertinent and still useful! It is tried and true tried and true information that has withstood the test of time.
At the end of that article, I asked the wider Needle ‘n Thread community for additional input and received some good suggestions for additional topics – for example, the benefit of investing in good lighting and the advantages of starting with small projects.
Join the Conversation!
I’m sure we can all think of even more encouraging tips and ideas to help beginners find the path they want to follow for their own embroidery journey.
If you have additional tips, topic suggestions for beginners to explore, and so forth, leave a comment below! I’ll be compiling more tips and updating the original article soon, and I’d love to add input from your experience, too.
Have a lot of patience, and don’t give up, l am not a professional, embroidery is my hobby, but l now except my own best is good enough.. Enjoy
Always take time to pad satin stitch! And if you don’t like how a stitch looks (even after several hours of work), take it out. You won’t be happy and serene working on something you don’t like. I love Mary.
🙂 Good points all around!
I enjoy helping people discover your website. I would classify myself as a beginner in many embroidery techniques. When people ask my questions, I tend to talk about all the information available online. I always learn something when talking with “beginner” or “experienced” stitchers.
Thank you for your work to help us all!
Unfortunately, how to spot an AI generated kit or embroidery. I hate it when an Embroiderer compares themselves to something perfect and impossible.
OH MY GOSH. So true. I get so many pleas for help from people stuck on projects that they bought on Etsy or eBay or through Pinterest or Instagram or even in brick and mortar stores, only to find out that the thing was an AI generated kit that someone paid … !!!! more money than I charge for my kits !!!!!! … and ended up with no support on a project with elements that aren’t even feasible for stitching. Crazy! It’s sad. It’s sad, because it’s a sure-fire way to discourage a new embroiderer. “I can’t make it look like that.” Well, you can’t make it look like that, because that photo of the finished project doesn’t represent anything that could be realistically stitched by hand. >:-(
Grrrrrrr. Pet Peeve!!
I wrote an article about AI generated designs: https://www.needlenthread.com/2024/10/i-am-not-real-artificial-intelligence-in-the-needlework-world.html with links to another good article on the subject. It already needs to be updated, as AI continues to develop and certain “embroidery” aspects become less recognizable as fake and cartoony.
Be patient with yourself! Don’t be afraid to frog (pull out) some stitches to improve them. Practice on scrap fabric- old denim, muslin, etc make good places to practice. Also, don’t do as I did, and leave your project near a window where the sun can bleach your fabric. Cover it or move it. Enjoy yourself!
When I was first starting out, I wanted to see what other embroidery artists were doing and understand the range what embroidery could be along with learning how to do the actual stitching. So, maybe a list of some reliable sources that highlight embroidery artists and what the field of embroidery holds. TextileArtist.org was, and still is, my go-to site for exploring what current artists are doing, along with Embroidery and Fiber Arts magazines, the V&A museum and Royal School of Needlework sites.
I love your site and enjoy your postings each morning with my coffee!
Hi Mary, thank you for this article and link to your tips for beginners. This is so timely and made me smile.
I found you recently because I was looking for a good stitch for text. I have seen so many that are just difficult to read the way they are stitched. So that’s how I came here, as your stitching for lettering is so beautiful. I pray to have that skill one day!
Anyway, I have been thinking the last couple days if it would be very inappropriate to ask if you would mind giving me some advice for a project that I have, and here you have exactly answered my question. And better, I don’t disturb you when you already have so much on your plate.
I am going now to read those tips, and I have no doubt that I will find what I’m looking for, as I don’t believe at all in coincidence, but all in providence.
Thank you again!
Peace
Thanks for your note, Julie! I never mind when people reach out with questions, but it’s true – lately, I’m falling behind on the inbox. :-/ Still, if you get stuck, do reach out. In the meantime, there’s a pretty decent search function on the website, so feel free to search for any topic you’re curious about or stuck on. It’s under “Search” in the main menu.
When you have a choice between a project that is recommended by a good embroiderer (like our Mary!) but it’s subject is something you don’t really care for, and something else that you just plain like a lot, go with the one you like. At some point along the way, you could encounter some troubling aspect, and just being able to picture the whole thing completed and hanging on your wall (or wherever it’s headed) may be enough inspiration to get you over the hard parts and headed for the finish line.
When choosing your next project? Choose something you like!
ALWAYS!! While I can see choosing a project just to learn a technique – even if you don’t particular like the project – that’s something I think an intermediate and beyond stitcher might do more readily, and with less negative affects than could be had by a beginner stuck on a project that’s not particularly well-liked. For beginners, it’s that enthusiasm over something that really caught your attention that often carries you through to the end, even if you run into hiccups!
Hi, the one thing I can’t find an answer for is, if your design is bigger than your hoop, do the stitches become permanently damaged when they are under the hoop ring? I have just started some crewel work and I know that the design will eventually be fairly large. Thanks
Hi, Rachel, It is normal to move a hoop around a large design, as long as the design is only worked in fiber, not beads or goldwork or metallics. The fiber stitches do tend to get “smashed,” but upon release from the hoop, with a little time, they recover themselves. They also recover themselves when blocked or damp-stretched at the end of a job. People have been using round hoops for … well, centuries now. It does help to bind your hoop, not just for increasing and holding tension, but more importantly, it helps to protect your fabric and stitches. This is actually a great topic for a more in-depth blog post (the moving of the hoop and the affect on the stitching), so perhaps I’ll address that in an upcoming article. I’ll just need to work up some comparison and contrast photos!
When Using a sit frame, by having the hinge on the post at the bottom and opening the hoop upwards towards you, gives you a more upright sitting position which is much better for your back. You will have to re/tighten the screw sometimes but it’s a small task. Using the barrel clamp with a hoop with a stem on a higher table is good also. Likewise, with a floor frame, if you can, raise the stand on blocks and screw it down to enable your neck and back to be more upright. Have breaks from your work, stretch out shoulders and walk a little every hour. I’ve been an avid lover of embroidery over 50 years..but I was a sports coach too! Keep that back and neck happy folks. !
Very good advice!!
My mother always emphasized the need to start out a project with quality products. You are putting your own time into stitching for example- using cheap thread is going to require more time and effort into the project because of knots, breakage, lint and not being able to establish a rhythm when starting out. It was hard as a child to save the extra pennies and be patient and wait until I could afford the purchase. But mother was always right!
Thank you for revisiting these beginner tips ten years on — the reminder to focus on the basics, from transferring a design cleanly to preparing floss and choosing the right hoop or frame, is exactly what a new stitcher needs. I also appreciated the invitation to share more tips, as learning from other stitchers makes those early projects far less intimidating. It is encouraging to hear that the core advice has held up so well over time.