


Welcome to Thanksgiving Week! Here in the we celebrate Thanksgiving Day this Thursday, which means that many folks enjoy a nice four day weekend that kicks off pre-holiday preparations.
Here at Needle ‘n Thread, we’re no exception! Anna and I (she’s my niece, for those who don’t know) will be enjoying the day with family. But – never fear! – we have prepared some Thanksgiving entertainment for you, in the form of an I-Spy puzzle. So please look for that on Thursday, with our Happy Thanksgiving Greetings!
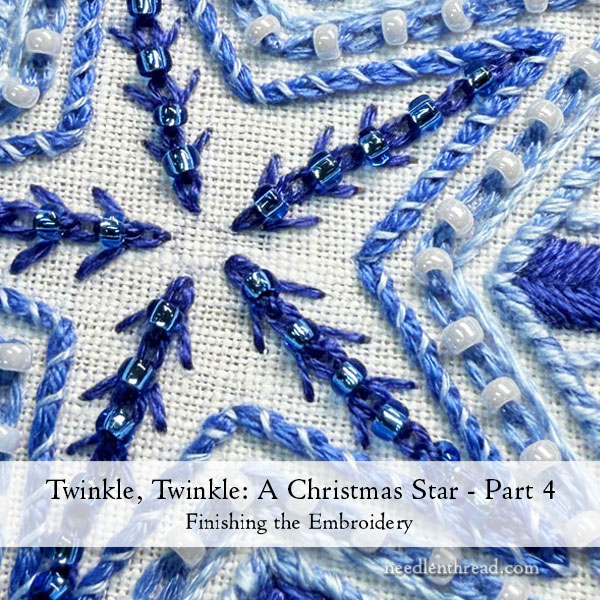
Today, we’re going to cover the rest of the embroidery on the star, in our Twinkle, Twinkle stitch-along. Since this is a relatively small project, each phase of of the embroidery doesn’t take too long – and this lesson is no exception.
For your convenience, I have linked a downloadable PDF color & stitch layout guide below. Keep reading, to download this convenient guide!
If you’re a member of the Needle ‘n Thread Community on Patreon, you’ve already received these instructions as a downloadable PDF. And those who are members at the Avid Stitcher level have access to all the videos for the embroidery part of this project. Non-members are welcome to purchase access to any of the videos that they are interested in viewing.
Once we finish the embroidery here, there’ll be a little bit of a break until next week, when we finish the beading and prepare the ornament for finishing. That way, if you’re a little behind on the embroidery, you’ll have a chance to catch up!
Color & Stitch Layout Guide – a Download
The link below will provide you with a PDF for you to save, that has the colors and stitches marked out on the design diagram.
We’ve had a few errata notices with this project due to color confusion, because of my poor note-taking skills. I really messed up everything, between all the samples we stitched.
Those color problems are all fixed – they’re all correct in each of the original project lessons (you can find all the previous lessons listed here in the Project Index) – but unfortunately, those who receive the lesson via the daily email newsletter have the wrong colors in the emails, because the newsletter can’t be changed once it goes out.
So, to make up for that (I hope!), here’s a Color and Stitch Layout Guide that you can save to your computer for quick reference.
Finishing the Embroidery on the Star
Today, we’re embroidering two more bands around the star, and then we’re stitching the inside of the star.
For both of these elements, we’ve already covered the how-to on the stitches involved, so let’s just walk through the little details!
Using two strands of the lightest blue (800) in the #8 crewel needle, stitch the band between the outer whipped chain and the beaded cable chain that we worked in the last lesson. You’ll be using stem stitch for this.
We covered stem stitch on the outside “rays” of the star already, here in Part 2.
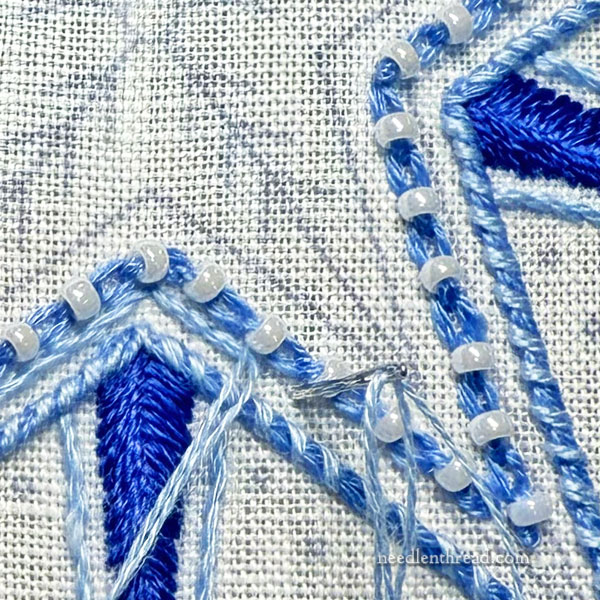
The only tricky part of the stem stitch for the band around the star is the sharp tips on the star.
Just as we did with the chain stitch, the trick is simply to end your stem stitch line at the tip, and then to start a new line that butts up into the tip (using the same hole at the very tip), to continue the stitching.
If you need to pointers on taking sharp corners with stem stitch, this article – Basic Embroidery Tip: Stem Stitch Corners – may be helpful for you.
You can also watch the video tutorial for stem stitch, here. In it, I discuss and demonstrates taking corners.
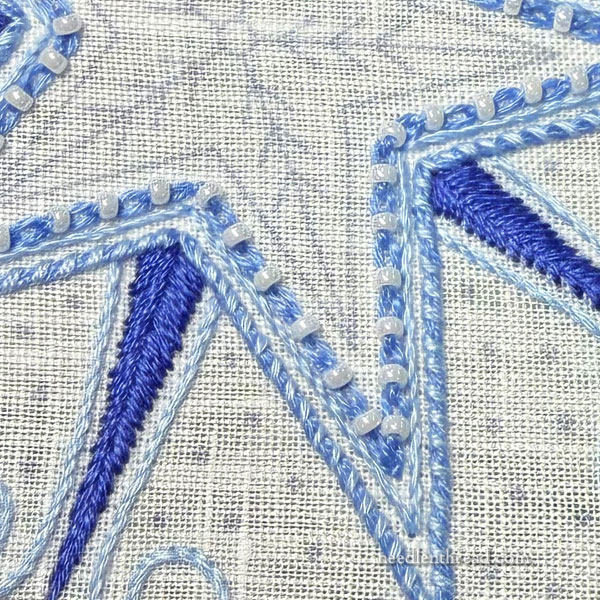
As you can see in the photo above, the fine blue line is quite delicate. In a sense, it’s just a subtle filler. But it makes a difference if it’s not there!
So there we are, to this point. And now, the last band…
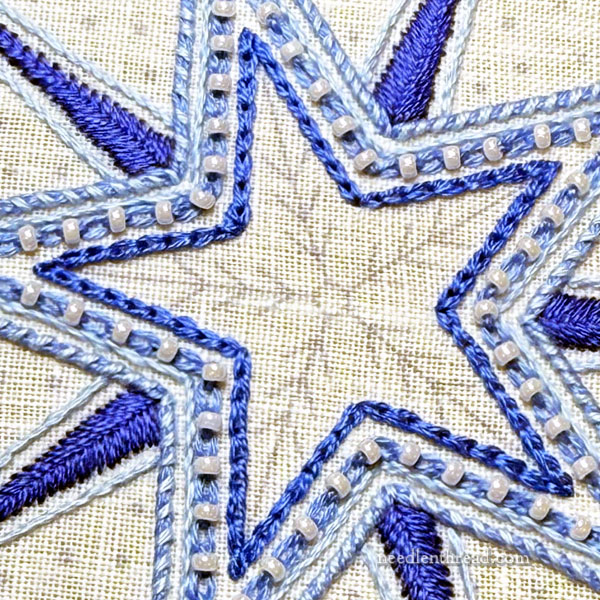
The last band is the innermost band around the star, and it’s embroidered in whipped chain stitch using three strands of medium-dark blue (798) for the chain stitch foundation…
…whipped with ONE strand of the lightest blue (800).
We already discussed whipping the chain stitch on these bands, in Part 3. So if you need to go back and read that, you can. You can work reverse chain or regular chain stitch on this band. It doesn’t make any difference which you use, since it is also whipped like the first band.
And last but not least…
The Inside of the Star
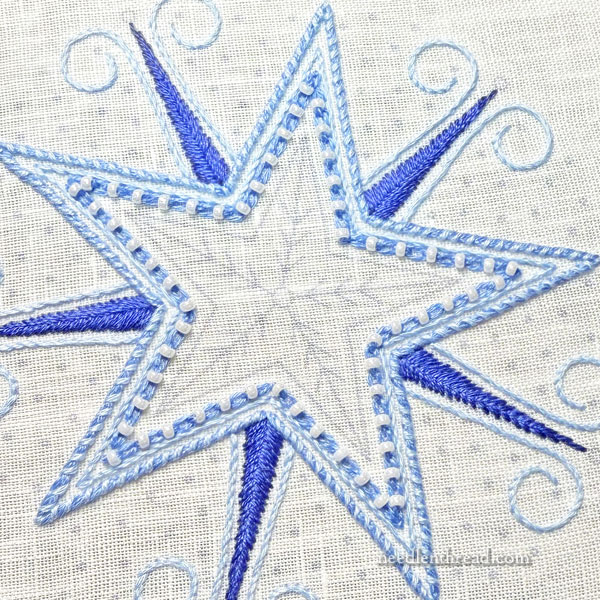
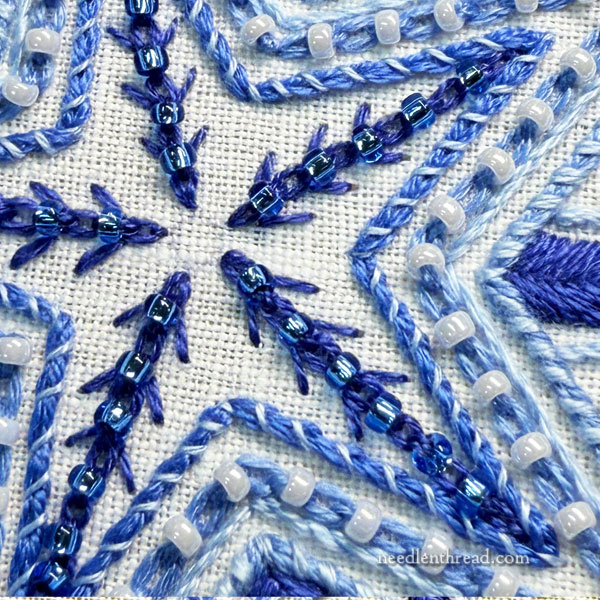
Each “spoke” is worked with three strands of dark blue (797), in beaded cable chain stitch, picking up blue beads for the beaded part of the stitch.
You can find instructions for beaded cable chain stitch here in part 3, where we used the same stitch.
Start of the very center of the star, but NOT right on top of the round design line. Leave a tiny space there – maybe two threads – before you start the beaded cable chain.
Begin with a chain stitch, not a bead. This is important, because you need room to fit the crystal in the center.
Work to the point of the star, about 5 or 6 chains & beads, but be sure to finish with a chain in the tip of the star, even if you have to elongate the holding stitch somewhat to fill the tip.
When you finish the beaded chain “spokes,” return towards the center, stitching the “arms” that extend out from the spokes. These are just simple straight stitches. Work them right over the design lines.
Finally, switch to one strand of dark blue in the needle and pass back through each bead with a small straight stitch, as we did with the beaded cable chain stitch in Part 3.
Voilà! The embroidery is finished.
More to Come!
If you are just joining in on Twinkle, Twinkle, you will find the previous lessons in this stitch-along available here, in the Twinkle, Twinkle Project Index.
Coming up in the next lesson, we will finish beading the ornament and then prepare it for finishing.
I hope you’re having a wonderful week, and for those celebrating Thanksgiving this week, a beautiful holiday!
See you Thursday!
Thanks so very much for the diagram with thread colors.
These projects are teaching me a lot!!!