

A week or so ago, I finished stitching this project that I wrote about here.
The project is called Clara’s Garden, and the full kit for it is available in my shop, here. It’s quite a satisfactory piece to work, and I think it will look nice on my entryway table, under a statue or vase.
This was my “home” project for evening stitching, and it was good company while it lasted! I’m kind of glad it’s not completely finished, actually. I still need to hem it, and for that, I’ll do a decorative hemstitch of some sort. I haven’t really figured out what stitch I’ll use, but I would like it to be a little more decorative than a regular hemstitch. We shall see!
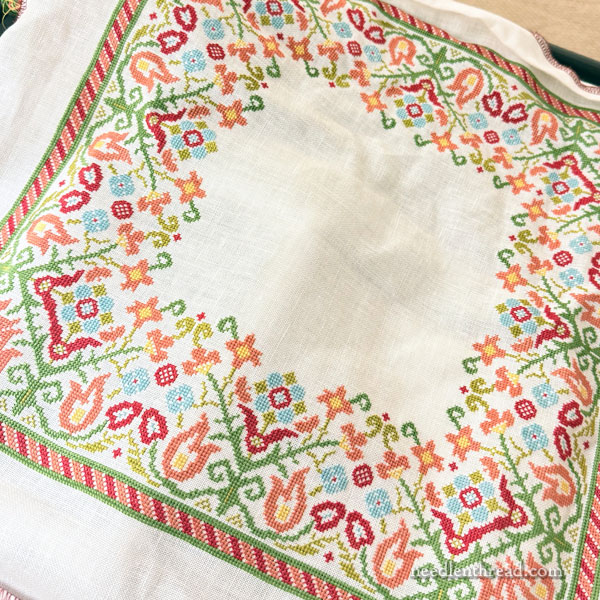
Oh. Ahem. Yes. Well, it’s not completely finished. I have to go back and correct a mistake. You might be able to see it! It’s kind of funny. I’m not sure how I got backwards on one of the motifs, but I did. It will just require picking out a small bit, and then stitching the motif where it actually belongs.
Sorry about the shoddy photo. I took that with my phone, with it on a sofa table, at about 11:00 PM the night I finished it!
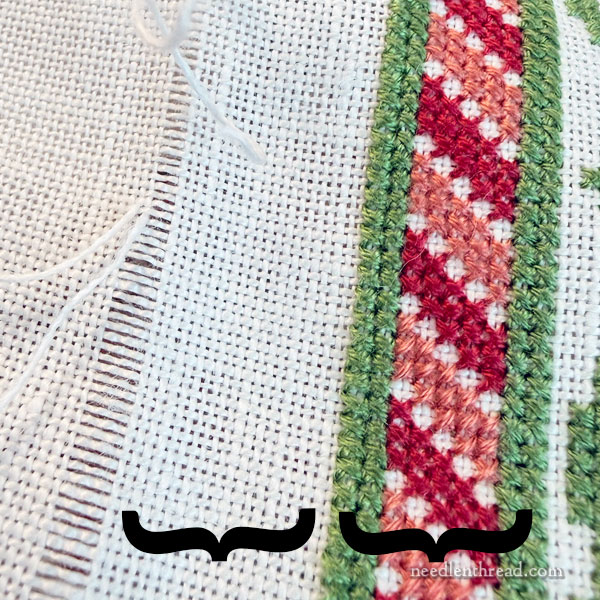
For the finished edge, I wanted about the same amount of white space between the strip of withdrawn threads that will finish the hem, and the width of the colorful border on the piece.
It’s not exactly the same – the white space is 20 threads of linen wide, and the colorful border is 18.
I withdrew four threads in the linen, for the drawn thread work along the hem.
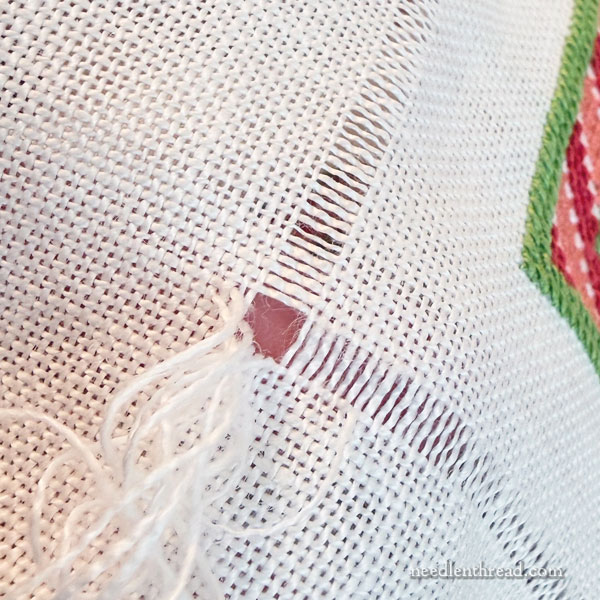
I withdrew the threads to the corner where two sides intersect, and I made sure that I had a few inches of the linen thread still attached (instead of cutting the linen threads completely as I went.
I prefer to re-weave the withdrawn threads into the fabric around the corners, to finish the corners and to keep the fabric in the corner of the hem “whole” (without strips of withdrawn thread left in the hem area).
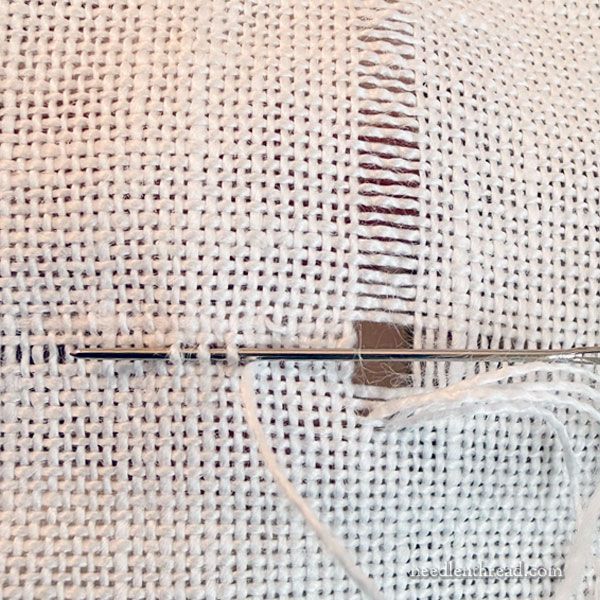
This method works best when you withdraw any even number of threads from the fabric.
I withdrew one thread all the way down into the hem area, and then I took the adjacent thread, threaded it in my needle, and “re-wove” it into the blank space created by the withdrawn thread.
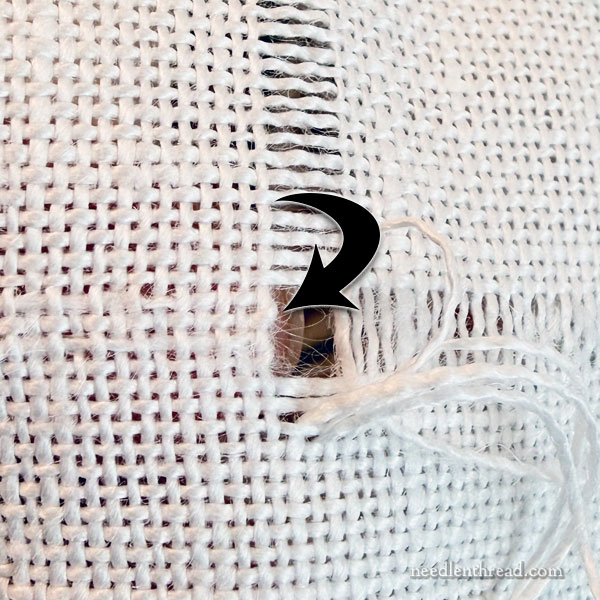
You can see that this creates a secure, nicely finished edge around the empty “box” left at the intersection.
I prefer this method of finishing the corners to satin stitching over the edges around the empty box, or to just leaving a withdrawn strip in the hem area. I think it looks neater and more professional.
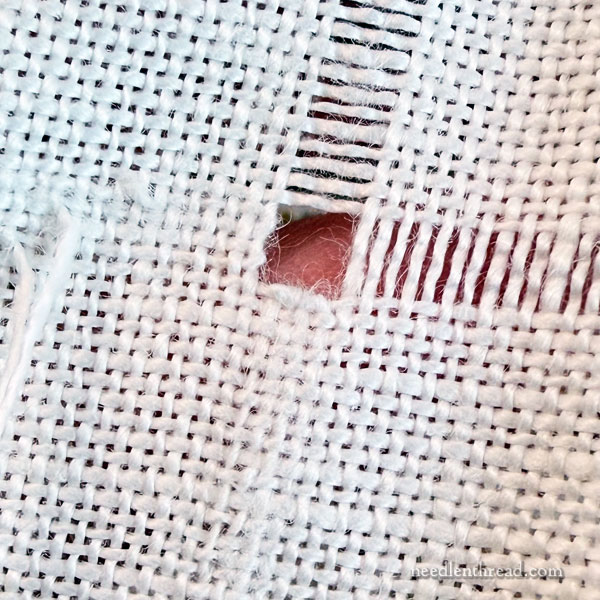
Here, you can see both sides of the affected corner intersection finished.
Before I start the hemstitching, I’ll take a little piece of tape and pat it over that whole area, to lift off any linty bits of fiber leftover from withdrawing the fabric threads.
More on Withdrawn Threads
Way back towards the very beginnings of Needle ‘n Thread, I worked a series of drawn thread embroidery tutorials for the website. You can find those tutorials here, including this more detailed explanation (with photos) of re-weaving threads for drawn thread work edges.
Hope your week’s off to a great start!

Leave A Comment