

Howdy, all, and good morning! It’s been a while!
I’m sorry about the hiccup in my blogging schedule lately. I’m going to try for a couple articles a week right now. I have a little bit of time to catch up at work, but I’m not sure how much time. My sister from Florida arrived this past weekend to help with dad care and “sitting” while he’s at a rehab hospital, so we’re all taking turns with that. The goal is to get him home, but how that goes – and how fast it goes – depends on much.
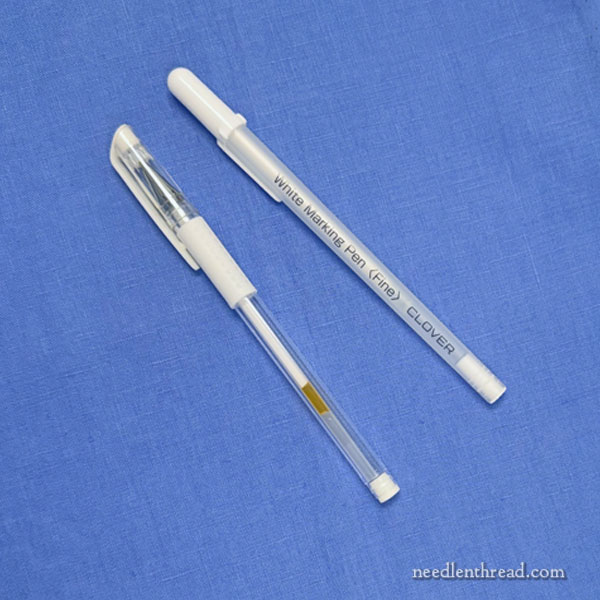
Today, we’re going to chat about transferring embroidery designs on dark fabrics, and specifically, I’m going to show you two white transfer pens available on the market. They are “heat erasable” pens – not always my favorite option, and I’ll show you why below. Still, they may work for certain stitching situations, even if they don’t work for all stitching situations.
Every transfer tool has its fan base, I’ve discovered, just like pretty much every tool (ok, maybe not this one – I still find it useless) has its good uses. But there’s no doubt that some brands and some tools are just better than others. So I’m hoping that this ongoing discussion of transfer options helps you make informed decisions about what you are willing to try and invest in.
Transferring embroidery designs onto dark fabrics poses different problems. An obvious problem is that it’s hard to see through dark fabrics, so sometimes tracing is completely out of the question.
The white transfer pens that we’re going to look at today assume that you have a way to “see” or initially establish the pattern onto your dark fabric, and then you use the white pen to “solidify” the fabric so that you can see it and follow it easily.
If you have the skill for it and want to go about the whole design transfer process free-hand, you can just use these pens like you would any pen and free-hand your design onto your fabric. Ta-dum. It’s done!
But many folks don’t free-hand their designs. I definitely don’t, for most projects!
I haven’t tried the white transfer pen with this transfer veil we talked about here, but I intend to eventually.
If you can’t trace the design onto the dark fabric (using a light box or similar approach), then I think the best option for an accurate transfer on dark fabric would be a prick-and-pounce approach, using the traditional ground white cuttlefish powder, or – better yet! – the more readily available option of corn starch. You can read about prick and pounce and how to do it here.
If you use prick and pounce, then you have to connect the dots and solidify your line. That’s where these white pens come into play. You would use them to draw the line by connecting the powder dots.
But do they work? And how well do they work? That’s the question!
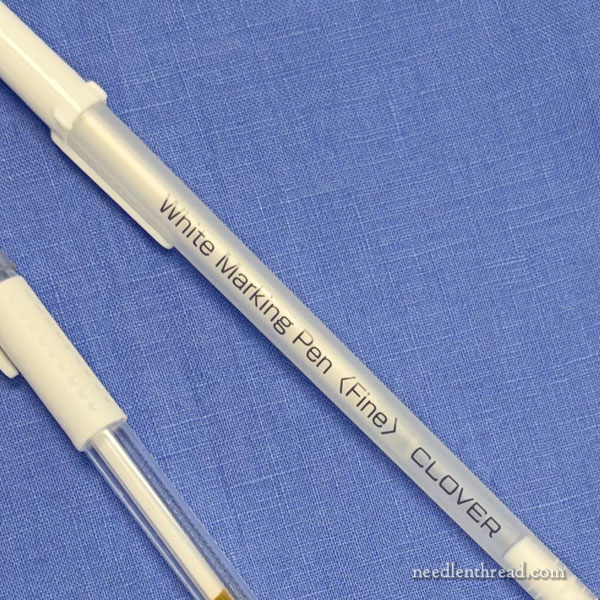
One of the pens we’re looking at is the Clover white transfer pen (heat erasable).
The pen has the feel of a gel pen, more or less.
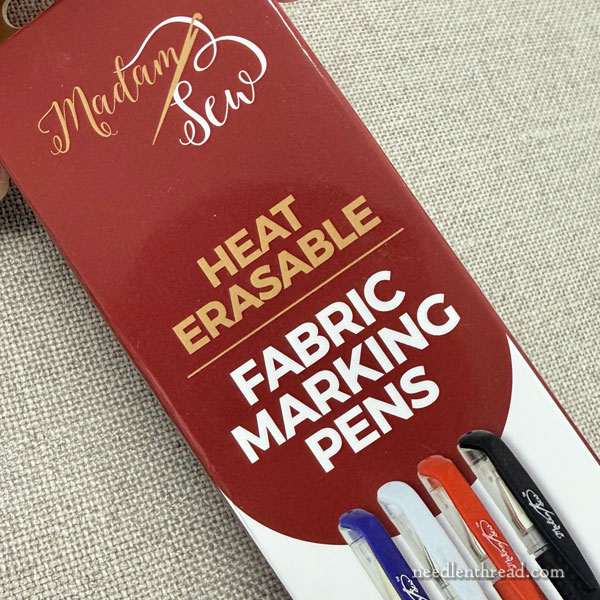
The other white fabric marking pen comes from this set of four pens from Madam Sew. They are also heat erasable.
First Obvious Difference
The first obvious difference for me between the two pens is the difference between the writing tips. The Madam Sew pens produce a finer line than the Clover pen.
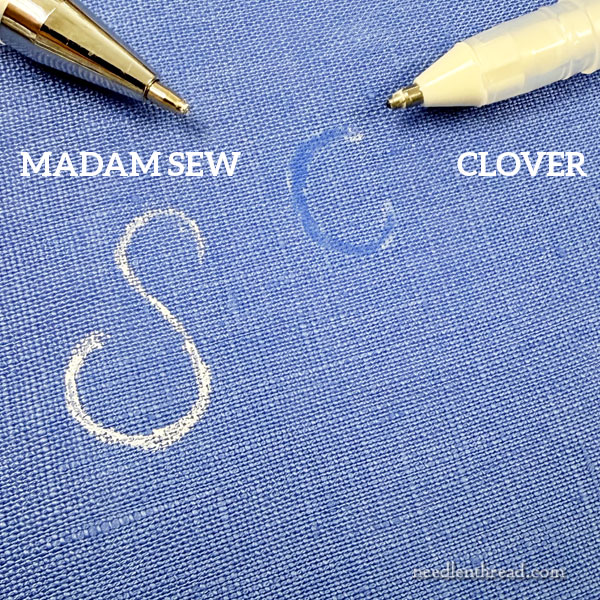
I’m not actually transferring designs here for a comparison. I’m just drawing them free-hand.
On the right, you can see what came of my “C” with the Clover pen. Not much. I re-drew the C a couple times, trying to get it to show up white, but all got was the base alcohol or whatever it is that forms the foundation of the “ink” that comes out of the pen. Eventually, I could see a bit of dusty white, but certainly nothing precise or clear. It’s not what I’d want for an embroidery line transfer.
On the left, you can see the S from the Madam Sew pen. It’s much better. I found myself re-drawing over it, to get a nice, bright white line, and that’s why it thickens up at the base.
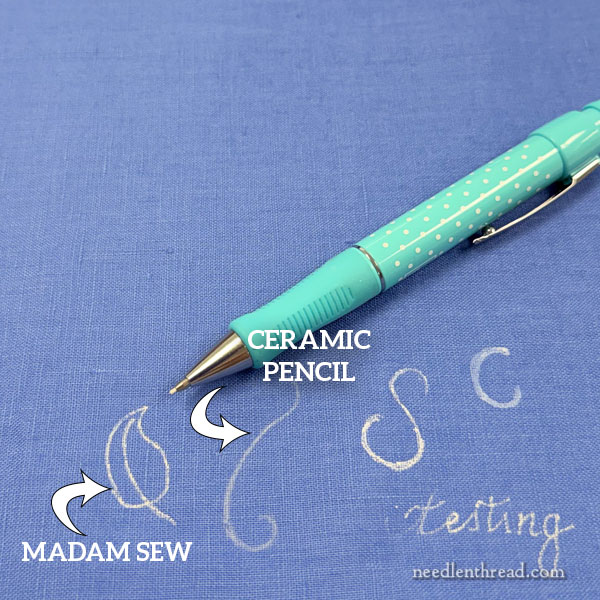
Over on the right in the image above, you can see the thicker, dustier “C” that eventually showed up with the Clover pen. You can also see the S to the left of that, from the Madam Sew pen.
I also doodled a little swirl with a white ceramic led pencil. I like these types of fabric-marking pencils, and they’re often what I’ll use to connect prick-and-pounce lines on dark, high thread count, smooth fabrics like the silk I’m using for this sample. (We’ll talk more about fabrics below because, to make things more complicated, the fabric you use makes a huge difference on how these pens work!)
And then that little leaf on the far left is also drawn with the Madam Sew pen.
Of the two pens, I like the Madam Sew pen best.
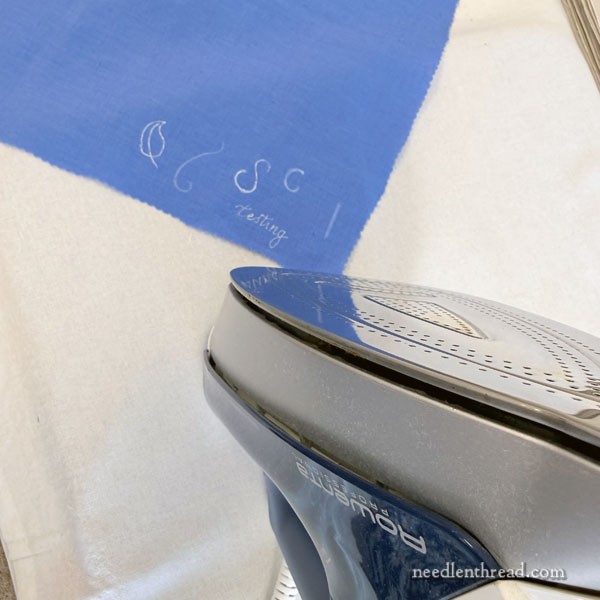
As mentioned, the pens are heat erasable, so we may as well break out the iron and see what happens!
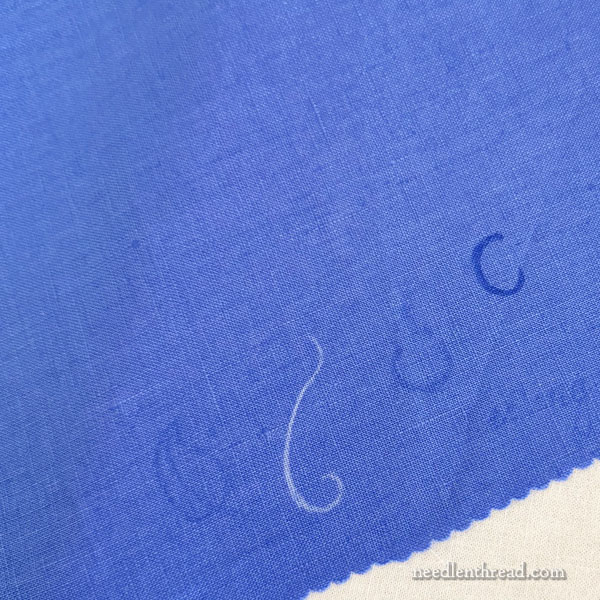
The white swirl on the photo above is from the ceramic pencil. It is not heat erasable – but I knew that.
You can see where the leaf was on the far left, just barely, and where the S was, too, just barely. These are from the Madam Sew pen.
The C on the far right – from the Clover pen – is highly visible, even after the fabric cooled. The dusty white is completely gone, but some kind of residue from the pen contents remains clearly on the fabric.
About Fabric
These pens that behave like gel pens work best on smooth, tightly woven, very high thread count fabrics. They don’t work well on textured or bumpy fabrics, like linens that are lower thread count or that have a slightly more open weave and rounder threads. If they have to bump over the fabric too much, they just don’t do a great job. You can kind of lightly sketch over the weave and get a bit of a hairy transfer line, but it isn’t a great approach if you’re wanting a clear, fine line.
They’d work ok on cottons like Kona cotton or muslin (calico), or on silks and the like. They don’t work so great on lower count linen and the like that have some texture to them.
They’d also work ok on denim.
The Upshot
I had much better luck with the Madam Sew pens, and not great luck at all with the Clover pen. Perhaps the Clover pen was old (I bought it new for this, though). Who knows? But I’d personally give the Clover pens a miss in the future and go for the Madam Sew pens, even though they are sold in a set of four.
You can find both pens through sewing and quilting stores online – just use your internet browser and search for them if you think they’ll be The Thing to solve your dark-fabric-transfer difficulties.
Other Options
There are other options for dark fabric transfers. Personally, I tend to use prick and pounce accompanied by white (or yellow) ceramic chalk pencils, or, on long-term, larger, “serious” projects, I’d use prick and pounce and paint (with a very fine paintbrush).
I hope that gives you some ideas for your dark fabric transfer questions. When I get a chance, I’ll try Bohin’s transfer veil with the Madam Sew white pen, just to see if it will work at all. I don’t hope to get a really good transfer from it – but it doesn’t hurt to try!
Holly & Evergreen!
Our Holly & Evergreen full kits (pre-printed towel, floss, needle, instructions) are back in stock! If you’re wanting to get ahead on some holiday stitching, grab yours now while we have them! 🙂
We also still have just a few Butterflies! books and Hand Picked Collection 7 in stock, as well as The Four Seasons Casket. Once those are gone, I don’t think we’ll be re-stocking them before Christmas, so if they’re on your radar, you’ll find them in the shop now!
More soon! Hope all’s well with you!
Leave A Comment