March 18, 2022
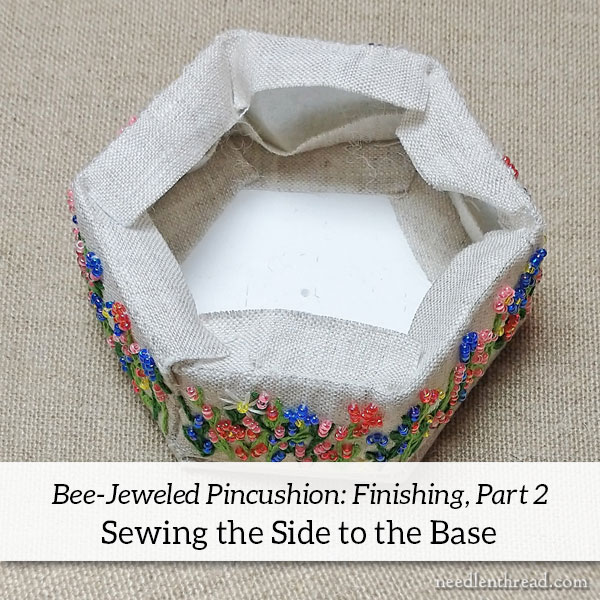
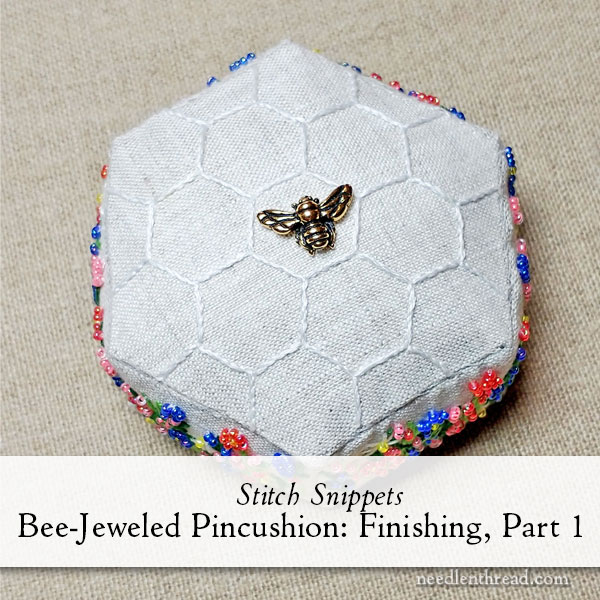
Bee-Jeweled Pincushion, Finishing 2: Side to Base Construction
Today, we’re going to continue with the finishing instructions for the Bee-Jeweled Pincushion project, and we’ll just jump right into it!
If you want the backstory, or the previous step in finishing and constructing the pincushion, check out this article, where we started the finishing process by preparing the embroidered fabric, cutting it, and preparing the base of the pincushion.
Today, we’re going to prepare the side strip and sew it to the base.
It is important to read all the way through the instructions, making sure you understand the sequence of steps, before you start. Please read and don’t rely solely on the photos. Some steps are not shown in the photos because they are easily explained (and there’s simply not space for every move), so you have to read the instructions to follow all the steps.