Blackwork is a versatile hand-embroidery technique that involves relatively simple stitches for a nice effect. I got it into my head recently that a blackwork Christmas stocking would be a pretty thing. At the same time, I was playing with the concept of embroidering on velvet using water-soluble stabilizer to transfer the pattern. So I decided to combine the two ideas – blackwork, velvet, water-soluble stabilizer, and see what would happen.
Now, this project is not a “traditional” blackwork project, although the cuff of the stocking will be in white linen with “real” blackwork on it. I like the filling designs in blackwork, so I wanted to play with one of them on the velvet stocking.
This particular design comes from The Blackwork Embroidery Archives, with designs by Paula Katherine Marmor, who generously gave me permission to show it here.
I took the design into photoshop and duplicated it in layers, so I could build a large enough pattern for the stocking. Then I dropped the stocking shape in as a layer, selected it, removed the excess pattern, and here is the result, which I had to touch up a bit. You can click on it to get a larger version.
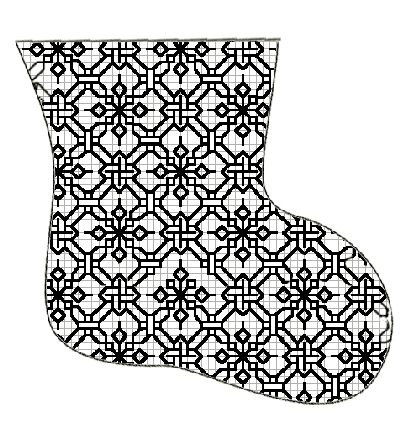
I printed the design, and cut my velvet and solvy to fit a hoop. I traced the stocking design onto the solvy with a permanent marker (I suggest using a very fine tipped macro art pen). I mounted the velvet and solvy in the hoop and basted around the outside shape of the stocking.
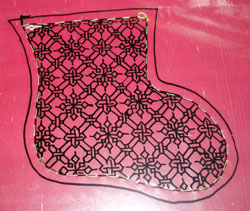
Then, using two strands of gold soie d’alger (any gold embroidery floss would do, but since I had this on hand, that’s what I used), I backstitched over the pattern. Normally, the Holbein stitch is used in blackwork, and on the linen cuff, I will be sure to use it. But I figured, since this will be lined, no one will see the inside! Lazy, I know…
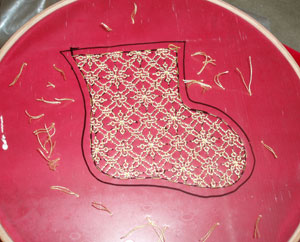
I stitched the whole stocking over the solvy. By the way, contrary to my previous post on experimenting with this stuff, I do find that, with heavier fabrics, using the Ultra Solvy is a lot easier than using regular Solvy! I also find it’s easier to trace the designs on, since regular Solvy is a lot like working with thin plastic wrap.
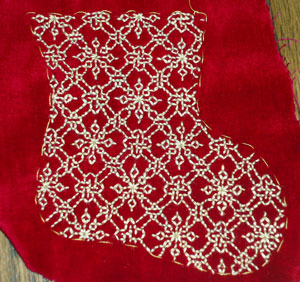
I soaked the fabric and removed the Solvy, and, again, found I had to scrub lightly to get rid of the Sharpie pen. I mentioned this in the second part of my earlier experiment – and I reiterate: don’t use a Sharpie!!! I think it’s just too much ink.
Here’s a close-up of the design. The stitching is not super-duper accurate – part of that was a bit of carelessness, and the other part was that I was looking for an “effect” rather than mechanical accuracy.
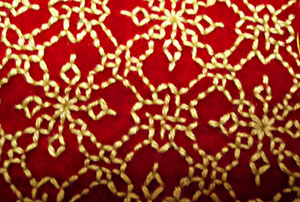
The next step is to finish the cuff, which will probably take me all week. Once that’s done, I’ll sew the cuff to the stocking front, and cut out some lining and a backing, and put the whole thing together. I’m thinking about embroidering an identical back…. but I haven’t gone beyond thinking about it yet.
This was a fun, easy, no-thought sort of project, and, since it’s backstitch, it works up pretty quickly.
If you want to try working with some pretty blackwork designs, do visit the Blackwork Embroidery Archives.


This stocking is gorgeous! Do you have a photo of it finished with the white cuff and blackwork?
BTW, thanks so much for the stitch tutorials. They make learning so much easier. I can’t imagine how you were able to stitch AND film what you were doing at the same time!
Thanks!