Oh wow! This embroidery project was fun! I finished it Saturday, which means it took me less than a week to get ‘er done, embroidering in little snatches here and there between work and whatnot.
This is the peony-type dahlia needlepainting kit from Tanja Berlin. If you’ve never seen her work or checked out berlinembroidery.com (her website), do take a look. I think kits like this are a great way to polish your skill in a certain technique. Not only does Tanja offer the needlepainting kits (which are really gorgeous), but she also offers kits in whitework, blackwork, Jacobean (traditional and modern), goldwork, shadow work, and appliqué.
I’ve worked a few of her kits before, particularly a couple birds – I put photos of the Red Poll embroidery kit online, but unfortunately didn’t photograph the other one — but that’s ok. I’ve got another one of her birds to do before November (for a Christmas present). Come to think of it, I have her iris kit and her squirrel kit, too…. and two more birds, the wren and … ? another one. I had planned on making those “fun” summer embroidery projects, but the summer was just way too hectic!! Now that school is underway, I find I need “little” manageable projects if I want to keep plying the needle, so these are perfect.
Anyway, back to the flower….
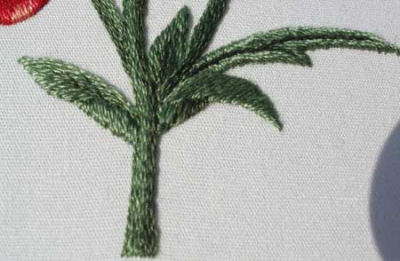
Here’s a close up of the stalk. The colors in the kit are a little darker than the colors in the photo that comes with the kit, but I LIKE the darker colors better!
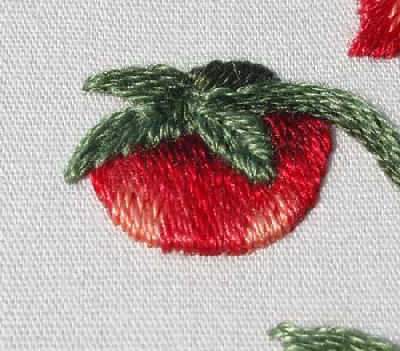
This is the left bud…
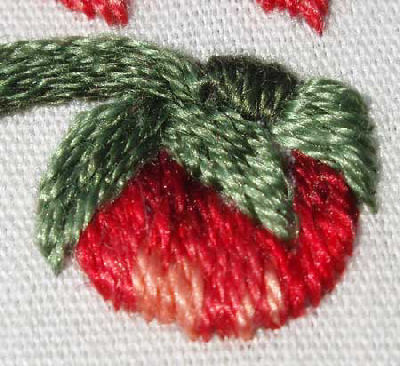
And this is the right bud. There’s something amiss on the top, right side in the back – that satin-stitched dark green leaf is not quite right. It’s not so noticeable farther away!
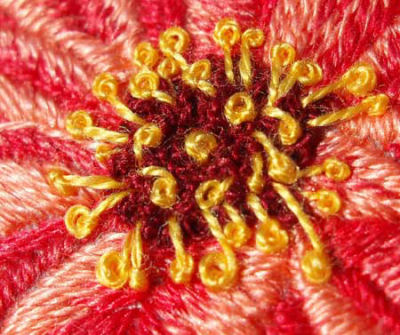
Here’s the center of the flower. The dark background is made up of French knots, crowded together. The yellow stamens are elongated French knots, or pistol stitch. I kept the wraps rather loose, as I wanted the circles of the French knot at the end of the pistol stitch to show up. If I kept them tight, I found they sunk into the design too much.
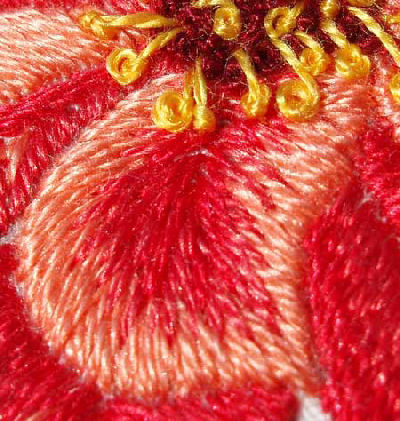
This is a close-up of the front petal that was kind of crumpled. After I embroidered it the second time… I liked it better!!
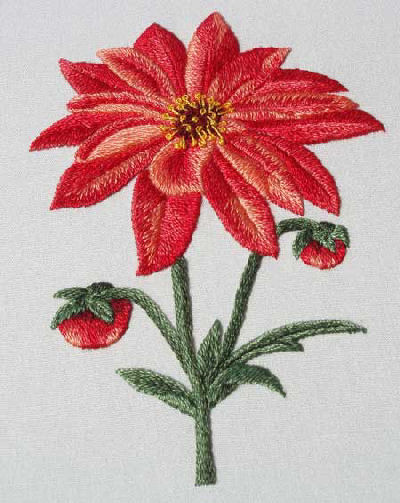
And this is the whole thing. Yes, there are a couple spots that are a bit too “stitchy” looking, but overall, I like the little fellow!
I’m ready to move on to the next “little” project…. ??? I’m not sure what it will be yet… I was thinking about fiddling with a few goldwork techniques before starting up another of these kits. I’m in the mood for couching!


Wow! this looks picture perfect. You’ve done a great job! Now my fingers are itching to start something like this. Keep it up and thanks for sharing all the information.
soooooooo cute and fine
Hello Mary !
Is this done in stranded cotton or silk, or any other thread? How many strands? When working silk shading in stranded cotton how many strands do a good job?
Thank you!
This is regular stranded cotton embroidery floss – one strand (out of the six). Usually, long & short stitch shading comes out much smoother when working with one strand of cotton or silk at a time. ~MC