And yet another example of ecclesiastical embroidery – this time, a superfrontal, which hangs on the top front edge of the altar, but does not extend to the ground. It usually kind of “caps” the frontal, which would be a cloth that covers the entire front of the altar. In older churches with very ornate altars, frontals aren’t necessarily used, but sometimes a superfrontal still is, for decorative purposes. If it’s custom made for a particular altar, it would not cover any of the carvings or paintings on the front of the altar, but would hang just above them.
This particular piece is quite long. It has the Pelican embroidered in the center, motifs with text evenly spaced on each side, as well as medallions depicting the four evangelists. Because it was in a display case, I was only able to photograph the visible parts.
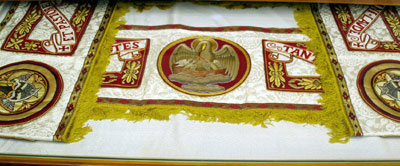
This is the whole piece, folded in the display case. I love the red and gold on white.
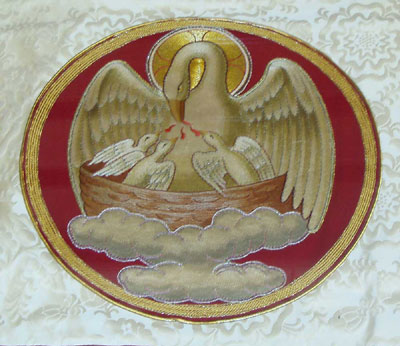
Here’s the central image. If I recall correctly, the pelican and nest were embroidered, then appliqued onto the red background, and then the whole piece is appliqued to the white fabric.
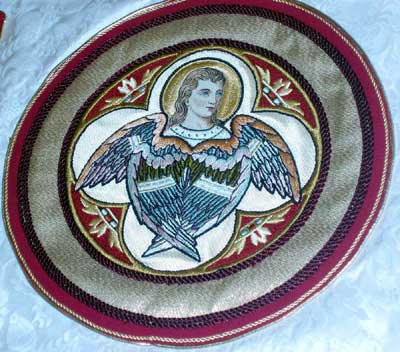
One of the embroidered medallions of the Evangelists – St. Matthew, I believe.
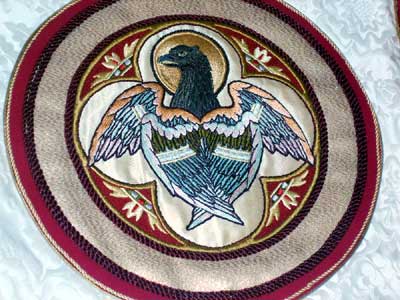
Another symbol for one of the Evangelists – St. John, I think. Well, if that’s an eagle, anyway! It’s not an ox or a lion…
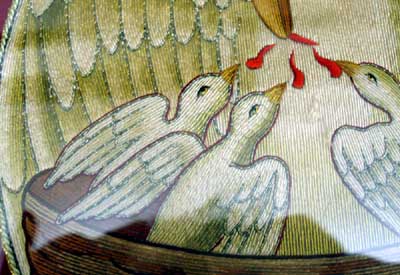
Getting a little closer on the pelicans, you can see the long lines of split stitch.
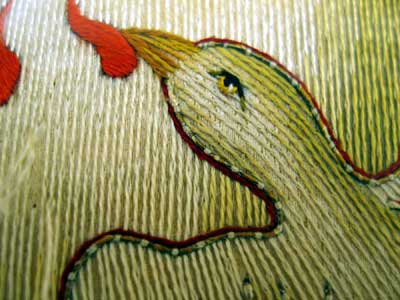
And yet a little closer…
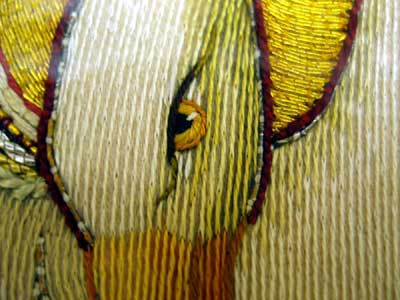
And closer, still…
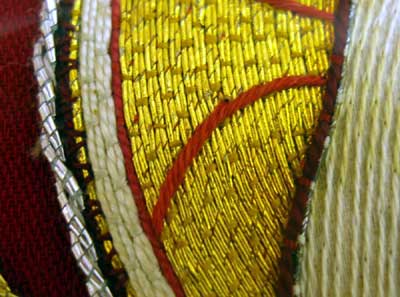
A close up on the couched gold in the halo – it looks like imitation Japanese gold again.
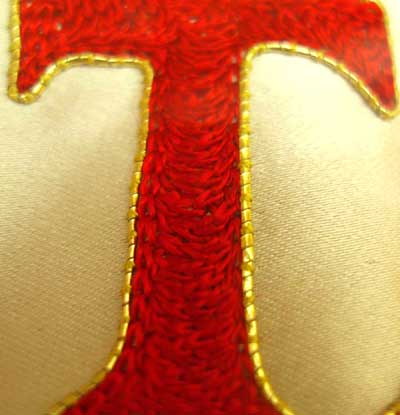
This is from some of the lettering on the rectangular motifs you can see in the first picture. The text is from the hymn “Tantum Ergo.”
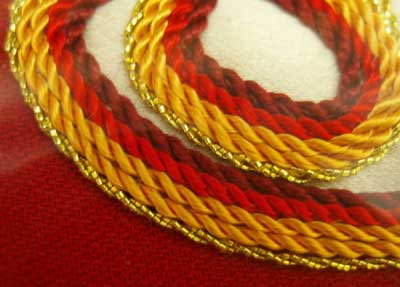
A close up on some of the cording used as edging around the appliqued areas.
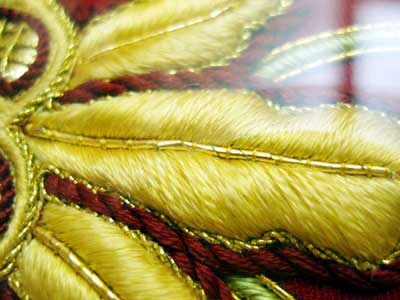
This is a close up on the rectangular motifs, over which the text banners kind of float. Beautiful padded satin stitch.
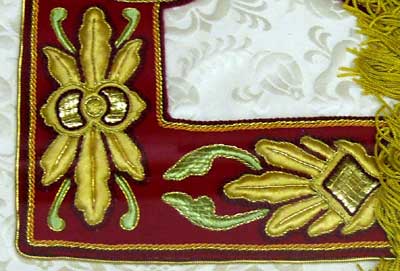
And here is the corner of one of those rectangles, from a little farther away so you can see how the design works.
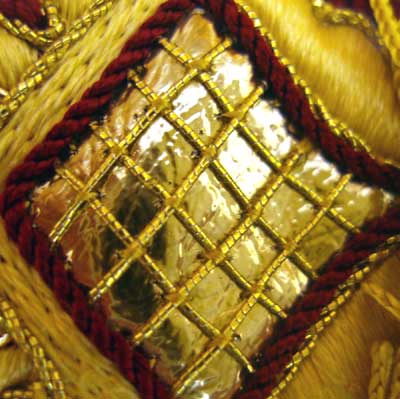
And a close up on what I think must be gilded leather in the center of those little designs around the rectangles.
And I think that about does it for ecclesiastical embroidery for a bit! I don’t know if you enjoy looking at these photos, but I sure do find the work amazing. The techniques are certainly transferrable to secular embroidery as well, so maybe you’ll be able to glean some ideas or find some inspiration in the photos!
I hope you enjoyed them!
I wish you all a very happy Easter, and I’ll be back on Monday with a needle comparison and a great find in (really nice) embroidery needles.


I did indeed enjoy them very much!
Thanks so much for all the great detail shots, especially.
Happy Easter, Mary!
Thank you for posting these stunning examples of embroidery!
It looks to me that some of the shading is achieved by the ground fabric having been painted before embroidering. This has been a common practice in the past. As to yesterday’s comment regarding padding, there very well might be some padding such as we do under satin stitch or even under gold work, but a good deal of the texture (in my humble opinion) is probably achieved by expert embroidering skills – manipulating the stitches to begin and end in such ways to achieve that padded and shaded look.
However, PieceWork May/June 2006 has an article titled “The Art Needlework of the Sisters of the Order of Saint Benedict”. Listed in the stitches used for St George and the Dragon tapestry featured in the article is “padding” (along with french knots, couching, satin and free-form).
Mary, thank you for posting these gorgeous examples. I always love seeing beautiful work and historically I would say the churches sponsored some, if not most, of the best work, at least that which is still in existence.
Years ago there was an exhibition at a local museum of works from the Vatican that were simply unbelievable. The fineness of the stitching and goldwork was exquisite. It’s too bad the names of the nuns who did the work are unknown.
Incredible embroidery detail – I’m studying every small image. That pelican would make another great needlepoint!! Pretty one. When will yours be finished? next month? LOL
Thanks for the comments, all!
Judy!! I haven’t even had a chance to go thread shopping yet! But I’m going to write up a post about the project as SOON as I do! So many things have come up in the last three weeks, that the 3 hour trip to the needlework shop has been out of the question. 🙁
SOON!!
Mary, about your question re: padding. Since there were much liberties taken with this piece of needlework, including an abundant amount of applique, my guess would be the Trapunto form of stuffing-which is to turn the piece over, cut a slit and overstuff key areas, close the slit.
Wow! Unbelievable! Is that some kind of laid-and-couched stitch on the green stylized leaves I see in the “rectangle corner” picture? It must be padded satin stitch, but there seems to be something stitched on top of that.
I really like the lattice on the gilt leather. The leather tends to have an overpoweringly sheen, but the lattice breaks that up pretty effectively and adds interest.
Thank you so much for sharing your pictures and information with us!
-Christiana
I am part of a church group that makes silk hangings and vestments and repairs/remounts old ones. One of the padding techniques being used at the moment, is to build up layers of felt to the desired height, and then stitch over this. The work in progress at the moment is couching gold thread over the felt pad. The felt pieces start with a small piece stiched in the centre of the design, topped by slightly larger ones until the desired size is achieved, and the top stitching covers the felt.