


For stitchers who are interested in adding sparkle to their embroidery using beads, you’ll quickly find that some kind of bead tray is a good thing to have on hand.
A bead tray is pretty much just what it sounds like: a tray (or something similar) where you put your beads while you’re working with them.
It keeps your working beads confined, so that they don’t roll about on the table, but it also allows you to easily access them with your needle.
I imagine bead embroiderers who have been at the whole Bead Thing for a long time have definite preferences for a work tray. I’m not super particular about mine – at first, I simply used the lid of a small gift card tin. If I ended a work session, but I wasn’t finished with the beads in the lid, I’d just put the base of the tin upside down into the lid and my beads would be covered and contained until the next session.
But I noticed that, when I was working with just the tin lid, the beads had a tendency to be very active. They’d scoot and slide, pop away from the needle, and sometimes, with a shiver or a shake, they’d dance a jolly jig. Give the lid a bump, and they’d fly. Ornery, I tell you!
At first, I was going to line the inside of the tin with some velveteen, in the same style as this goldwork tray that I use for cutting and containing real metal embroidery threads. Any fabric with a nap (like velvet or velveteen) – or even just a rough surface (like felt) – will go a long way to keeping beads calm and easier to manage.
But then, instead, I decided to get tacky.

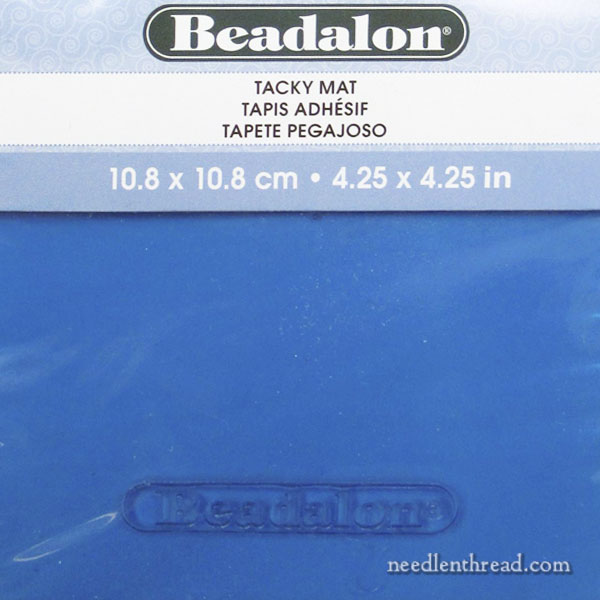
These tacky bead mats by Beadalon are pretty interesting. They’re made from a flexible, translucent, ocean-blue silicon (or something similar) that has a perpetually tacky surface, but not a sticky surface that leaves residue.
This particular mat is not the type of mat you’d use as a stand alone bead mat. It needs to be inside something; otherwise, it will become a dust and grime magnet pretty quickly.
Apparently, the mat fits perfectly inside a dismembered CD jewel case. But I didn’t have a jewel case on hand. And I don’t like jewel cases, anyway. They invariably crack on me. They’re not all that attractive. And the lid is attached to the case, which means that the “footprint” for the case, when it’s open, is twice the size.
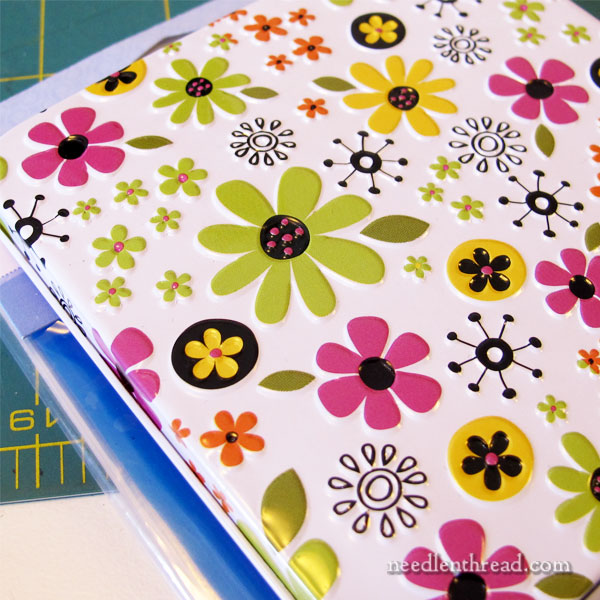
Enter: the handy-dandy gift card tin.
I always have gift card tins on hand in my workroom. I use them for storing and organizing small tools; I use them for little portable tool or project boxes (they tuck easily into a project bag); and I use them for gift cards for birthdays and whatnot. They’re just the best little things to have on hand! They come in various sizes and are available at pretty much any craft-related store. Sometimes, they’re rectangular; sometimes, they’re square or round. The rectangular and square are the most useful. The round tins don’t store and stack as easily.
I foraged about in my workroom and came up with a square tin, just smaller than the tacky mat. The tin is less than 1/2″ deep and about 4″ square.
I removed the mat from the packaging, but I didn’t remove the protective plastic covering each side of the mat.
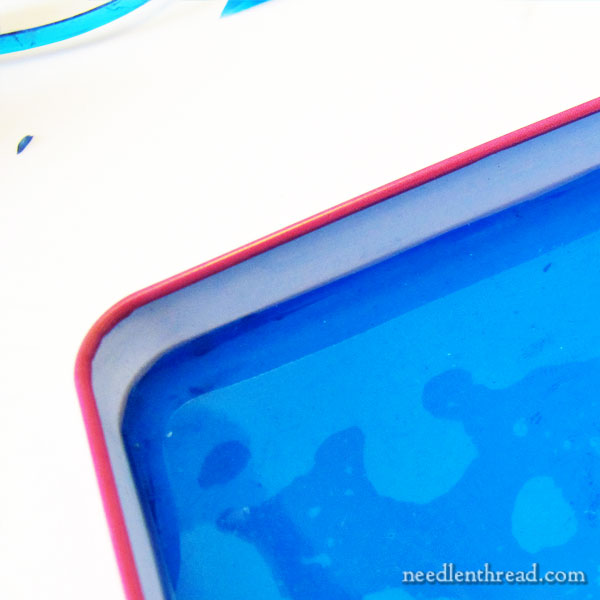
Taking sharp craft scissors (a craft knife won’t work – it doesn’t slice through the substance; you definitely need the double cutting blades of scissors here), I trimmed the mat in small increments, rounding the corners of it, too, until it fit snugly inside the base of the tin.
Then, I removed the protective plastic covers from each side of the tacky mat (both sides are tacky) and situated it cozily inside the tin. This required a little manipulating, but eventually, it was all tucked in. The tacky underside keeps the mat sticking in the tin, and the tacky top surface is where the beads stick.
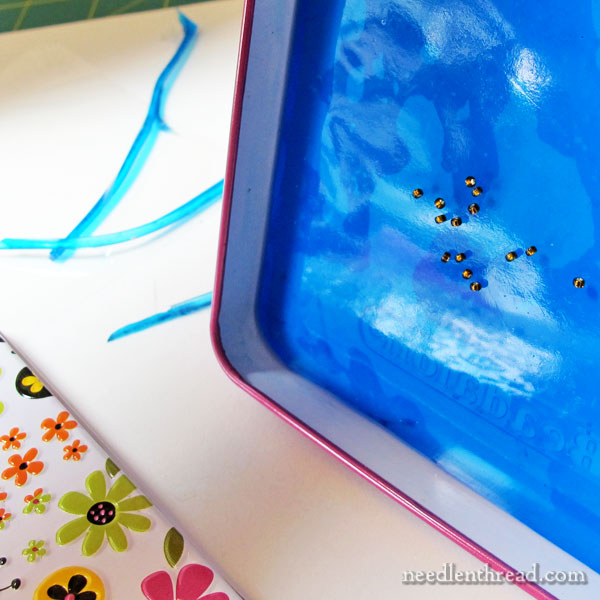
And golly, do the beads ever stick!
Again, there’s no residue on the beads at all. But they do stick like the dickens to the mat.
The Advantages of a Tacky Bead Mat in a Tin
There are lots of obvious advantages to this approach to a bead try:
There’s no rolling about of beads.
I can use more than one kind of bead at a time and they’ll stay separate on the mat.
There’s no accidental spillage.
No bead chasing with the needle. They stay put during extraction!
I can close the tin and leave the work surface as is, to return to it the next time.
It’s portable and the beads don’t shift. I can slide the tin into a project bag and open it up 100 miles away, and find all the beads in the same spot.
It’s easy to use, if you’re not working at a table. You can use it while you’re sitting on the sofa, for example, and not have to worry about tipping the beads onto the floor.
The closable tin keeps the surface clean.
The Disadvantages of a Tacky Bead Mat in a Tin
And there are some disadvantages, too:
The beads really do stick, so you have to get used to the leverage it will take with the needle to remove a bead. It’s not hard to pick them up (it doesn’t take any muscular strength or anything!), but it is different from picking them up from a cloth surface or a smooth, hard surface.
It’s also slightly more difficult to pick up a line of beads on the needle at one time, because, when you initially dump the beads on the mat, they don’t necessarily dump out in a nice neat line. Again, it’s not hard to do, but it’s different from picking up a line of beads from a different type of surface.
That weird rubbery surface takes some getting used to – the needle pokes into it, rather than sliding off it, as you pick up beads.
Finally, the real disadvantage (the others just take some getting used to) is the fact that, when you’re finished with a bunch of beads but you have leftovers on the mat, you can’t just pour them into a container. You have to pick them off the mat.
Overall…
Overall, I like my little portable bead tray! It’s convenient, it’s attractive, it’s useful, it’s portable, it’s compact, and it does a good job keeping my beads in place while I’m working with them.
Where to Find
If you have a local needlework shop, check there first. Since beads are used in all kinds of embroidery, including cross stitch and needlepoint, local cross stitch and needlepoint shops might carry some beading accessories.
I checked in person at JoAnn’s, Hobby Lobby, and Michael’s, which are the three big craft stores within relatively easy driving distance of me, and I didn’t find the mats in stores. They’re also not listed on their websites, though they do carry other Beadalon products. You might be able to ask them to special order the mats at individual stores.
You can find Beadalon tacky bead mats online through Amazon, and it’s also available through bead shops online, like Artbeads, where it happens to be on sale right now.
Like what you see?
If you enjoyed this article and you’re looking for more inspiration, information, and instruction on hand embroidery, why not sign up for my daily newsletter?
There are all kinds of reasons to have Needle ’n Thread delivered to your inbox – check them out and sign up today!
Hi Mary,
I have always used the foam bead mats. I took an old small cookie sheet with sides and cut a foam bead mat to fit. Glued it in and use that. The tray is easy to move and everything stays put. I bought a small sticky mat in the cd case to try. I found it difficult to retrieve the beads. My fingers always stuck to the mat as I was trying to take a bead off with the beading needle.
Barbara
Dear Mary
Mary you come up with some great ideas, what a good idea and a great solution to storing beads especially while working with them and convenient if you want to keep them separate and all nicely laid in a very attractive container. The price is very reasonable as well £4.25 on Amazon so very affordable. Thanks for sharing the beadalon mat with us and for demonstrating how to fit it into a small container a really useful tip.
Regards Anita Simmance
Mary,
I hate chasing beads too. Especially if I’m working from a kit that may not have a lot of spares.
Your solution sounds a lot like Tacky Bob. Yes, it’s in a CD case. Nice and light weight, and not too deep. It’s held up well for me — have had it a number of years. And both the inside and the cover are tacky, so if beads come loose, they tend to stick there.
I used to sort beads in Mill Hill kits, until someone pointed out that as long as I could tell the colors apart, I didn’t need to. If I’m using the Tacky Bob, I may make groups by color, to reduce the time looking for a bead.
Don’t remember where I bought mine, but I see it on Nordic Needle and Silver Needle.
Happy stitching!
Since I only use one color of bead at a time, I pour a few into one of those small glass bowls that most people use for measuring out spices when cooking. The beads scoop up the side and onto my needle quite easily. When finished, I just tip the bowl and they roll right back into the bead tube or box (Mill Hill).
I wonder if you can rinse off the tacky mat when it gets dusty. I have a tacky slug toy ( really gross and really cool) that can be rinsed when it gets fuzzy from handling. After a quick rinse, he’s just as sticky as new. 🙂
Hi, Irene – yes, you just rinse it off and let it dry and it retains its tackiness.
Would these mats be good for keeping unthreaded needles in a tin? Or would they be too difficult to pick up off the mat?
Well, I probably wouldn’t use them for that. They’d be hard to pick up, I think. It would work, of course, but I think it would be more trouble than it’s worth. That’s just me, though!
How clever, and not tacky at all! 🙂
You are always inspiring and informative, but this is downright BRILLIANT! Thank you!
Like one of the other commenters, I have a Tacky Bob Adhesive Bead Box. I love it, and so far it has lasted for about 6 months in good condition with almost daily use. I came in really handy when I had foot surgery and had to spend most of the daytime hours for 6 weeks with my feet up in a recliner. I occupied myself with cross stitch and beading. Not only would I drop beads myself, but the cat would jump up on me with predictable results. That’s when I ordered Tacky Bob, online. It saved a lot of frustration.
I’m curious about the Beadalon mat and plan to buy one soon to compare.
Thanks again Mary, for another awesome idea!!
🙂
Mary and readers one thing to consider when you use these tacky surfaces is that a little of the tacky is left on the bead and to be honest I have this tacky attracts lint and dust. Not much but it can be noticeable on darker beads particularly.
I use tin lid and have glued a lining of fleece cotton to it. (Velvet works too-anything with a pile) This stops the beads rolling about and allows you scoop stitch as you go but does not leave tacky residue on the bead.
Mary,
Thanks so much for posting a great idea. Looking forward to trying this as playing seed bead pick-up with beds needed to complete a project is no fun. As always, you and the rest of the readers on this blog have some great ideas. Keep ‘Em coming!
Again, thanks for doing all the research. I just received my bead storage box and
it’s fantastic. The tacky mats are arriving soon, so will add those to my overflowing stash. So glad to read your posts…feel like I’m corresponding w a friend!
Dear Mary,
I never thought of gift card tins for this sort of accessory. I use the various sizes of Altoids tins and the tins gingher scissors come in when I need to make a holder of some sort. Not as pretty, but free, and an excuse to embroider a tin topper!
Kaethe
I like a bigger “box” so I can keep all the implements I need together: I use a beading mat and put it into an 11×14 or 8×10 clear plastic photo frame….the cheap kind that is 1 inch deep and comes with a cardboard box inside it. The frame is really just an open tray. Michael’s has them, but I’ve seen them in drugstores, too. Since there is no lid, this won’t work for travel.
Great post! I love this style and colors. it is а very beautiful. thanks for the idea.
Mary
Your article on the beading mat was very interesting. When I started beading other than adding to an embroidered piece, someone told me to go to the hardware store (Ace, Home Depot, Lowes) and buy paint pad refills. The are either 3.5″ x 4.75″ or long ago I found one 3.75″ x 6″ which I love when there are a number of different beads to have out at one time. They stay put and don’t jump too much. BUT you do have to put them away each time if you have to move them. I use a rubber maid container to put them in with a scissor, my bead scooper, thread and there is room to store the little bags of beads. I also can leave the needle and a spare stuck in the pad. Jineen
These sticky mats can be purchased in the automotive section of many stores. They are intented for dashboard use for a gps type gadjet. Also they are washable to regenerate them when they get dusty.
I so appreciate you sharing the information about the storage system. Will be wonderful to have my beads all in onecollection. About the bead tray, I think I’ll go for the DVD cases with the velour type bead mat inside.
Thanks just what I needed