


The fourth project in our How to Embroider (Blank) series is a bunch of grapes. I shared a brief preview of the project with you a couple weeks ago, when we talked about making preliminary decisions and planning on an embroidery project like this.
Today, for those who want to follow along – or maybe you just want to stash this away for a future project – I’ll give you the design and talk about materials, including an initial color list.
We’ll also chat about what you can expect from the project, and how it is going to progress.
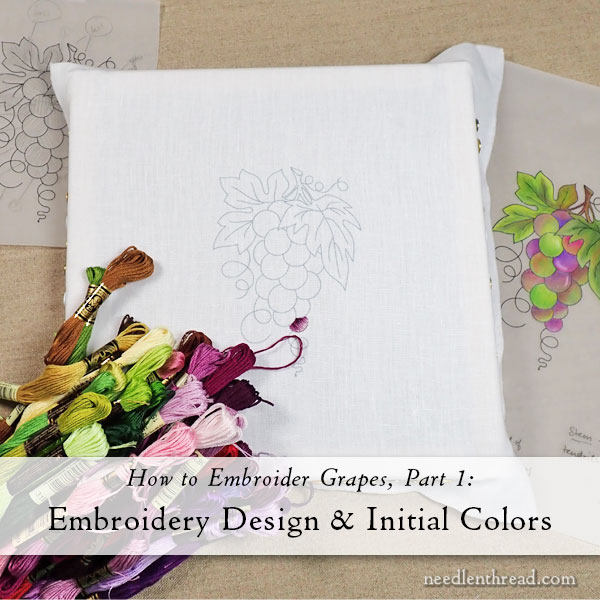
You can see in the photo above that I’ve transferred the embroidery design onto fabric, I’ve set it up on stretcher bar frames, and I’ve heaped a gazillion colors of embroidery floss around it.
The fabric I’m using for this design is a white linen called Tailor’s Chalk, one of the linens found in my White Linen Sample Pack. The Tailor’s Chalk is perfect for this design. It is a high count linen, finely woven, that can support close stitching for surface embroidery. It’s sturdy enough to support the stitching, yet it’s fine enough to trace the design easily.
If you don’t have the same fabric, no problem! You can use whatever closely woven fabric you have on hand, from linen to cotton to silk – or whatever ground fabric you’d like, as long as it will support embroidery that’s fairly densely stitched.
I used Evertite stretcher bars for this version of the grapes. They’re my favorite stretcher bars, because you can adjust them after the fabric is pinned to them. You can read about them here.
You can also use a hoop. If you have this square-round hoop, the design fits perfectly in there. Or you can use an 8″ round hoop. The other version of the design is set up in a hoop. (There are two versions going. You’ll see why as we discuss the project.)
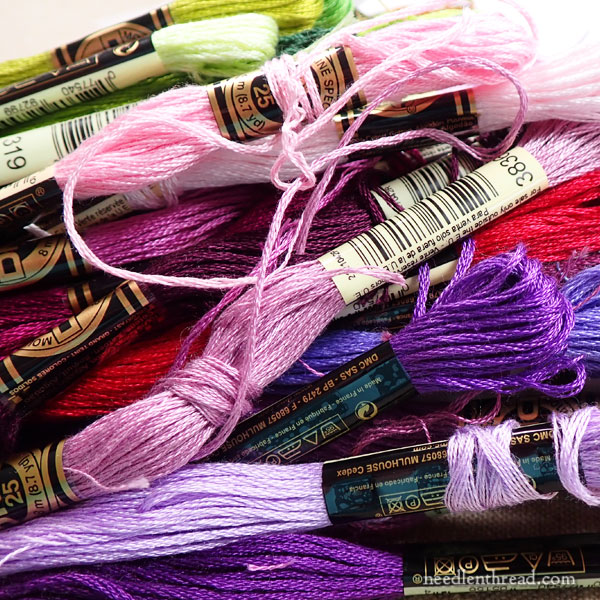
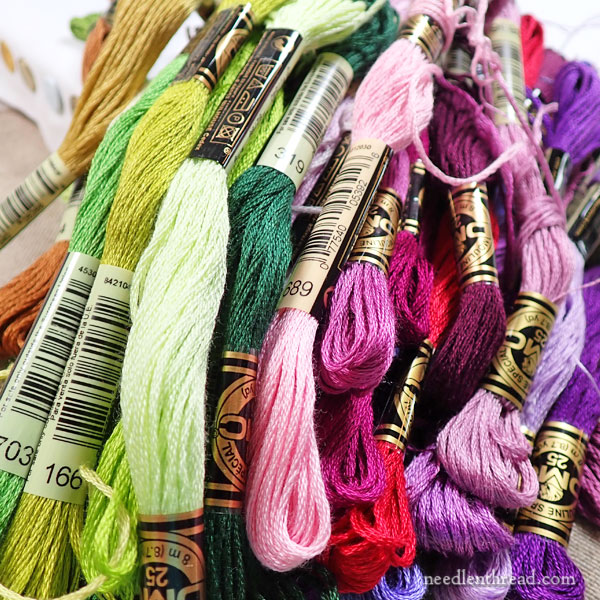
The initial color list for the project includes DMC stranded cotton in the following colors:
Greens: 16, 165, 166, 319, 368, 470, 703, 906, 907, 986
Yellows, Browns, Burgundy: 434, 834, 938, 3823, 3857
Pinks, Purples: 23, 33, 34, 35, 153, 154, 155, 210, 326, 550, 553, 3350, 3834, 3835, 3836, 3837, 3688, 3689
Note: I will most likely not use all these colors. Or I will use some on one version but not on the other. Or… well, maybe I will use them all! But I don’t think so.
When I start a project like this, I pull many color possibilities for the initial choices of color. As the project progresses, I may find that I don’t need several of the colors. I may also find that I need a color I didn’t initially pull.
So you’ll have to consider the color choices quite fluid at this point, since neither version of the design is finished yet.
Why Two Stitched Interpretations?
It may seem odd that there are two stitched interpretations of this design. The fact is, they may not both end up complete. (Or they might! Another fluid point!)
Since the purpose of this series is to show you various possibilities for interpreting these designs in embroidery, there are different approaches that can be taken. With the grapes, I saw right away that a sampler approach (like we did on the wheat, the strawberries, and the daisies in this same series) would not yield a coherent-looking end product.
Yet I think it’s important to show you different possibilities for stitching these grapes, or similar designs in general.
When all is said and done, however, I like to have a coherent-looking piece of embroidery, and I want to show you how the grapes could be stitched if you took a singular approach to the whole design.
So one version will be sampler-esque, with many different techniques combined in the one grape bunch. This version may admittedly look somewhat odd, due to the small and close proximity of the individual elements of the design.
The other version will be a singular approach across the whole design.
Pace & Timing
I’ll be going back and forth on presenting the different versions of the grapes to you, and so the project will take a little longer than the other three in this series.
And because there are so many other interesting, exciting, engaging, and curious things to talk about in the realm of embroidery, the articles will be spaced out and interspersed among the normal blog topics that we touch on here on Needle ‘n Thread. So please don’t expect each article over the next several weeks to be devoted to the grapes, and please be patient as we work through the project.
This will give you time to keep up or to catch up, if you are following along. And it will provide other delectable content to those who aren’t stitching along.
As the project progresses, members over on Patreon will find all the lessons in an easily downloaded PDF over there on my members page. Today is simply the pattern, though, and it’s available below.
The Design
Without further ado, here is the handy-dandy PDF printable of the grapes design:
A Bunch of Grapes – embroidery design (PDF)
If choose “no scaling” “100%” or “actual size” in your printer dialogue box, the grapes should print at the size I’m using in this tutorial, which is approximately 5″ tall and 3.5″ wide at its widest point.
Looking for More?
This project will be indexed here, with all the other How to Embroider (Blank) tutorials. So far, we have stitched a bundle of wheat, some juicy strawberries, and some delicate daisies. You’ll find those tutorials listed in the same index.
Hope you’re having a jolly week. I’m still in the throes of overhauling and organizing on the home front! More soon!
I love the start of a project. Just looking at those luscious threads and the fabric all ready to go makes my fingers tingle. I’m looking forward to seeing the grapes growing.
What size Evertite stretcher bars are you using for the grapes ? Is a grounding fabric necessary with the Tailors Chalk linen?
I appreciate your help.
Mary
I’m not using a backing fabric on this particular version. The design is about 5.5″ high and 3.5″ wide, so if you’re using stretcher bars, pick a size that fits the design with some room around it – how much room is going to depend on how you’re planning to use your finished embroidery or how much fabric you’re stitching on, etc.
Dear Mary
I’m really looking forward to another great series on How to Embroider and as this is bigger then the others projects it will be more interesting to see how it develops and what stitches you will use and the different colour threads will be interesting. I’m also looking forward to the other interesting embroidery related projects you have for us. Good luck with the overhaul of the studio I hope you manage to finish it soon. Thank you for sharing with us the beginning of the grape project and for the list of all the possible threads you you might use.
Regards anita Simmance