This morning, I would like to introduce you to Sweet Marguerite and tell you all about this little Stitch Snippets stitch-along project!
I’ll tell you what we’ll learn during the course of the stitch along and what you can expect as the project develops here on the website, including kit information, scope of the project, and other useful information.
After we’ve discussed Sweet Marguerite, I’ll share a few other bits that I think are pretty exciting, too – especially news about our new line of beautiful and functional needle minders!
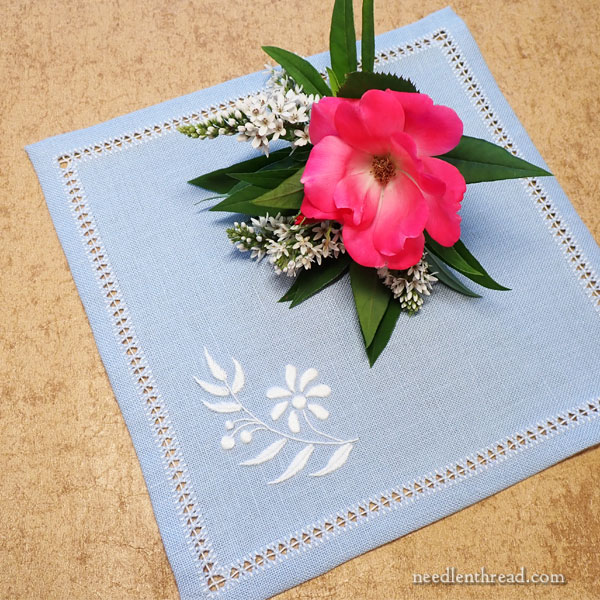
Sweet Marguerite is a small accent linen that features a little daisy element in whitework embroidery and a decorative hemstitched edge.
The goal of the project is to learn a few notable techniques that will further your embroidery skills and that will be useful on your own future embroidery projects.
You’ll learn some important points of whitework embroidery: transferring the design in a guaranteed-to-be-invisible way, working with cutwork thread, achieving good results with satin stitch, and adding other simple stitches that bring texture and interest to whitework. All of these learning points can be applied to other types of surface embroidery as well, so even if you decide that whitework isn’t your Thing, no problem – this little taster will give you skills that commute across all kinds of embroidery techniques!
You’ll also learn how to prepare and finish this small accent linen with a neat hem with mitered corners and decorative hemstitching. We’ll withdraw threads, turn a neat hem, miter the corners of the hem invisibly, work the decorative hemstitch, discuss other approaches to simple decorative hemstitching, and talk about how this type of decorative finishing can be applied to other embroidery projects.
And we’ll also discuss the back of the work. This is a big question that comes up when embroidering accent pieces like this for the home. “How do you cover up the back of the work so that people can’t see it?!” No problem – we’re going to talk all about the back of the work!
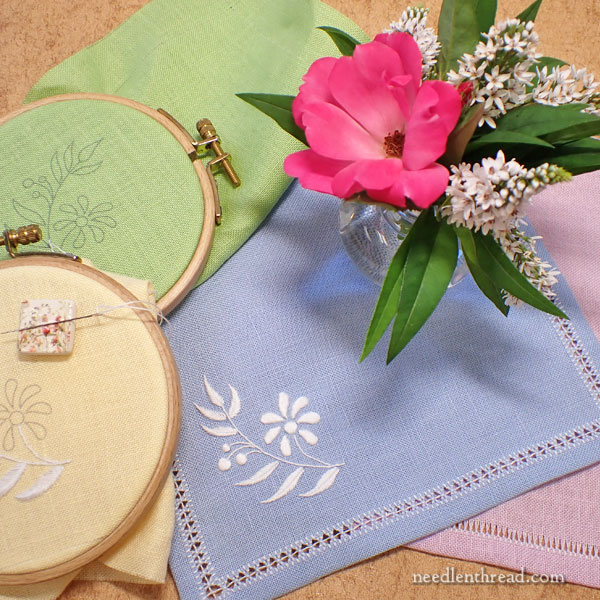
For Sweet Marguerite, I chose a linen that is not only beautifully made and perfect for this kind of work, but that is suitable for beginners to these types of techniques. While we could use a much higher count linen and all go mad together, instead, I chose a relatively low count linen (fewer than 40 threads per inch), to make it easy to learn the techniques. But it’s also a linen that provides a good, solid ground for the embroidery work.
The kit will be available in four colors (if you have my colored linen sample pack, you are familiar with the four colors), so that you can choose your favorite among the colors. That said, there is a limited quantity of each color. If one color runs out first, you might prepare yourself mentally for making a second, third, or fourth favorite choice.
Because the point of the Stitch Snippets projects is more in the learning that goes along with the project, view the color choices as somewhat arbitrary. Mainly, you’re working the project to learn techniques. If you love what you learn and want to further pursue the techniques on other decorative linens, then that’s when you go forth to find your ideal color, whether it be a pristine white linen, a natural rustic linen, a sleek grey, a pale rose – so many options!
Sweet Marguerite is a small project and not too complicated, so it will work up fairly quickly compared to some of the previous Stitch Snippets! Still, you’ll learn a lot during the stitch-along, and the end result is no less satisfactory and no less charming than our previous little projects.
The kit contains a cut of high quality Italian linen in a choice of celestial blue, spring green, buttery yellow, or pink-violet; thread; needle; tissue paper; the design printed on paper (so that the size is correct); and the perfect tweezers for drawn thread work (and for picking out mistakes, incidentally – I use these tweezers all the time for picking out my mistakes!). The tweezers will become a good friend – a long-lasting tool to keep in your embroidery workbox. You’ll need to provide a hoop (4″ is ideal) and a pair of small, sharp embroidery scissors.
Kit Launch
The embroidery kits for Sweet Marguerite are available here now!
Other Goodies
So that you can take advantage of saving on shipping, in case you’re looking for other embroidery doo-dads, I want to let you know that we are also launching some other products this Friday at the same time.
All these items will be available here in my shop starting Friday, so that you can plan ahead if any of them interest you.
Needle Minders
First, there’s our own line of needle minders! I love, love, love these things – first, because they’re a great tool to have on hand whenever you’re stitching, and second, because they’re just so pretty!
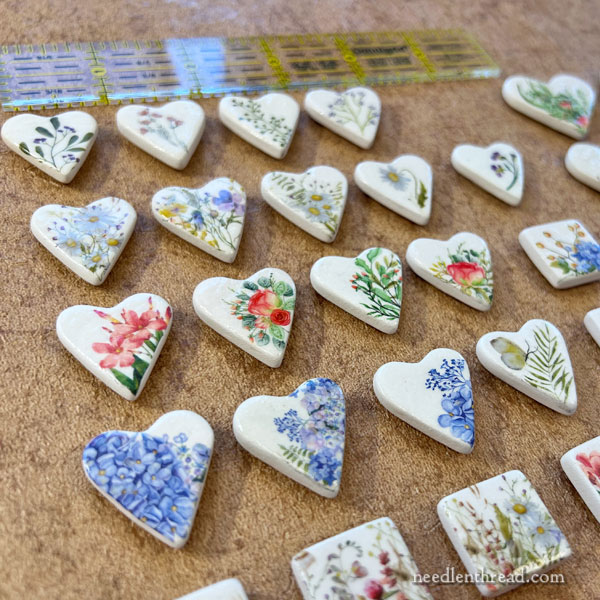
These are fine bisque needle minders in different shapes (small hearts, large hearts, small squares, large squares, circles, and hexagons) adorned mostly with floral elements, sprigs and twigs, wild flowers, individual flowers, bunches of flowers, blue hydrangeas (I love hydrangeas!), roses, lilies of a sort, occasional butterflies or a dragonfly.
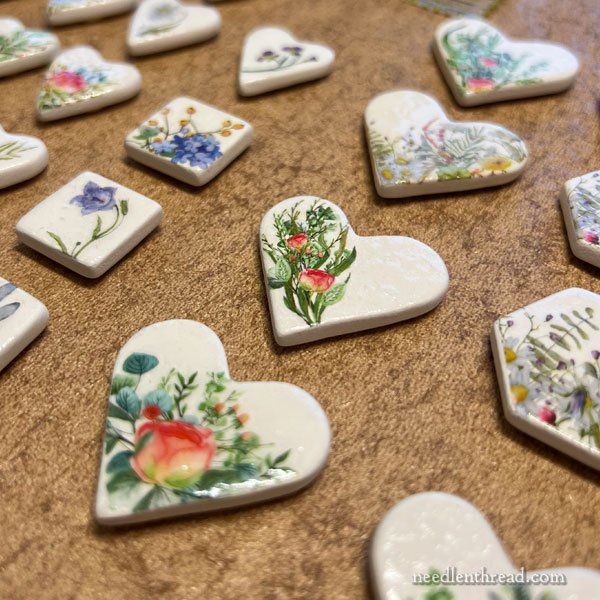
They’re hand-crafted right here in the studio and branded and dated on the back. And while they’re limited in number at this time, we will be working on small batches here and there to add them to the shop. They’ll be listed by shape, size, and strength of magnification. Because of their hand-crafted nature, each one is slightly different, so they won’t be listed by individual designs.
Something Fishy!
Woohoo! We’re finally adding some new ready-to-stitch towel sets to our current collection! The first new set out this summer is called “Something Fishy,” and it features – you guessed it – fish! Tropical fish, to be exact.
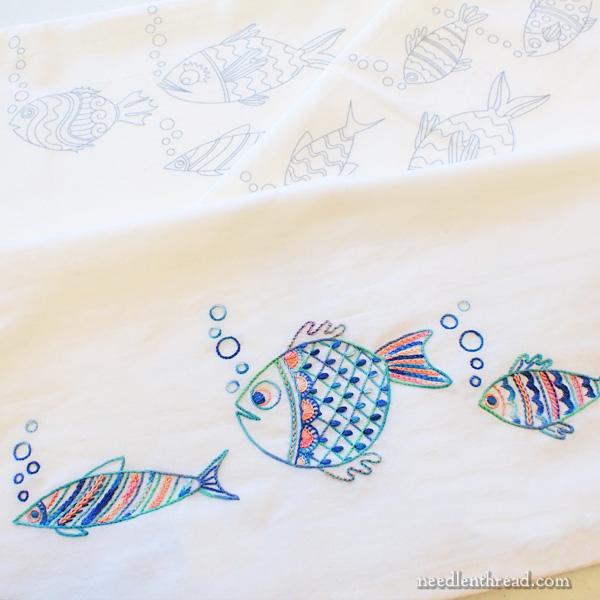
These lines of personality-laden tropical fish are the perfect medium for exploring all kinds of vibrant color combinations (you really can’t go wrong with any colors you might choose) and stitch combinations.
Later on, I’ll write up an article focusing on how Anna and I approached stitching our own fishy towels. We both took different directions, but concluded that, no matter how you approach these guys, they’re super fun to embroider!
So look for those later this week.
Beeswax Petites
A few years back, I started making up my own beeswax petites to use for goldwork classes and kits, made with local beeswax (some even from my own backyard) and beeswax sourced from other small apiaries in the Midwest. The fact is, I couldn’t stand the beeswax available in the sewing notions aisle at sewing shops. It is flaky and hard, takes forever to coat thread, leaves flaky residue, and I don’t like the clear plastic thing it’s always encased in.
So I just decided I’d make my own.
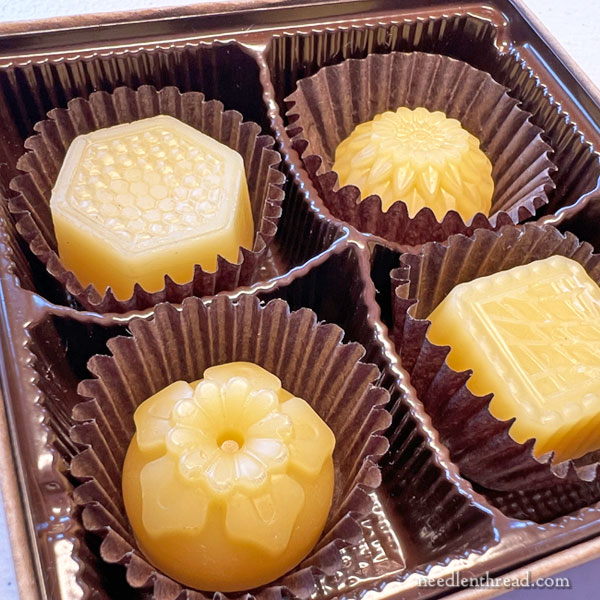
If you’ve ever worked with warm beeswax, or you’ve ever burned a beeswax candle made from micro-filtered, really clean, golden wax, then you probably know what I mean when I say that it’s a shame someone hasn’t invented a beeswax candy that encompasses all the good smells and the delectable tactile nature of nicely molded beeswax. Some kind of chewy, honey-laden truffle that has that warm golden glow and smells a little bit like heaven … mmmm mm.
Anyway, I don’t think it can be done. But our little beeswax petites are exactly the size of a good chocolate, so we packaged them in candy boxes, replete with trays and paper liners so that they are not only kept pristine, but they are perfectly presentable as gifts or as additions to your sewing basket.
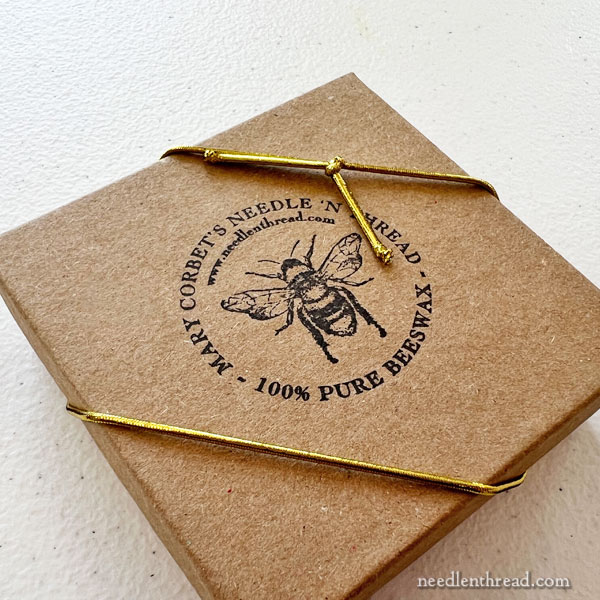
Whether you do goldwork or sew on buttons or charms or other hearty bits to your textiles, beeswax is the ultimate thread protector. It’s essential in goldwork. But it’s good to have for other applications as well! We’ll be adding our line of Beeswax Petites – four small decorative beeswax bites in a presentation box – to the shop this week as well.
Floche Packs Restocked!
And finally, we’ve been working on restocking floche color packs!
We’ll have Autumn Glow, Birthday Bouquet, Forest Floor, and Spring Frost in stock at the end of the week. The other color packs are in the works, but we are short some of the colors and are waiting on them from the manufacturer.
If you’ve been waiting for those, keep an eye out at the end of the week!
Whew!
Things are busy over here in Kansas. A good kind of busy!
I hope that July is trucking along well for you! I’ll see on Friday with the new kit launch!


Mary —
This Snippet is fabulous!
I have always wanted to try whitework, hemstitching, and embroidering a reversible design —
Friday morning will be like Christmas!
Oh, Sweet Marguerite is beautiful! I can’t wait to try my hand at this!
I loved seeing all the new goodies, soon to arrive in the shop. I was particularly drawn to the beeswax petites and their beautiful packaging. May I ask, will you share how you printed the logo on the box? Was it a stamp, silk screen or did the box company print the logo? Thanks so much!
It’s a stamp that I designed. 🙂 Yep, we hand-stamp each box. It might not be the most efficient way, but I liked the look of it better than pre-printed options, and it was more economical.
This may be a foolish question, but what is the magnification element of the needle minders?
There’s a magnet mounted on the back of the decorative bisque piece, and a second magnet placed on the back of the fabric holds the front magnet in place. Think of it like a decorative refrigerator magnet, with a second magnet behind the fabric. The magnets are strong enough that there is “pull” through the bisque, so that you can rest your needle on top of the decorative bisque. I’ll write an article devoted to needle minders and demonstrate!
Mary, I am loving all of this and seeing my way to donate more/again. Just that I’m wondering how ceramic needle minders can mind needles — and how on earth they can have magnification!!! Love from warm California!
Hello, Mimi, the decorative bisque part of the needle minder is backed with a magnet, and another magnet is used behind the fabric to hold the needle minder in place. It’s exactly the same format as most needle minders available today – the decorative part has a magnet on the back, which is held onto the fabric with another magnet. The magnet is strong enough (and its strength is increased by the second magnet) to hold a needle on top of the decorative bisque piece.
Hi Mary,
I’m really looking forward to this Stitch Snippet. Thank you for putting it together for us!
Joan
🙂 Thanks, Joan! I am, too! I really like this little project. I’m hoping to expand it into a larger size for my own table at home at some point. We shall see!
Got my kit ordered went with the green blue already gone. Can’t wait to get started.
Please consider production of the beeswax petites during the fall or possibly winter seasons. In the photos, they look lovely, but a shipment would never survive our Southwest desert temperatures. Its always disappointing to open a gift of chocolates and find soup instead.
Hi, Jo, The melting point for beeswax is 145 degrees. The melting temperature of chocolate is 86 degrees.
Morning Mary….
It’s Sunday, July 21st here in Kansas…..I love the digital messages, but i preferred the printed material so trying to print your blogs so i can go read it better….I noticed that you live in Kansas? what town? I’m from McPherson and in my older age am
enjoying more into the HAND embroidery items…Do you have a store front that i can visit? in my travels to and from my children in Kansas…
Thanks so much for the inspiration…
Barb Nelson
Hi, Barb – Thanks for your note. I’m in St. Marys, which is about halfway between Topeka and Manhattan on Highway 24. No, I don’t have a store front, so it’s not really a place people can stop in to visit. Maybe some day, but not at this point. If you receive the email newsletter (which is the blog post on the website, only it comes directly into your email), it’s easier to print straight from the email. Hope that helps!