


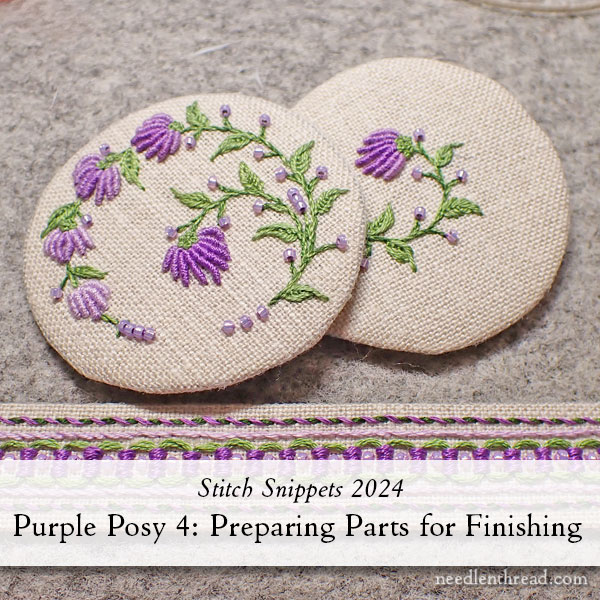
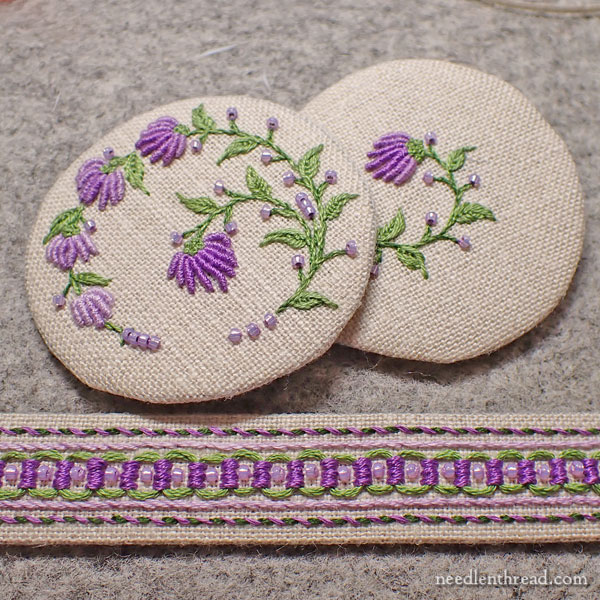
Moving along in our Purple Posy Stitch Snippet stitch-along here on Needle ‘n Thread, today we’re going to transform the embroidered design parts of Purple Posy into the pieces of the tape measure cover.
I’ll give you the list of supplies I used for finishing – gather all your supplies before you start and read through the instructions! – and then I’ll take you step-by-step through making up the pieces of the cover.
For those who are just joining in, you will find all the previous articles for this stitch-along available here in the Purple Posy Project Index.
If you are a member on Patreon, you have received the PDF download for this part of the project – all the way through to finishing the decorative edge.
And if you would like a kit for Purple Posy, we still have some available! You can find them here. The kits have all the materials you need for finishing, including the template plastics and the interfacings (not to mention the tape measure), to save you money and time in hunting down supplies.
Damp Stretch Your Work
The first step in the finishing process is damp stretching your embroidery fabric.
If you’re not familiar with this process, read these two articles:
Damp Stretching & Blocking Embroidery
Damp Stretching Tip: Easier on the Hands
I use the materials and methods discussed in the second article exclusively now, but the first article covers the concept in detail, too.
We’ve also talked about damp stretching in previous Stitch Snippet projects. It really is an essential step in the finishing process, and I encourage you to do it, even if you worked your project on a frame. If you worked on a hoop, it’s crucial.
Finishing Supplies
Before you begin building your tape measure parts, gather all your supplies in one place. It makes it Much Easer if you have everything on hand!
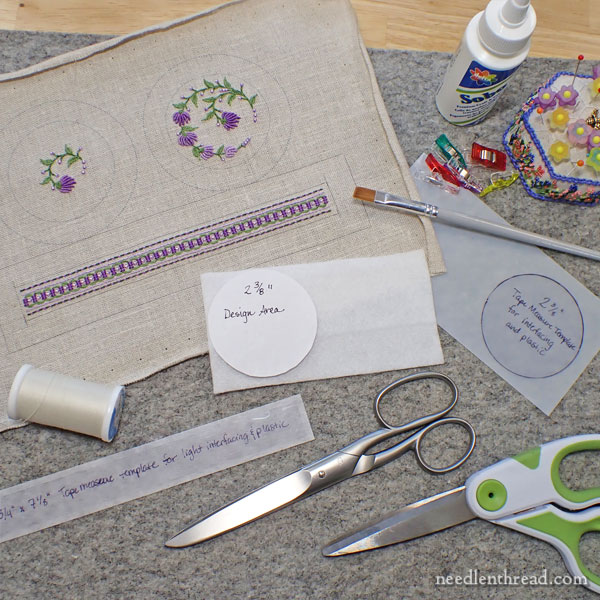
These are the supplies I used for finishing the tape measure cover:
- Interfacing: Pelon 40-2010 (about 1” x 7.5”)
- Thermolam: Pelon thermolam plus TP970 – 5” x 3”
- Template plastic: 7.5 mil – 6” x 3”
- Template plastic: 4 mil – 7.375” x .75” (7 1/8” x 3/4”)
- Scissors: Fabric and Craft
- Sewing thread in white or natural
- Sewing pins and clips (I use Clover Wonder Clips)
- PVC glue (I use SOBO)
- Paintbrush for the glue
It’s a good idea to cover your work area with brown paper or wax paper or the like when working with the glue.
Making the Foundations
For each piece of the tape measure cover, there are foundation parts to make out of interfacing and template plastic.
The top and base rounds are made from the heavier template plastic (7.5 mil) – the kind I have is opaque white plastic – and the thermolam (which is a soft interfacing).
The side strip is made with the lighter template plastic (4 mil) and the Pelon #40 thin non-woven interfacing.
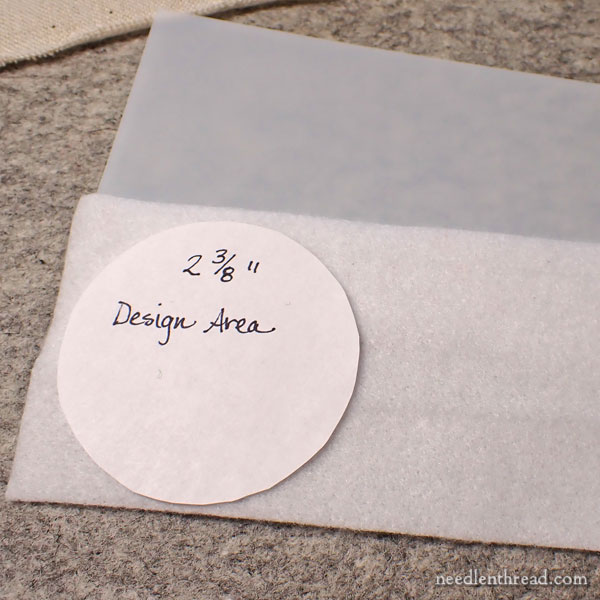
Starting by cutting out a 2 3/8″ circle of paper to use as a cutting and tracing template. This is the size of the inside design line around your embroidery, in the original pattern. It’s the solid circle in that pattern.
Use your paper template to cut out two circles of thermolam, just holding the paper to the thermolam and cutting carefully around it. You can also pin the paper if you want.
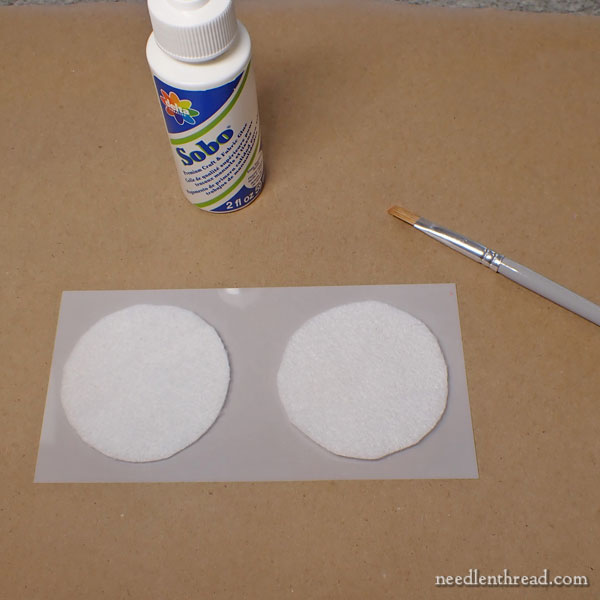
Glue the circles of thermolam onto your template plastic, as shown above.
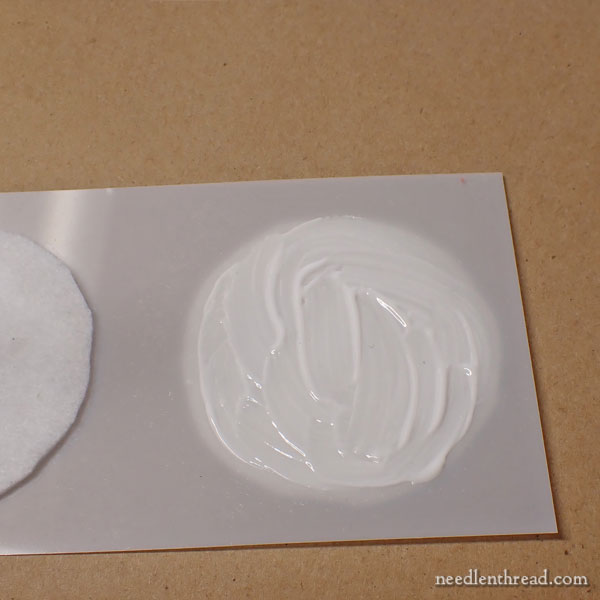
To do this, I found it easiest to place the circle of thermolam under the template plastic, so that I could see where I needed to apply glue to the plastic. I painted in the entire circle on the plastic, and then pressed the cut out piece of thermolam to the plastic.
I put a heavy book on top of the glued pieces while I went on to the side strip.
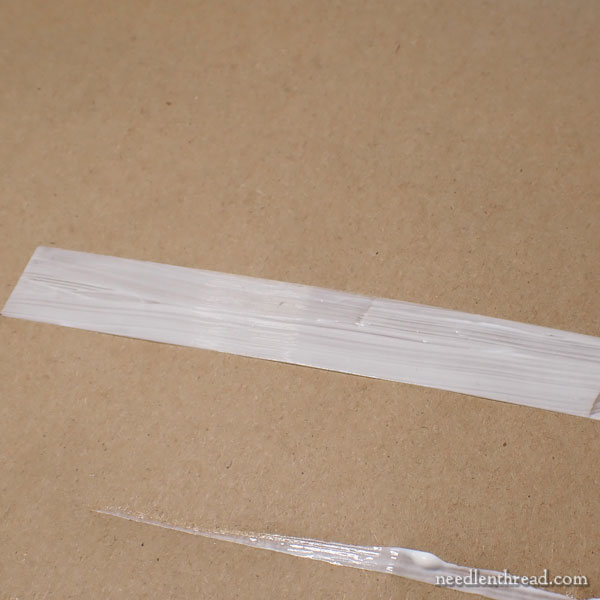
Trim the transparent side strip of template plastic to 7 1/8″ x 3/4″.
Coat one side with glue.
Carefully press the Pelon 40 interfacing onto the glue. The Pelon should overlap a bit. Make sure there are no bubbles – smooth the surface out completely.

I put this piece under a book to dry as well.
Once dry, trim the excess Pelon from the plastic strip, so that you have a 7 1/8″ x 3/4″ strip, with one side Pelon and the other the shiny plastic.
At this point, you can also trim the circles down by cutting away the excess plastic around the thermolam circles.
Covering the Foundations
With the foundations prepared, it’s time to cover them with the embroidered pieces.
Cut your embroidered pieces out from the fabric. If you transferred the cutting lines, cut along the cutting lines.
Your cutting line for the circles should be about 5/8″ out from the edge of the design line.
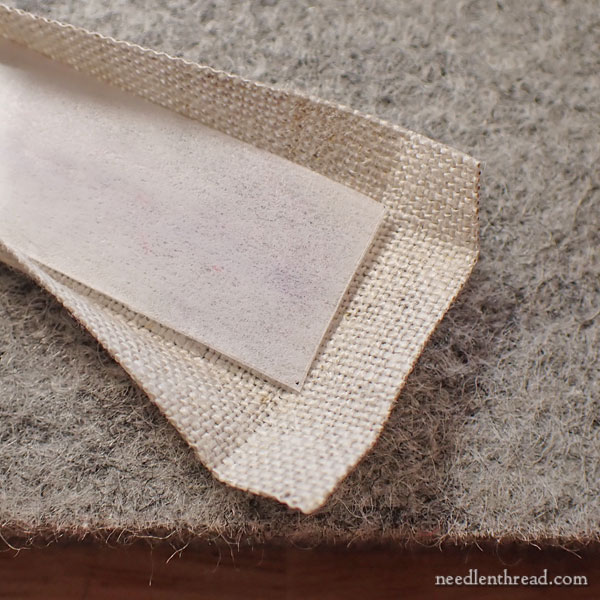
For the strip, lay the prepared foundation behind the embroidery, with the interfacing to the back of the embroidery and the shiny plastic facing up.
Finger press all around the strip, folding the fabric over the plastic strip. Make sure that the plastic aligns with the weave of the fabric, right inside the design line area that you drew when you set up the project.
Trim the fabric on the strip down so that, when it is folded over the prepared foundation, the long sides do not overlap, but they should only have a small space between them. You want to leave as much fabric as possible there, but you don’t want the long sides to overlap because it would be too bulky when assembling the tape measure.
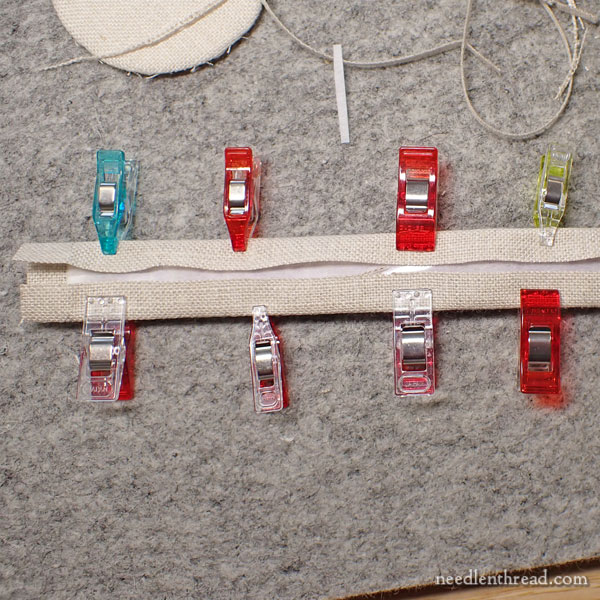
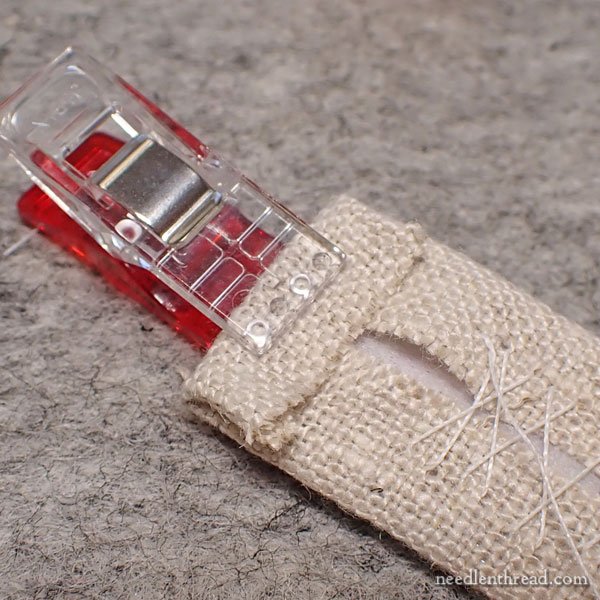
Fold the long sides over the prepared foundation and clip the folds as shown. If you don’t have clips, use pins inserted perpendicular across the two sides.
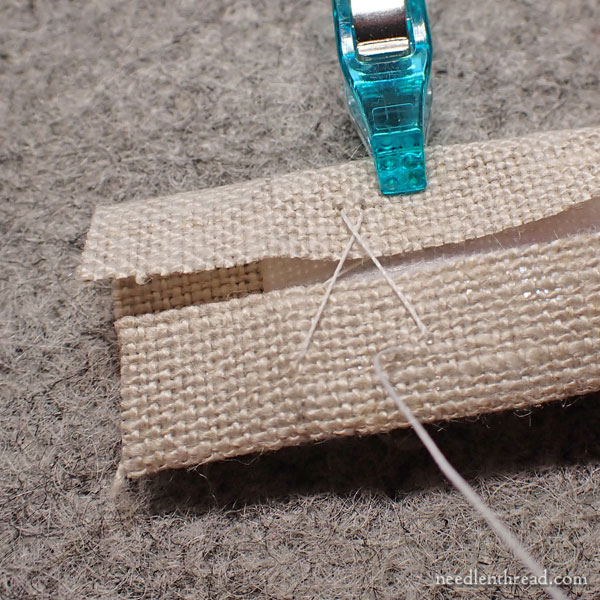
Using sewing thread, work a herringbone stitch over the two folded sides, as shown above, to sew the sides over the prepared foundation.
Remove the clips as you go.
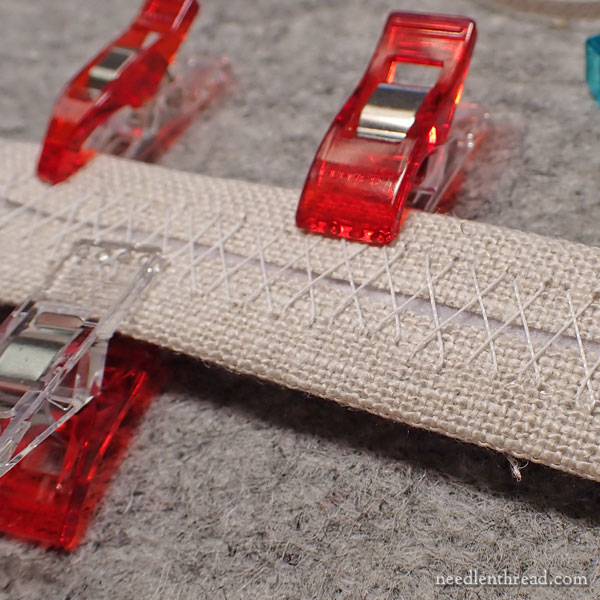
Here you can see the herringbone stitch worked across the back of the strip, holding the folded sides together.
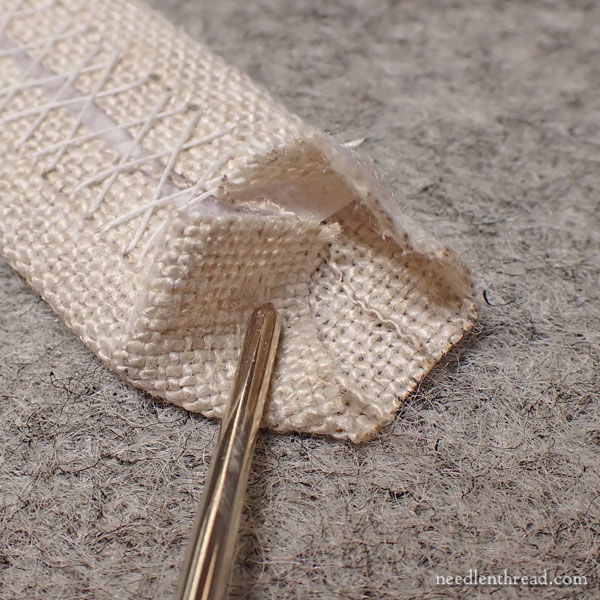
If you wish to miter the corners on the ends and you know how to do it, you are most welcome to take that approach at this point. It will take some fiddly work, because the corners are so small.
You can push the corners in with the tip of your scissors or with a laying tool, in order to cold the flap down to make the miters.
You’ll need to trim off some excess linen on the very corners, if you’re going to use this method. And in fact, it doesn’t hurt to trim the tips of the corners, no matter what method you use here, but it isn’t entirely necessary.
Frankly, I just found it easier, working with this small space, to turn the sides over nice and tightly and clip them in place, and then tack them down.
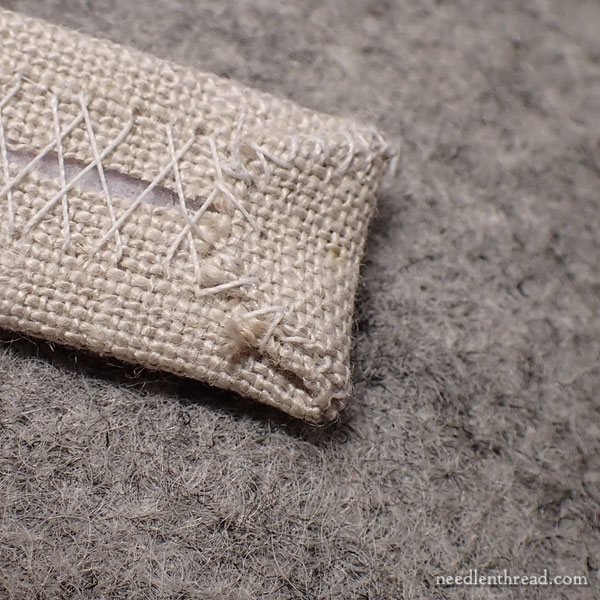
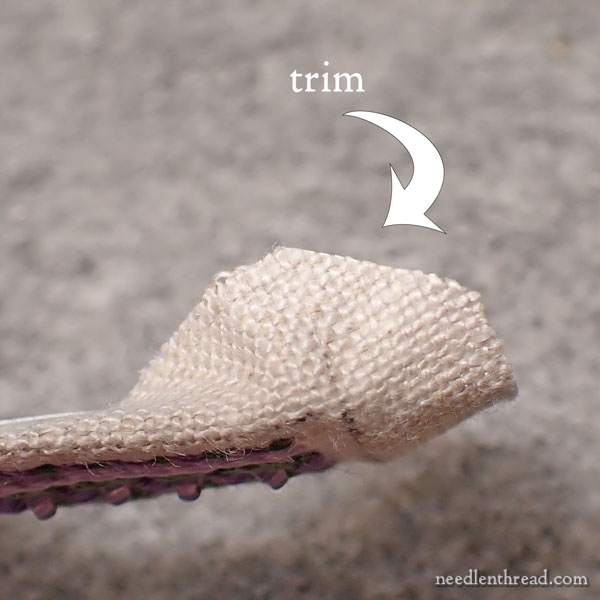
This is a turned edge with some of the corner trimmed and tucked in. It worked this way, too.
And this is the sewn down edge that is turned straight over the short end of the strip.
Both methods worked fine.
Mitering was a bit too fiddly for me, although we did manage it on one or two trials, so it can be done, but there’s not much of a point. No one will see these corners, once the whole thing is assembled, and it didn’t make any difference in the overall structure of the piece.
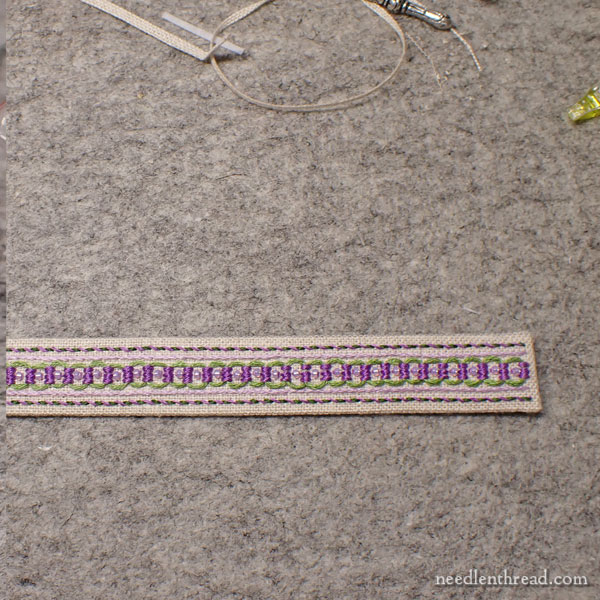
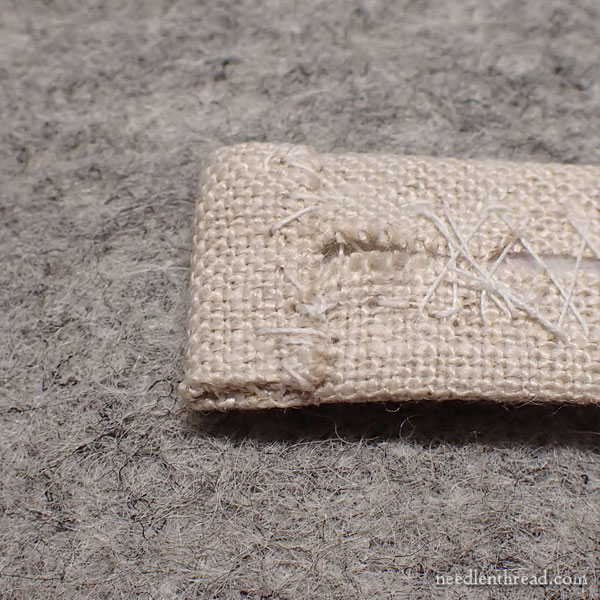
The finished strip should be nice and firm, now that it has a foundation inside of it.
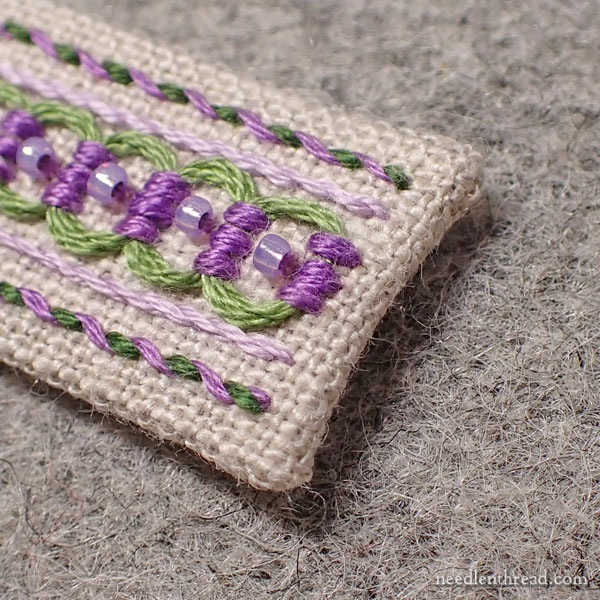
And the ends should look like this.
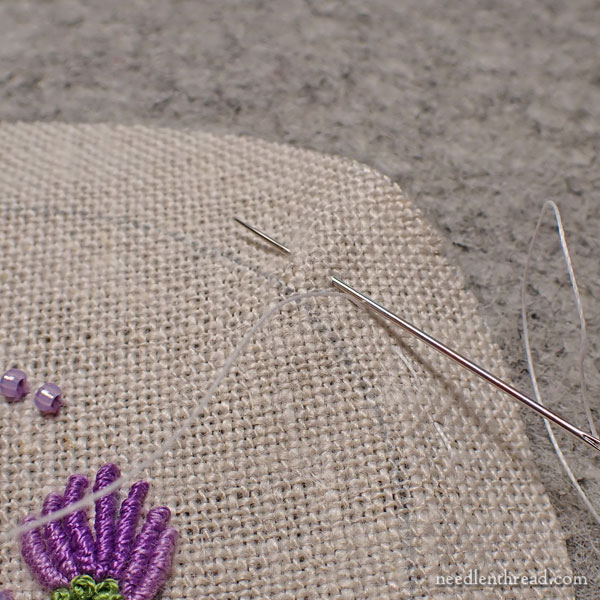
Take a long length of sewing thread and work a basting stitch (this is a running stitch) outside the design line circle on each of the rounds, about 1/8″ or a little further outside the design line.
Work the running stitches somewhat close together – somewhere close to 1/4″.
Place the prepared foundation inside the design line area, with the soft thermolam against the back of the embroidery.
Leave a tail on each end of the thread (mine has a knot in it in the photo, but I pulled that piece of thread out using the knot), so that you can pull on it to gather the fabric around the prepared foundation.

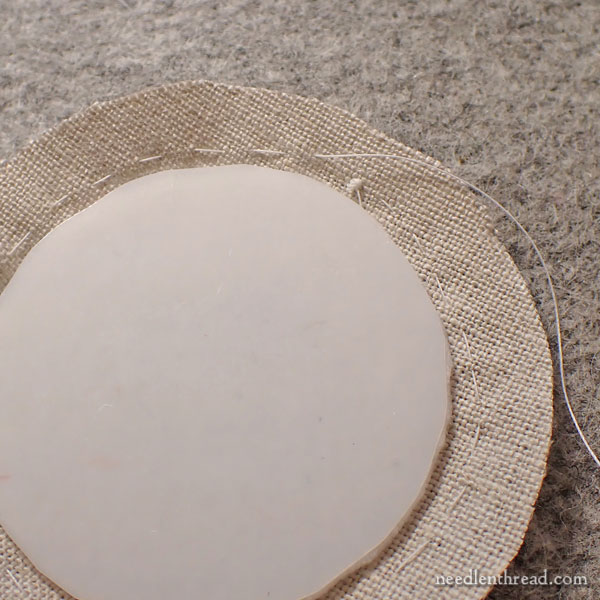
Pull the two ends of the thread to gather the fabric around the prepared foundation.
Keep in mind that you’re working with linen, which is heavier than cotton. If you’re used to doing this kind of thing with hoop art or what-have-you, it’s going to be a little more fiddly on this. Take your time, pull gently, and work the gathers around with your fingers, until you get the fabric gathered nicely around that prepared foundation.
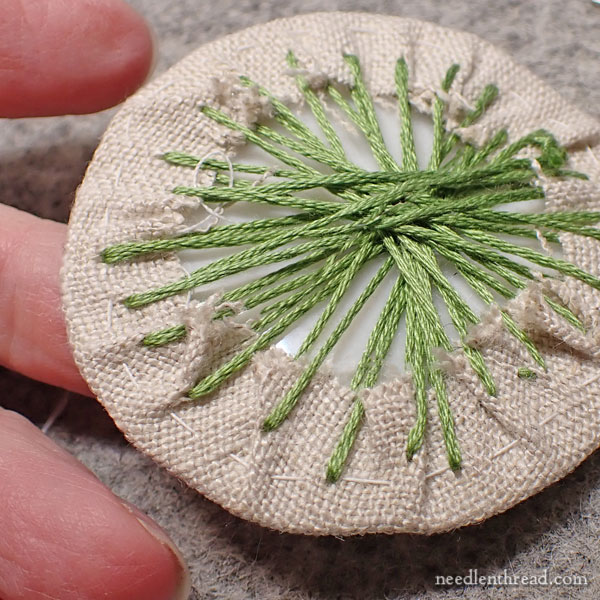
Now, I know some folks will be shocked and horrified – all the collective eyebrows of the embroidery police have simultaneously shot into the air – at this point!
Yes! We are using embroidery floss to lace this fabric onto the foundation, as shown above.
Use all six strands of any color of floss except the light purple (which you still need for the decorative edge).
Why the embroidery floss?
We worked samples with sewing thread, sewing thread doubled, heavy duty hand quilting thread, linen thread, and the fact is, the embroidery floss was easier, smoother, and quicker than all the other threads we sampled with. It worked great! And it was “comfortable” to stitch with. The heaviness of the strand of floss worked well to hold everything together.
And there is plenty of floss in the kits for this, so I figured why not?
It might look a little messy, but guess what? No one will ever see this part!
Plus, it adds just a little extra padding on the inside of the cover.
To finish the foundation, then, cut a nice long piece of floss (about a yard) and work long stitches across from each other going all around the inside of the gathered fabric, pulling the sides in and securing the linen onto the foundation.
Be careful, though!! You don’t want to pull so tightly on these stitches that it causes the piece to bow. Just pull enough to hold the fabric firmly and smoothly onto the foundation.
The more stitches you use, the more smooth the edges of your circles will be.
Go deep into your fabric, but always leave about 1/8″ to the edge of the circle.
And that’s that. Your pieces are ready to assemble!
And that’s what we will do in the next installment.
Remember, you can find the Project Index for Purple Posy here.
If you’re looking for a materials kit for Purple Posy, it’s available here.
And if you’d like all of the instructions in handy downloads and printables, feel free to join the Needle ‘n Thread community on Patreon for that perk!
Leave A Comment