


This past Saturday, I had the pleasure of participating in a Question & Answer Zoom session as part of the EGA Virtual Lecture series. It was on “All Things Needle ‘n Thread” – and participants could ask whatever needlework or Needle ‘n Thread related questions they wanted to. It was heaps of fun! (You can still see if it if you want, through this link. There’s a charge for EGA and non-EGA members.).
One of the questions that came in focused on needle painting. It was a very good question.
I thought that I’d elaborate on the topic, and show you what we talked about.
The participant is learning silk shading (also called “needle painting” and “soft shading,” among other terms). In her explorations, she’s run across multiple approaches: some splitting UP into previous stitches, some splitting DOWN into previous stitches, and some separating and coming up BETWEEN previous stitches.
Indeed, it is true – you can find various approaches to long & short stitch (which is, more or less, the stitch or technique used in needle painting), depending on the book, the instructor, the designer, the area of the world, and so forth.
As is always the case, when it comes to figuring out something, it helps to “look to the end” (what’s you’re desired end result?), to define terms, to explore variations, and so forth.
Let’s talk a little about this topic, then, using some tiny stitched samples that I played with for demonstration purposes. Later, I may expand the topic with some other samples, because these below were worked rather quickly and only with one type of thread – which definitely limits our results and understanding! If we play with the stitch with different threads, and we fiddle about with the various approaches, we’ll see divergent results that will help us learn more.
How about a clarification first?
I realize that long & short stitch (the “stitch” itself) does not necessarily equate to needle painting or even silk shading. It’s often the basis of the approach to needle painting, but if you consider “long & short stitch” proper, it’s often demonstrated in a very rigid way, with a very distinct long-and-short sequence of stitching.
Needle painting generally involves a looser approach to long and short stitch.
This looser approach is often something more along the lines of “long-and-longer-and-a-short-and-a-longer-here-and-an-even-longer-here-and-a-squeezed-in-short-here-plus-another-long-followed-by-a-not-as-long-but-definitely-not-short-stitch.”
But for the sake of this particular demo, I’m going to stick with a rather rigid long-and-short stitch.
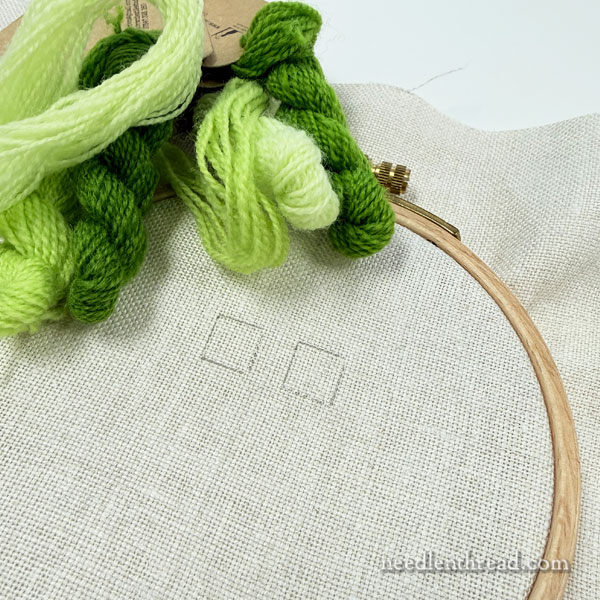
I started with a few shades of green crewel-weight wool thread and a piece of linen in a hoop. I drew two very small squares (about 3/8″) on the fabric – but I ended up extending those a little bit, as you’ll see. I’m using a chenille needle, so don’t be mislead by the eye. It looks like a tapestry needle, but it has a sharp tip.
I drew two boxes because we’re going to talk about splitting up vs splitting down and what happens to the fibers of your thread with each approach.
I decided to go ahead and work a split stitch outline along the top of each box, because I wanted to talk about the split stitch, too.
Long and short stitch is, after all, a split stitch. Not split stitch, but a stitch that is split.
When you’re filling shapes with filling stitches like long and short stitch, it is some times helpful to outline part or all of the shape with a split stitch outline, and then to work your outermost filling stitches just over that outline. Doing so helps give a very defined edge to your filled area. It is not always necessary, true, and in some cases, it might not be advisable – it might overcomplicate things. But in many, many cases, this outline is helpful!
So I started with the outline.
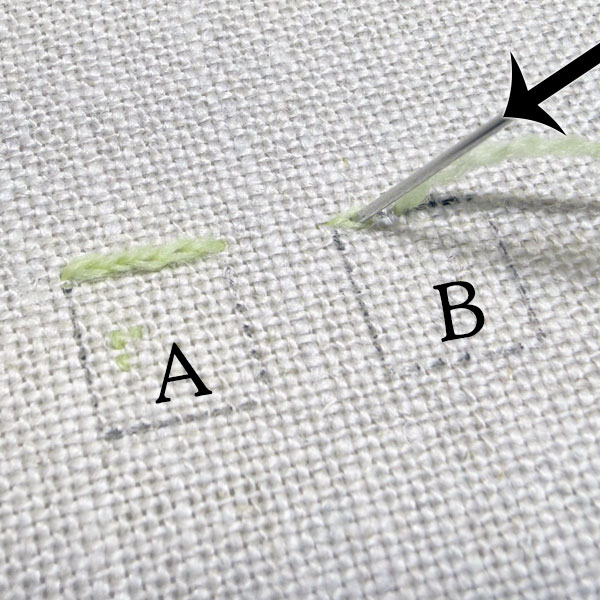
The box on the left – we’ll call it A – features the split stitch worked along the top line of the box, splitting the stitches UPWARDS. I came UP into the fabric and through the stitch, splitting it, then took the stitch forward on the line and down into the fabric. When I came back up, I split the stitch that I just formed.
You can find a video for split stitch here, if you’re not familiar with it.
Box B is split backstitch. With split backstitch, you’re splitting the stitch from the top, passing DOWN into the previous stitch. It is a different stitch altogether from split stitch, and you can see how different in this article on split stitch vs. split backstitch.
Perhaps this discussion of split stitch seems off topic, since we’re talking about long & short stitch, but still, it serves a purpose.
Notice that the two stitches in the samples above, though they look similar, do not look the same. The stitches on box A are puffier and a little plumper. The stitches on box B are tighter, a little more compact looking – somewhat flatter and closer to the fabric.
If, with the simple split stitch, we get a slightly different look in the resulting stitch depending on splitting UP or splitting DOWN, then it stands to reason that, with the long and short stitch (which also relies on splitting from one direction or the other, depending on the book, instructor, etc.), you’ll also get a different look to the finished product, depending on the direction of your split.
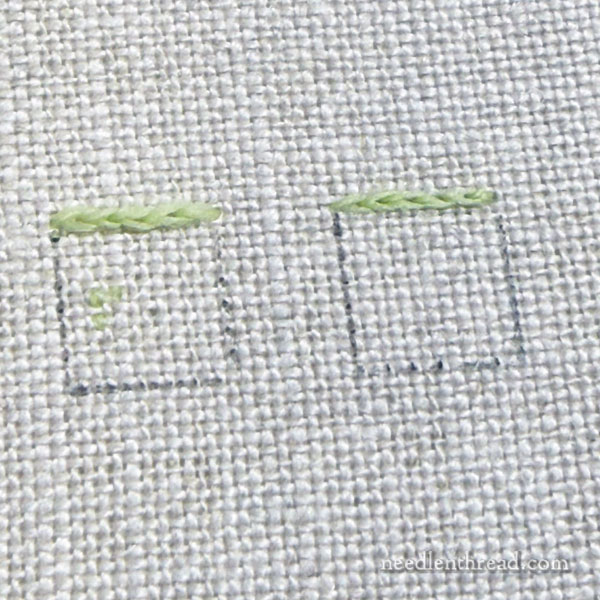
I stitched the first row of long & short stitch in light green on both boxes, and I was very careful to maintain the same tension, as much as possible. To this end, I made sure that I was stitching these samples all in one go, without taking a break.
On box A, I began the second row of long & short stitch by splitting UP into the stitches, just as I did with the split stitch outline on box A.
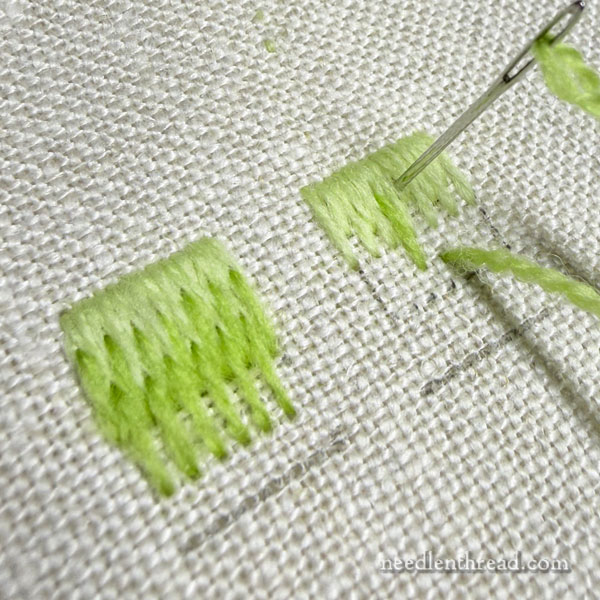
On box B, I split DOWN into the first row of stitches.
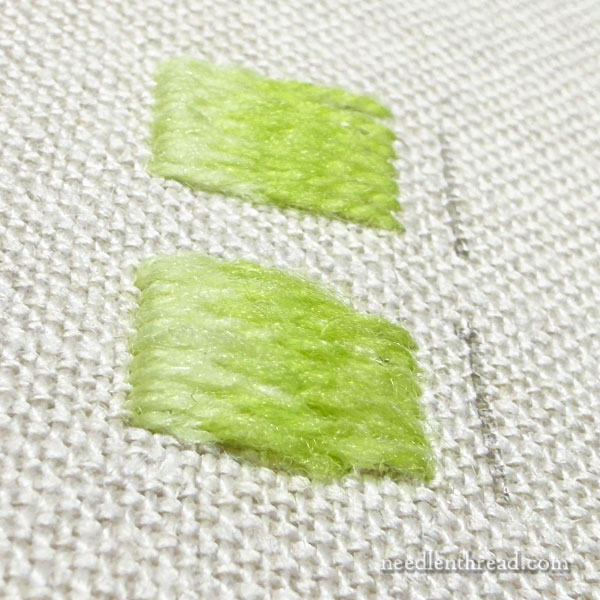
I tried to zoom in for you here and show you the two boxes from an angle, so that you can see that there is a difference in them. It’s not a Huge Difference at this point.
And in fact, on elements this small, the difference is minimally noticeable.
But it is there.
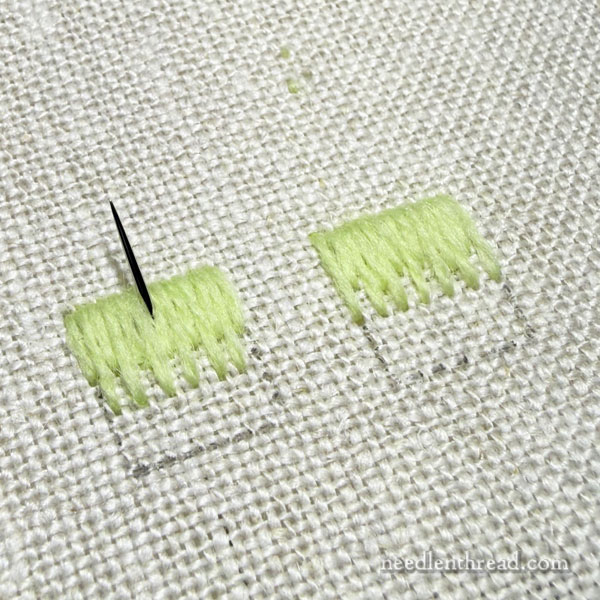
Notice how the stitches in box A are fuller and fluffier. They sit a little higher on the fabric.
When you split UP into the stitches, you pull the fibers of the thread upwards with the working thread as you pass through the stitch. The fibers don’t compact, because they aren’t being pulled down onto the surface of the fabric. They’re not getting squished and held against anything.
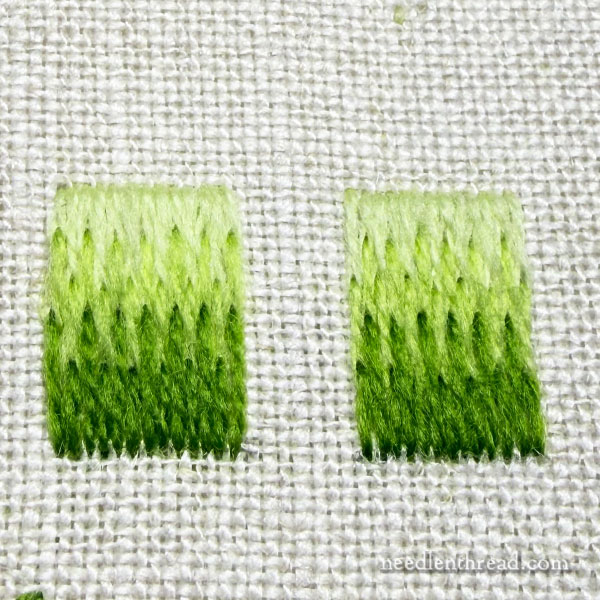
Here, I’ve added a row of darker green to both boxes, splitting UP in box A (left) and DOWN in box B (right).
At a glance, they don’t seem to look that different from the front.
But still – there is a slight difference. Box B looks a bit firmer. The stitches look a bit more distinct. They are more compact. They’re held down against the fabric.
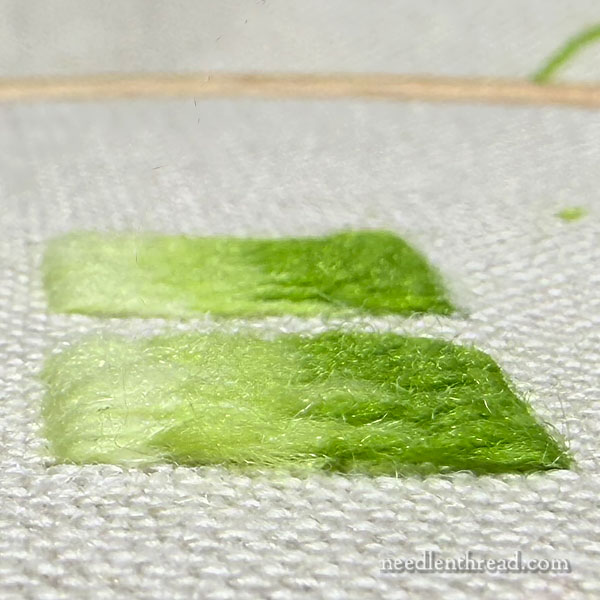
Here, you can see it perhaps a bit better – box B (the distant box) looks flatter.
Does It Matter?
In a small scale sample like this, nope. Not really.
If your intention is supply a gradual color change by way of rigid alternating long and short stitches on a small sample like this, I think either sample works. You definitely get the gist of what long and short stitch is.
But… what’s your end game?
Do you want a rigid long-short pattern?
Or are you trying to achieve something that blends well? Something that softly and smoothly transition from color to color? And that results in a kind of dimension and “realism” in the embroidered image?
If the latter is the case, I contend that you can achieve that result better if the fibers of the threads blend together better – and this happens more with box A, where the fibers of each previous stitch are lifted by the new stitch, than with box B, where the fibers of each previous stitch are compacted by the new stitch.
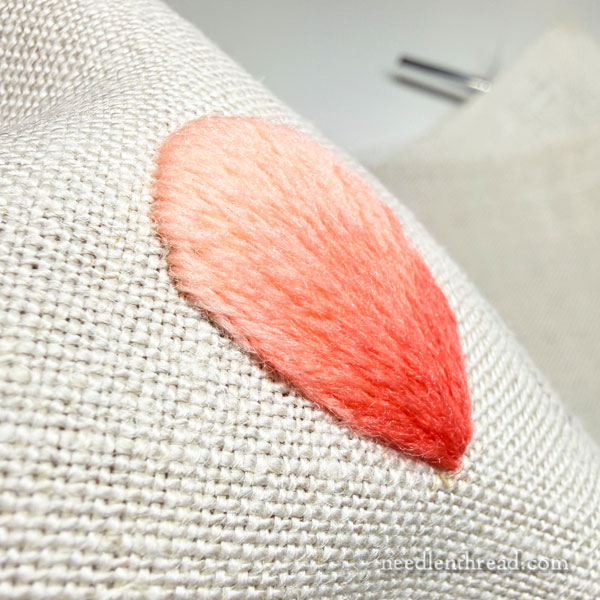
Here is an example of a petal worked in soft shading with wool. I used a loose version of “long & short stitch,” splitting UP into the stitches, and the result is a very smooth blending of the fibers. There’s no dipping or dents that darken with small shadows and compact threads the transitions of shades.
Unfortunately, I didn’t stitch this petal two different ways, because I never do shading splitting downwards.
Is It “Wrong”?
Is it “wrong” to split downwards?
No.
It depends on what you want to achieve. It depends on the look you want! It depends on the technique! It depends on the finished product!
You can’t really call either way “right” or “wrong.” In some forms of needle painting, the splitting is downwards, because the overall look the designer or the style requires is different from what is achieved by splitting upwards.
Some cultural embroidery techniques employ a downward split. Some stitchers prefer the tightness achieved by the downward split. Some stitchers prefer the downward split because they find it easier to execute.
Ultimately, it just depends on what you like and what you want to achieve.
Today’s samples are quite limited, too, because we only explored with wool. If we were playing with silk or with cotton – and with different types of silk or cotton – we would have different results. We might look at what happens with different threads a little later, if I have time to “geek out” further on the topic.
Coming up, though, I’ll elaborate on the topic again, by demonstrating the upward and downward split in a different stitching technique. It might showcase the difference between the upward and downward split a little more clearly.
For now, that’s enough stitch-geeking for one day, don’t you think?
Thankyou for the clarification and very clear explanation of the difference of two techniques used for long & short stitch. It is a question I have pondered for a long time and was never sure whether I should be stabbing up or stabbing down.