



Welcome to Lesson 4 of Blackberry Blossoms & Brambles, a stitch-along that I’ve been running here on Needle ‘n Thread this late summer.
Today, we are going to finish stitching the project. We’ll embroider the foundation for the berries, add the beads, and then add some finishing touches to the project. Then, our final lesson next week will be preparing the project for framing.
If you are just joining in on this project and you want to read more about it – or follow along with it at your own pace – you can find the Blackberry Blossoms & Brambles Project Index here, where all the previous articles about this project are listed in chronological order.
If you are a member of the Needle ‘n Thread Community on Patreon, you will find this lesson in a handy downloadable & printable PDF format already posted.
Let’s get started on the berries!
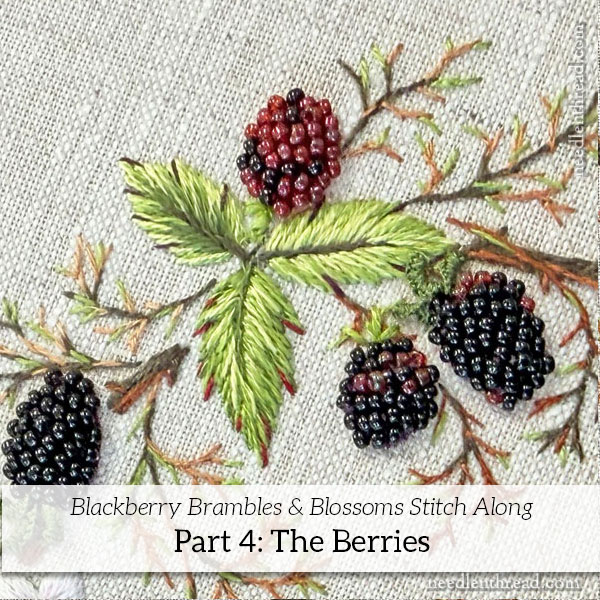
We’ll begin by working the foundation for the berries using one strand of floss in either dark red or dark plum. If you are stitching a predominantly red berry, use the dark red. If you are stitching a predominantly black berry, use the dark plum.
I selected the smallest berries around the wreath and designated them as red. They are padded in red and covered mostly with red beads. I added a few black beads to the red berries to give a hint of ripening.
All the berries are worked with a dark plum foundation and covered mostly with black beads, although please note that only two (large) berries are covered solely in black beads. I added a few red beads to most of the black-beaded berries.
To work this part of the project, you’ll need to dark red floss, the dark plum floss, greens, the beading needle (smallest needle in the kit), a regular embroidery needle, all the colors of beads, and beeswax.
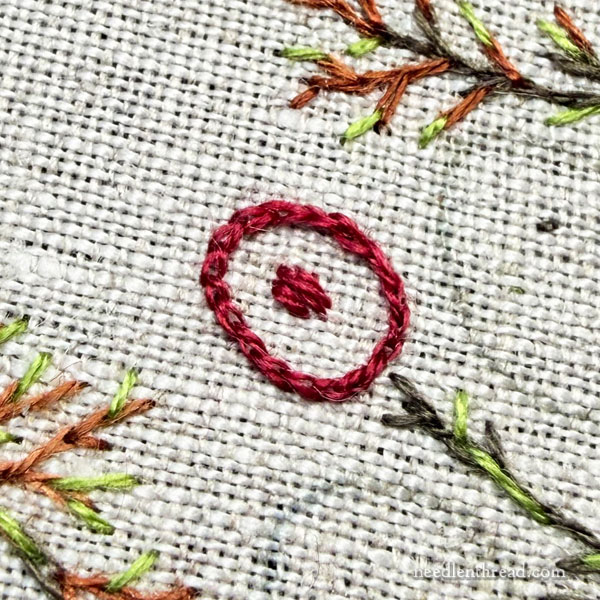
Begin by working a split stitch outline on the design line with one strand of floss (either dark red or dark plum, depending on the berry).
As with the blossoms in the previous lesson, if the split stitch is troublesome for you, you can use split backstitch or even regular backstitch.
Then, using the same floss, begin building the padding foundation from the middle of the berry outwards to the edge.
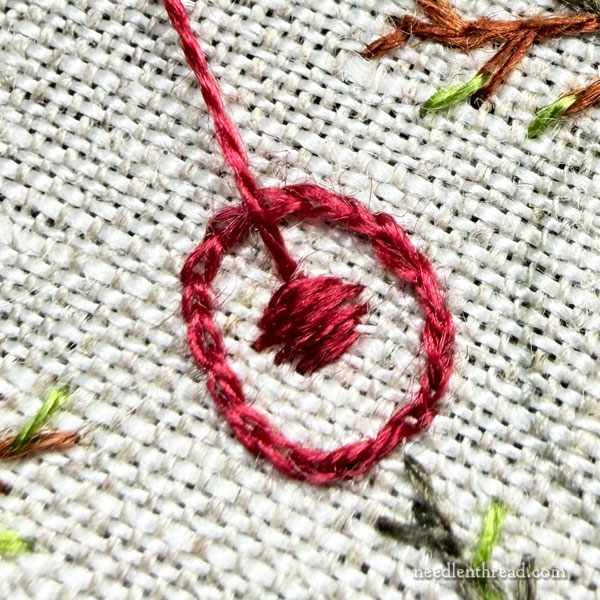
The method for building the padding is the same method used in creating a satin stitched dot. You can find a tutorial for that here, if you are not familiar with the method.
The key here is to work a “surface” satin stitch, rather than a true satin stitch, so that you are not building up padding on the back of the fabric, too. If you’re not sure of this method, check out the tutorial I linked to above for padding satin stitched dots.
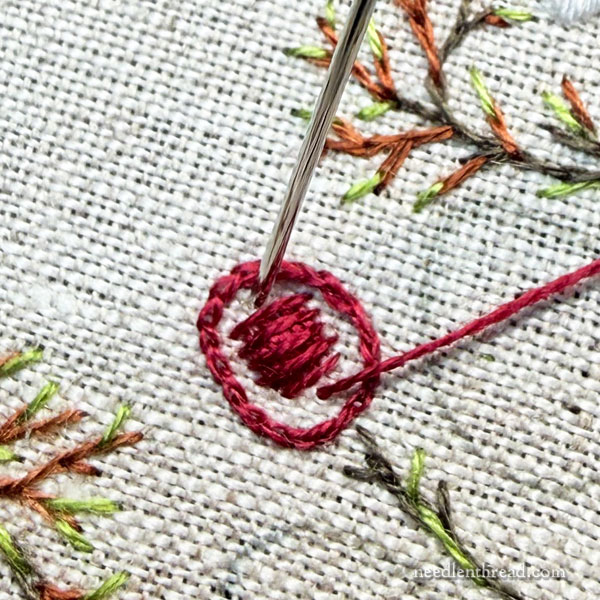
The surface satin stitches here don’t have to be “perfect” – they don’t have to be exactly parallel, they don’t have to shoulder up to each other nice and smoothly, with perfect coverage. At this point, you are simply building a mound inside the berry outline.
Continue building that mount, working each layer of padding over the previous layer, with the stitches always perpendicular to the previous layer.
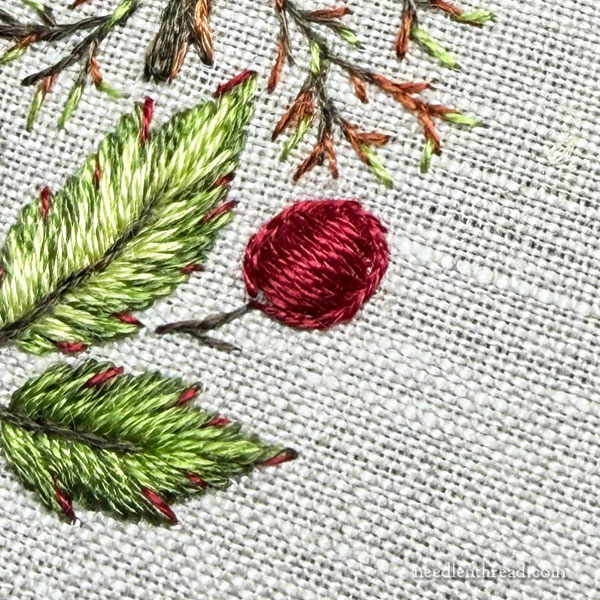
As you fill to the inside edge of the split stitch outline, try to finish with the final layer inside the split stitch horizontal across the shape of the berry. The outline should be full, as shown above.
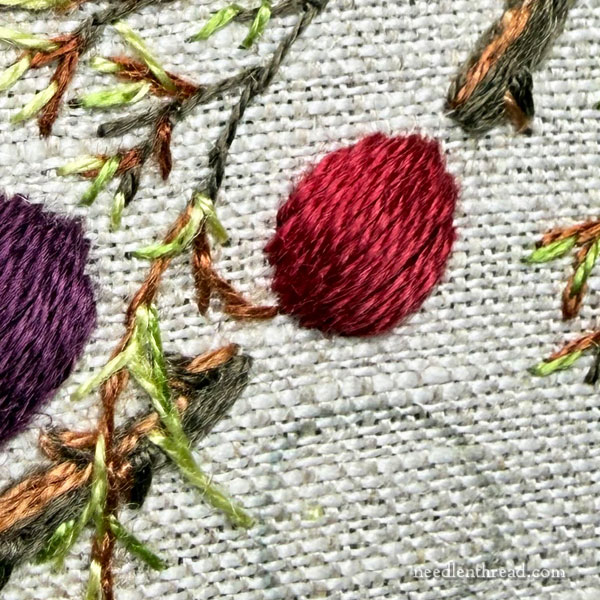
Now, still using one strand of floss, satin stitch (using proper satin stitch) over the foundation and the split stitch outline, working from the center out to one side. Return to the center and stitch the satin stitch out to the other side.
Preferably, the satin stitch at this point should run vertical down the length of the berry.
With this final layer, strive to cover the berry with a proper, smooth, closely stitched satin stitch that covers the outline well. Let the outline dictate the shape. Only satin stitch to cover the outline, so that the oblong shape of the berry is maintained.
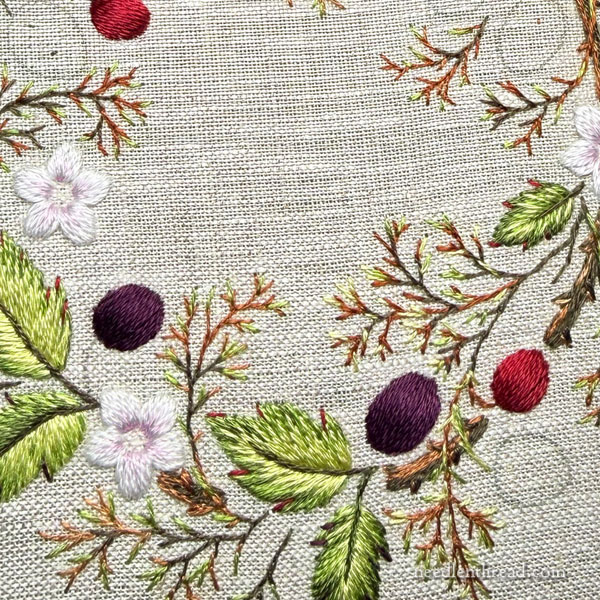
Work the foundation padding on all the berries around the wreath before you begin to bead. If you bead the berries first, your thread will be more likely to catch on the beads as you stitch. So it’s best to finish the foundations and leave the beading at this point to the end.
Beading the Berries
To bead the berries, use one strand of (waxed) floss and the smallest needle (#10). For the predominantly red berries, use the dark red floss. For the predominantly black berries, use the dark plum.
There are different ways to bead berry shapes, and we experimented until we found a method with an outcome that we liked best. When you look at a blackberry, the drupelets all seem to be arranged in a uniform direction in almost a “bricked” linear layout on the berry, but if you try to imitate that with beads (especially when stitched on a flat surface), it just doesn’t look right.
So we decided to avoid entirely the method of stitching the beads in a linear layout, which seems to be a favored way of beading berries out in the needlework world. We just didn’t like the way the beads looked when stitched this way, as they didn’t keep a realistic berry shape and the berries ended up looking stilted, stiff, and misshapen rather than natural.
Instead, I stitched the beads in clusters, with the beads going in random directions. I started in the middle of the berry somewhere – not the exact center, necessarily – anywhere inside the berry, works fine.
I sewed on one bead in the same method we used on the blossom centers, so that the beads sit up like a tire. I stitched through this first bead twice.
Then, one at a time, I added beads outwards around this berry, surrounding it, stitching the beads in random directions to fill the surface of the berry. More tips are included below.
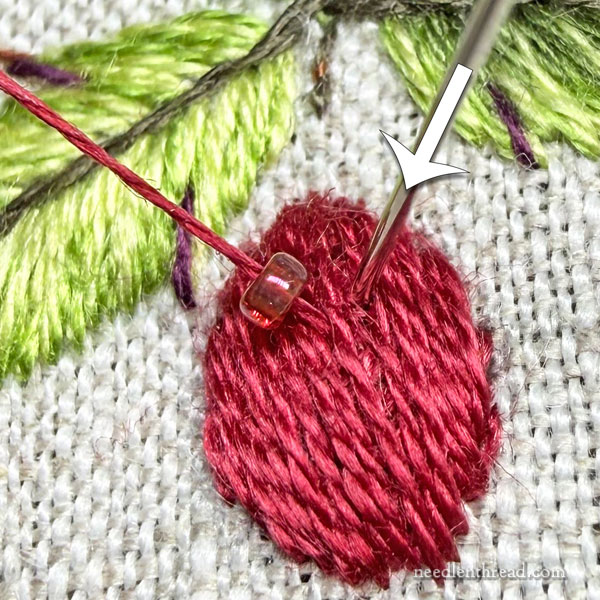
Sew the first bead on somewhere inside the berry. It should sit up like a tire. Sew through it twice.
Be careful with the tension on your working thread. Try to be consistent. You want the bead to be sewn on firmly, but you don’t want it to sink and get lost in the foundation. You also don’t want some beads to be sewn very tight, while others are sewn on much looser, so that you end up with an uneven surface. Try to pay attention to that as you go.
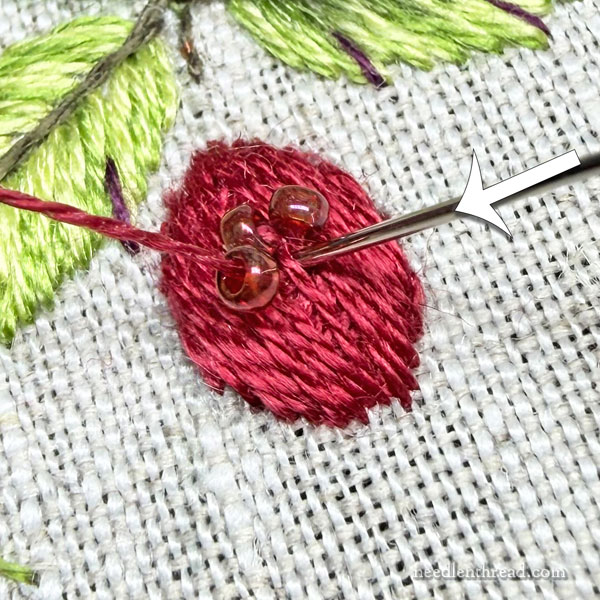
Then, sew beads individually close around this first bead. Work them in any direction – you want them to be rather random.
Sometimes, if the space gets tight, you might not manage two passes through the bead. That’s ok.
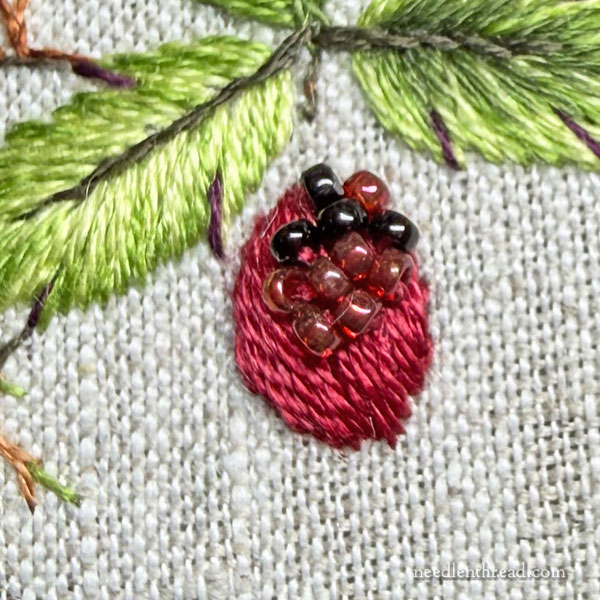
Continue to fill out towards the edge. If you are working a predominantly red berry, add in a few black beads, too, here and there.
As you work to the edge, keep all the beads as much as possible on the foundation. Don’t allow a whole bead to sit on the fabric. They should, for the most part, be completely on the thread foundation, because this is what will ensure a good shape.
It’s ok if a bead here and there might just barely overlap onto the fabric, but you definitely don’t want a whole bead off the padded foundation.
As you work near the edge, use the working thread to pull the beads inward and make sure they are firmly on the foundation and sewn down firmly.
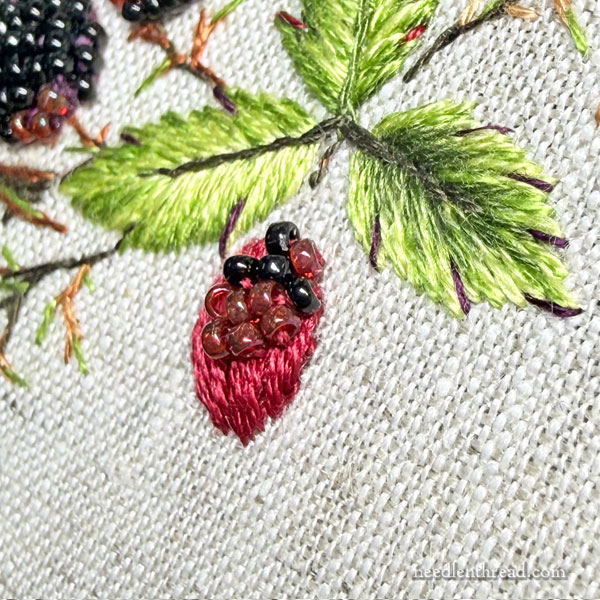
Looking from the side on this berry, you can see how the beads are turned to follow along the edge, parallel to it. Sometimes, your beads will be parallel to the edge like this. Sometimes, you might have to sneak a bead in that’s perpendicular to the edge.
It doesn’t matter – the direction of the beads is not the essential concern here. Instead, the essential concern is that the beads are worked close together, randomly, and that they cover the padded foundation without extending out onto the bare fabric.
It’s better to leave a tiny bit of embroidered foundation showing, than to try to cover it and end up with a whole bead entirely on the fabric.
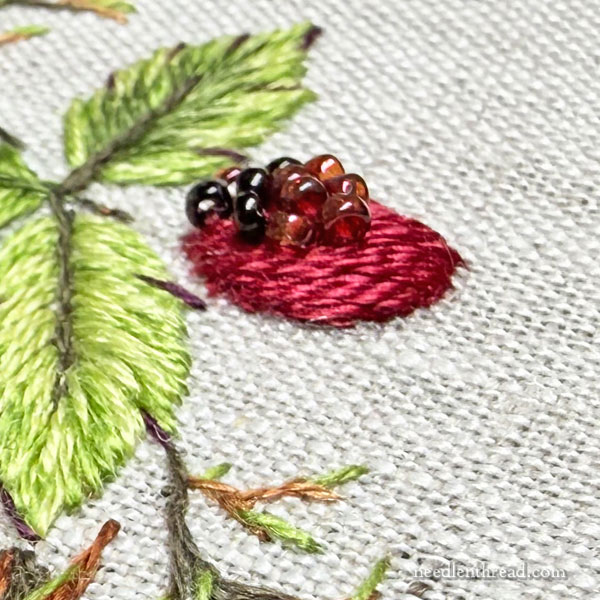
Here is the same berry, looking at it from the other side.
Fill the beads in, keeping them close and clustered.
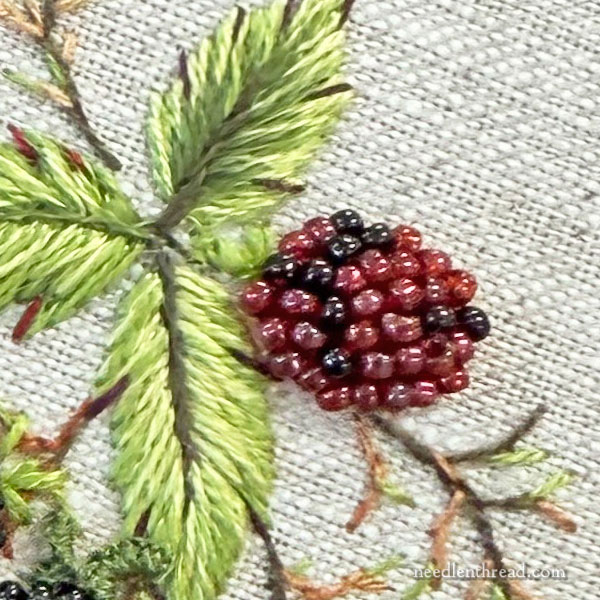
And here’s the berry, filled up!
Notice the addition of the black beads, too,
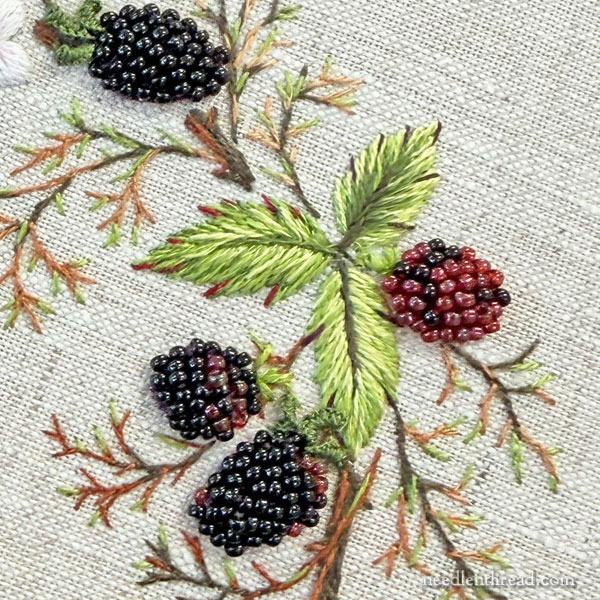
Notice in the image above that there are red beads on most of the black berries, and black beads on the red berry.
Notice that only the one large berry at the top of the photo is completely worked in black beads.
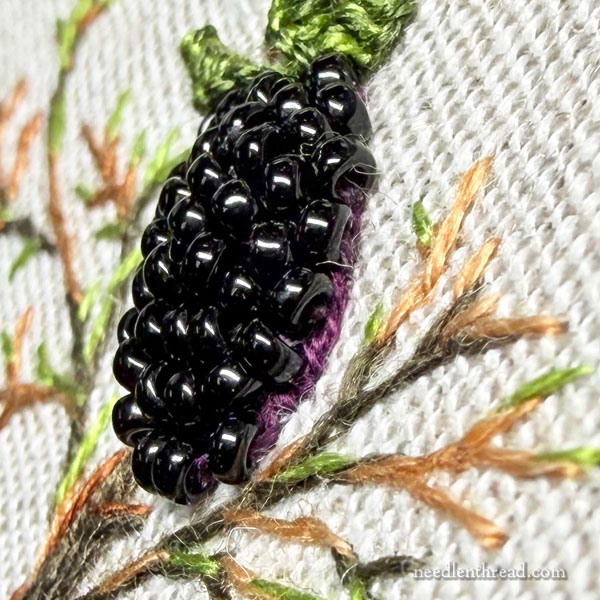
Notice that, from the side, you can see some of the floss of the foundation on this berry.
It doesn’t matter. Rather that, than the beads extending beyond the foundation. It is not noticeable in the finished project.
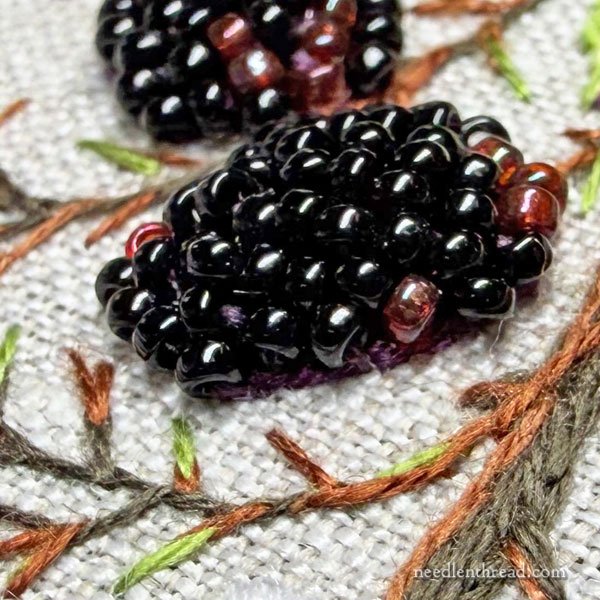
And notice here the occasional red beads.
The Calyx – Different Approaches: Simple is Better!
The blackberries have a calyx at the top of the berry, made up of sepals. This is the green cap right at the top of the berry. They tend to twist upward and dry out as the berry ripens.
On this piece, I experimented with two different approaches to the calyx. The easier approach, in my opinion, produced the better results.
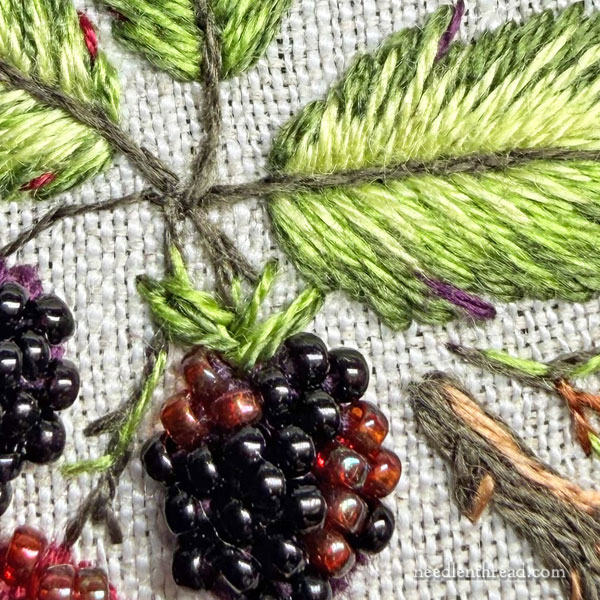
The easiest approach is to use two strands of green (they can be two different shades) in the needle, and to work a combination of daisy stitch and straight stitch fanning up from the top of the berry by the stem.
This is very simple and it looks good. There’s already a lot of greenery and twiggy bits around the berries, so this is a case where “less is more” – too much stitching here can look too cluttered.
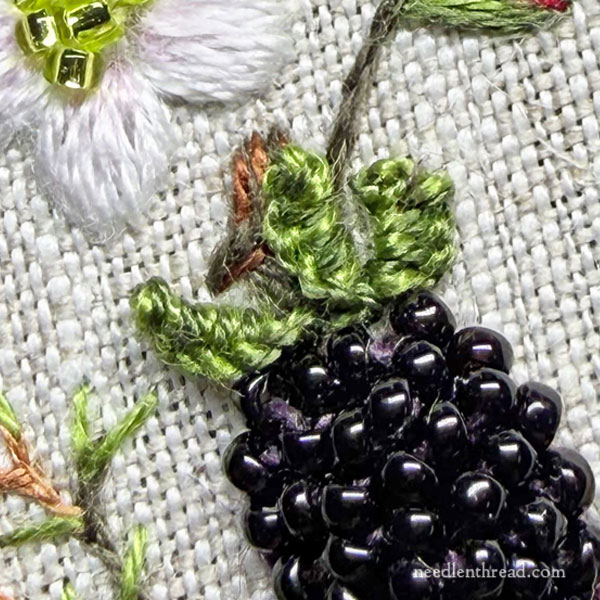
Because the sepals on blackberries are often somewhat withered looking and twisted up, I thought it might be fun to try some drizzle stitches at the top of the berries. In fact, I don’t think they look so great. They are a bit heavy for the piece, even when worked with just one thread, and they didn’t deliver the look I was after.
The drizzle stitches above are worked with two strands.
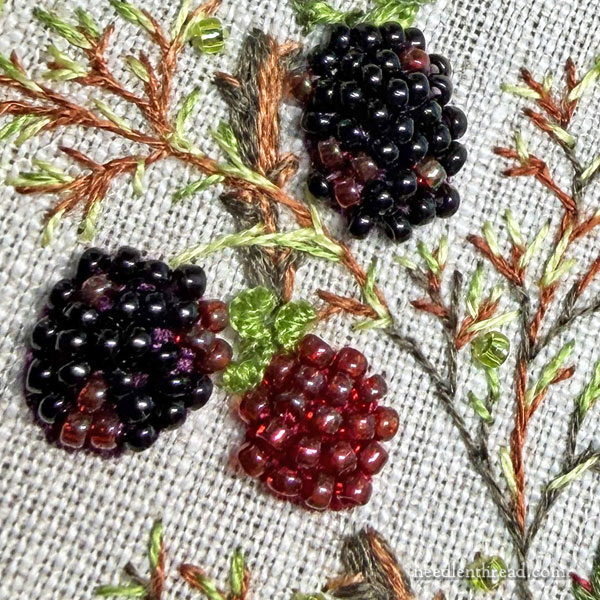
Even when worked with one strand, as shown in the photo above, they added a little too much clutter. In some cases, they tended to look Dr. Seuss-ish.
Still, I left some of them so that you can see what they look like. It might be something that you want to try.
If you’re not familiar with drizzle stitch, you can find a tutorial for it here.
You can find a tutorial for daisy stitch here.
Note that on some berries, the calyx isn’t necessary. I didn’t add a calyx to every berry, because every berry isn’t being viewed from exactly the same angle. It tends to look cartoonish when all the berries look exactly alike.
The Finishing Touch – A Sprinkling of Beads
Once your berries are finished, the last touch on the piece is a sprinkling of the bright green beads among the brambly bits.
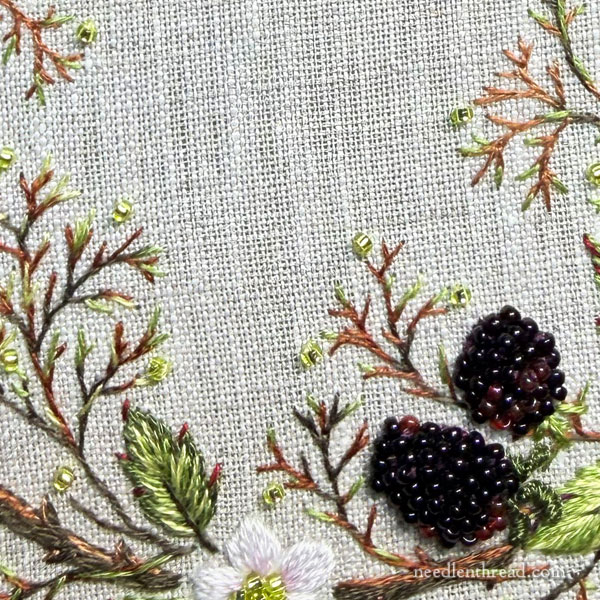
Using the medium green floss (one strand, waxed) and the smallest needle (#10), sew random green beads, scattering them among the twigs around the whole wreath.
They should be sewn up like a tire, with two passes through each bead.
Keep the spacing pretty distant – you want a light, airy affect, not close and cluttered.
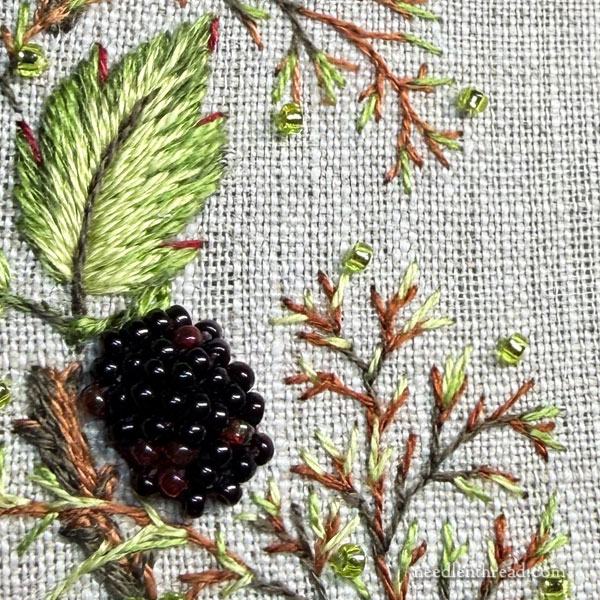
When moving a distance between these beads, turn your work over and run the working thread under the stitches on the back of the fabric. That way, you won’t have longer unsecured threads stretching across any distance on the back of the fabric.
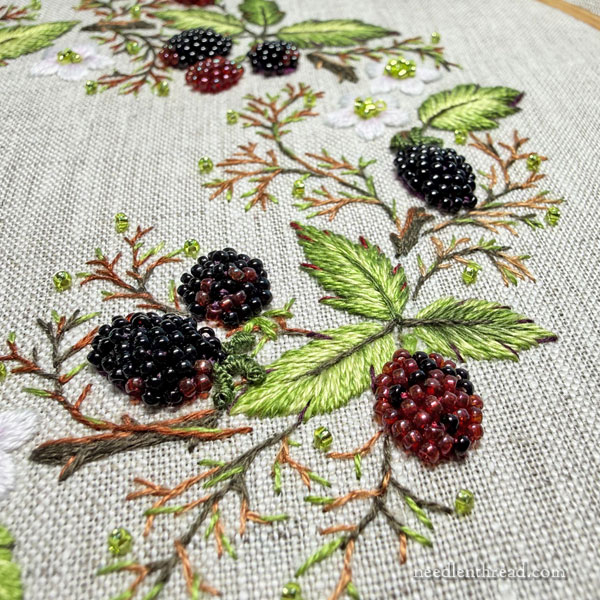
Try to follow a logical path around through the greenery, and work section by section around the wreath. Do not cross through the center of the wreath. Any time it looks like your thread is going to be considerably long (say, more than 2 inches), end the thread and start a new one. But always make sure you’re running those longer (up to 2″) threads underneath stitches on the back of the work.
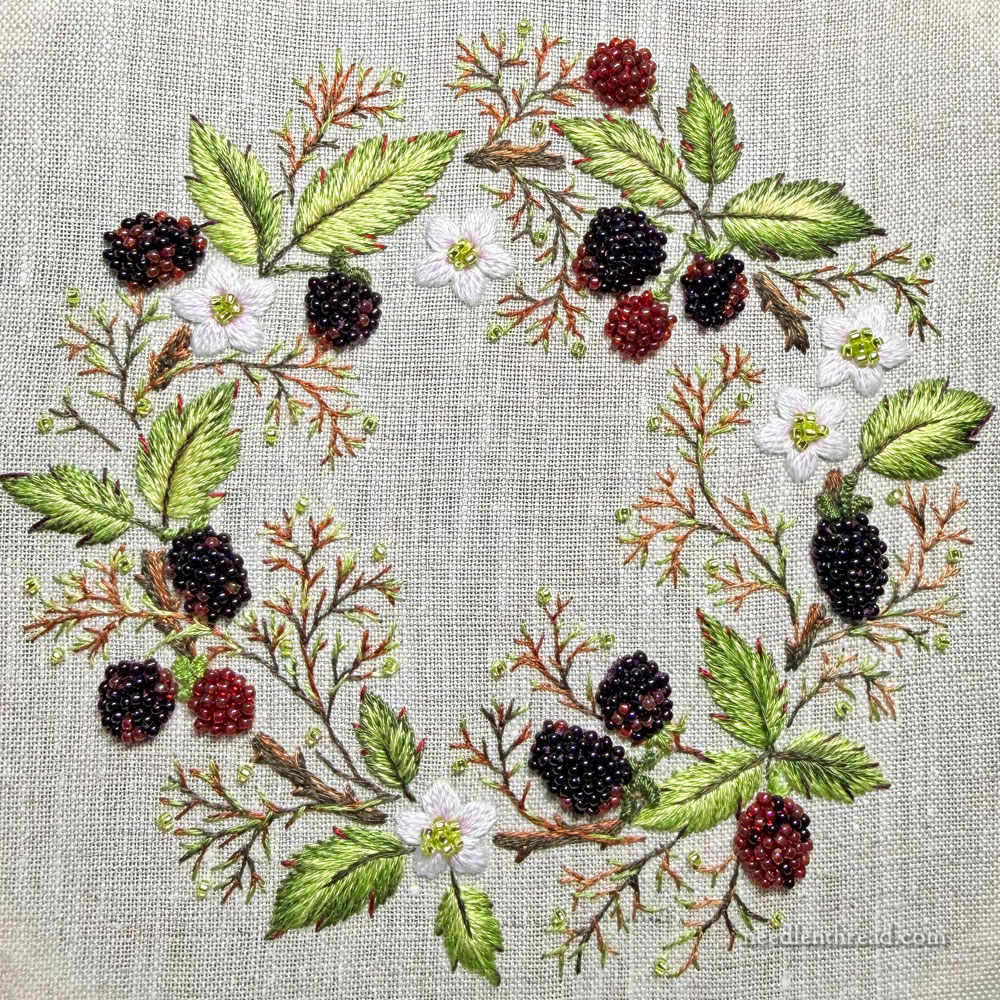
And just like that….
You’re finished!
In the next and final lesson, we will prepare the embroidery for framing.
Blackberry Kits
We will have more kits for this project soon. If you still want to pick up a kit to work this project, you’ll be able to access all the lessons in the Blackberry Brambles & Blossoms Project Index to stitch the piece at your own pace.
Hi Mary! I love this little design, and your blackberries looks so real! The addition of the red beads in the black berries looks very realistic! I do, however have a question: the thread used in the base of the berries does not look like DMC cotton thread, but more like crewel thread? Or is it just my imagination?
Yes, it’s your imagination. 🙂
It’s all DMC floss. Please keep in mind some of the photos are very close-up, so you can see the detail of what’s happening.