February 19, 2014
Starting and Traveling – Stitching Efficiency
Starting and Traveling. Are we talking about cars here, or embroidery?
My knowledge of cars being somewhat limited (does it start? do I like the color? this is where the gas goes…), I promise we’re talking about hand embroidery.
And not only are we talking about hand embroidery, but we’re talking about ways to make hand embroidery more efficient.
We all know that handwork is not the most time efficient way of decorating fabric. In the past hundred plus years, we’ve developed machines that can adorn fabric a whole lot faster than the hand-wielded needle. Yet there are some things we can do to make our hand embroidery more time efficient.
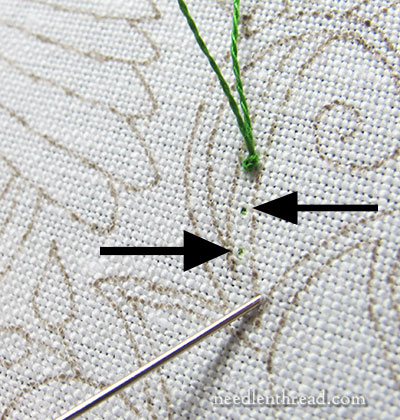
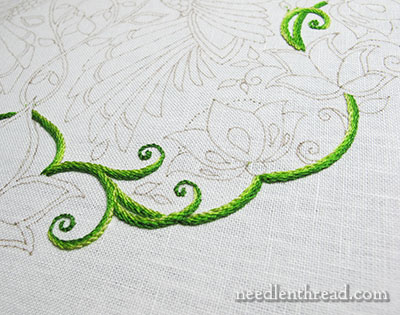
Today, we’ll talk about two ways that will clip a little bit of time and trouble off your stitching sessions: starting threads and traveling threads.