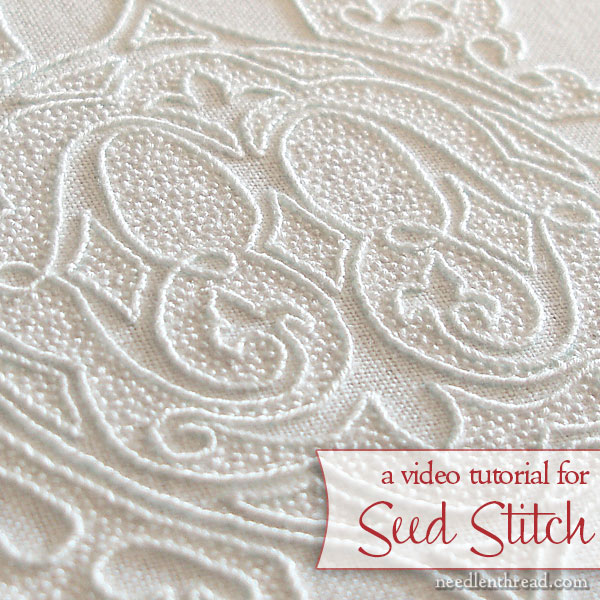
Here’s a video tutorial for the seed stitch used in hand embroidery. This is a very simple filling technique! Seed stitch looks great when it’s worked either in a uniform pattern (as it is in the video) or when it’s worked randomly. Some photos of seed stitching are also included.
Seed stitch adds not only color but also texture to an area that you want to fill. Depending on how you work it, seed stitch can provide heavy filling or very light filling. For example, if you want an area to be densely filled, work your seed stitches close together. If you want an area only lightly filled, work them randomly and far apart. You can also shade with seed stitch, by varying the proximity of your stitches. For darker shaded areas, the stitches would be close, and, as you work towards the lighter areas, you would space the little stitches out more. Think of stippling in art!
Essentially, seed stitch is merely tiny straight stitches. You can double them, so that two stitches lie right next to each other, or you can work them as single stitches, as I do in the video.
Here are some basic examples of seed stitch in photos.
 Continue reading “Seed Stitch Video Tutorial”


