This past summer, I had the pleasure of teaching a group of about 20 children how to embroidery. The girls were aged 9 – 12. We started with very basic stitches, working on cotton twill, with #5 perle cotton. We used a butterfly cookie-cutter as a design template (50 cents at Wal-mart), along with a ruler and the inner ring of smaller hoops for circles. We used water-soluble transfer pens to draw the designs.
We began with the most basic stitch, the running stitch, and progressed to the whipped running stitch, the backstitch, the whipped backstitch, stem stitch, chain stitch, buttonhole stitch, feather stitch, lazy daisy, and French knots. By the end of the summer, the girls were stitching on linen with two strands of DMC, and embroidering bouquets of daisies with stems and bows.
I thought I’d share some of their early to mid-way work. They had a lot of fun creating these. The variety in color and the fact that they were stitching things they thought were pretty – butterflies, flowers, hearts, and such – made them extra-enthusiastic.
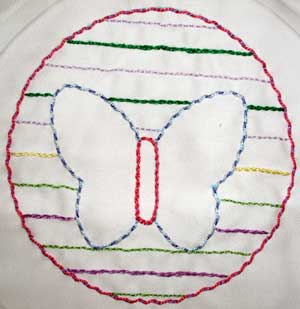
A butterfly within a circle, with multiple lines done in a variety of line stitches.
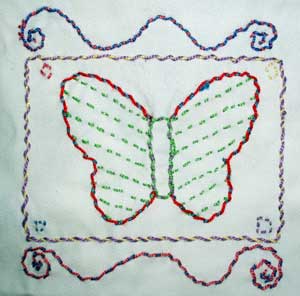
Squares and curly-ques
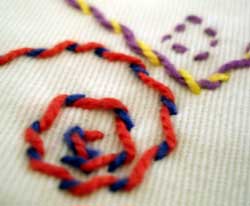
Close-up on the curly-ques
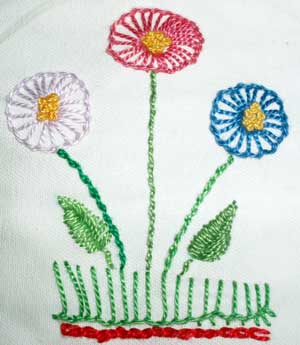
Buttonhole flowers with French knot centers, buttonhole grass, and feather stitch leaves – the stems are stem stitch, and the red line at the base is chain stitch.
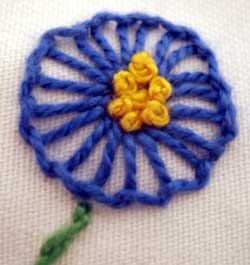
A great job on the buttonhole stitch and the French knots! (10 years old)
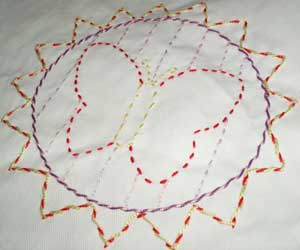
A butterfly in a sunburst
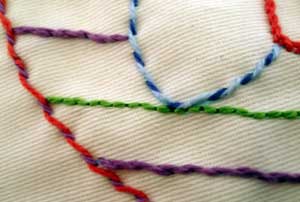
A close-up on various stitches employed: whipped running, stem, and backstitch are featured here.
If you start off simple, most children who are interested and enthusiastic can learn simple stitches very quickly. Once they can see progress with simple stitches, they are eager to learn more complex stitches. It takes a little bit of patience to teach young children, but it is really a blast!! If you ever have the opportunity, give it a try! The supplies are few, the rewards great!


hi mary thank you so much for sharing a lot’s of techniques stitching for me..i just want to asking can i apply this techniques for smocking dress pattern also?thank you again:p
Thank you so much for your video tutorials, and sharing your vast knowledge of hand embroidery! I homeschool my children, and discover that I tend to school myself first! Your tutorials are easy to understand and fun to watch! My children will learn embroidery because of your willingness to offer this information freely. Thanks again!
Hi, Mary,
Did you have the kids use hoops?
Do you recommend a specific size?
Thank you
They used a 5-inch hoop. If you start kids on wool felt, though, you don’t need a hoop. So that might be an alternative, if you want to avoid a hoop.
Am very interested in in clear sticky Solvy for transferring designs, stitching through then dissolving, what exactly is this called? The only one I can find is paper like and sometimes difficult to stitch through. Any help would be greatly appreciated! Katie x
Hi, Katie – the clear is not sticky. It’s almost like a thick plastic clear-ish film (not sticky like cling wrap, and quite a bit heavier), and you have to either baste it onto your fabric or put it in the hoop with your fabric. You can’t print on it, but you can draw on it with a permanent marker or pen. The only printable kind that is also sticky is the type you’re talking about, that’s a little fuzzy-paper-like on one side and sticky on the other.