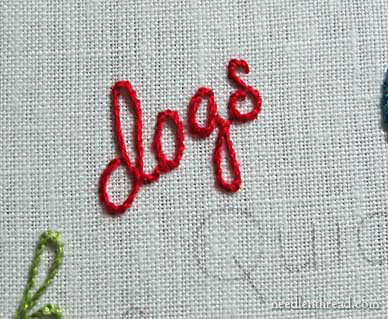
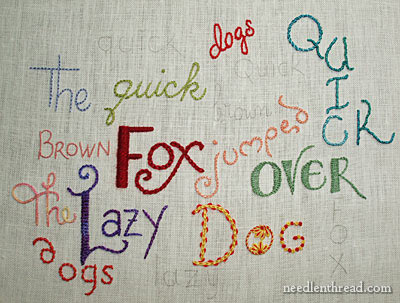
Here’s a wee word worked on my hand embroidered lettering sampler. I’m working in stem stitch, and since we’ve already covered the ins and outs of embroidering letters with stem stitch, today I’ll just show you an update on the sampler with this new addition.
If you’ve not read the tutorial on working with stem stitch on hand embroidered lettering, you might want to check that out. All the principles apply here, even when working the S. The trick is just to turn your hoop as you work, to keep the stitch going in right direction.

This is one of the little “extra” words floating at the top of the sampler. I stitched it in a deep red cotton floche. I really like floche!
Remember, as you work around tight curves, shorten up your stitches so that they take the curve well. Actually, when you’re stitching letters this small (about half an inch high), all your stitches will be pretty small!

And here’s the sampler so far!
You can catch up on all these tutorials by visiting the complete list of hand embroidered lettering and text tutorials.
If you have any questions, feel free to leave a comment below!


I'm so used to seeing the detailed, up close pictures you share, I forget the actual sizes involved. So "dog" is only about 1/2 inch? Wow!
I am making a quilt with 5″ blocks. Each block has an appliquéd flower centered on it. I want to embroider the name of the flower on the bottom. It’s regular quilting cotton. The letters will be 3/8 ” tall. Will print or cursive be easier? Can I use Perle cotton thread?
I love your tutorials. They have been excellent.
Hi, Jane – I think on letters that small, you’ll want to use regular cotton floss, just one strand or maybe two, from the six. Since they’re so tiny, I’d probably go with print, though in one strand of floss, cursive would probably work, so it depends on what look you want, really.