


Lately, we’ve looked at quite a few simple ways to add beads to embroidery stitches as part of the Stitch Fun! series here on Needle ‘n Thread.
In this exploration of embroidery with beads, if you could take away just one lesson from the various tutorials, I’d want it to be this:
It’s easy to add beads to practically any embroidery stitch.
Sometimes, we think embroidery is Much More Complicated than it really is. And adding another element to it – like beads – can seem daunting. But the key is to try – play with your stitches and see what you can come up with! Really, there’s not a lot to it, when it comes to adding beads to any embroidery stitch.
Case in point: adding beads to cast-on stitch. I’ll show you how simple it is!

Cast-on stitch is a dimensional embroidery stitch that can be used for creating different elements in surface embroidery. It’s frequently used in Brazilian Dimensional Embroidery, but also just as readily used in regular surface work, in crazy quilting, in stumpwork – it can fit in just about anywhere you want to add a little texture to your embroidery.
If you’re not familiar with cast-on stitch, check out my cast-on stitch video, or take a look at this tutorial for a simple cast-on stitch flower. If you want to kick that flower up a notch into a full-fledged rose, this tutorial for a rose embroidered with cast-on stitch will show you how.
Today, we’re going to look at one simple method for adding beads to the cast-on stitch.
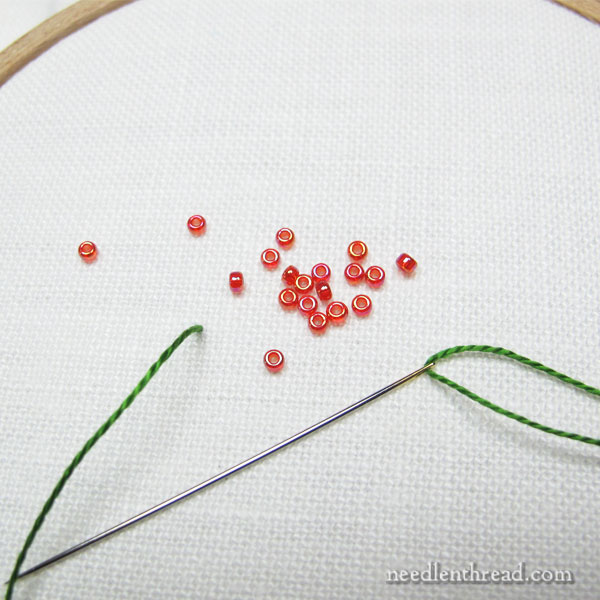
For this tutorial, I’m using linen for the ground fabric, #8 DMC perle cotton for the thread, size 11/0 seed beads, and a milliner (or straw) needle that I think is a size 8.
With cast-on stitch, a milliner needle is the best option, because the size of the eye and the shaft are the same, making it easier for the needle to pass through the wraps and, in this case, the beads.
Before you start stitching, it’s a good idea to make sure that your thread and needle will pass easily through the beads. I usually test mine by threading the needle the way I plan to use it, and passing a few beads onto the needle and over the eye. If the needle and thread pass through easily, I’m good to go! If they don’t, I have to rethink either my thread, my needle, my beads, or a combination of any or all of the above.
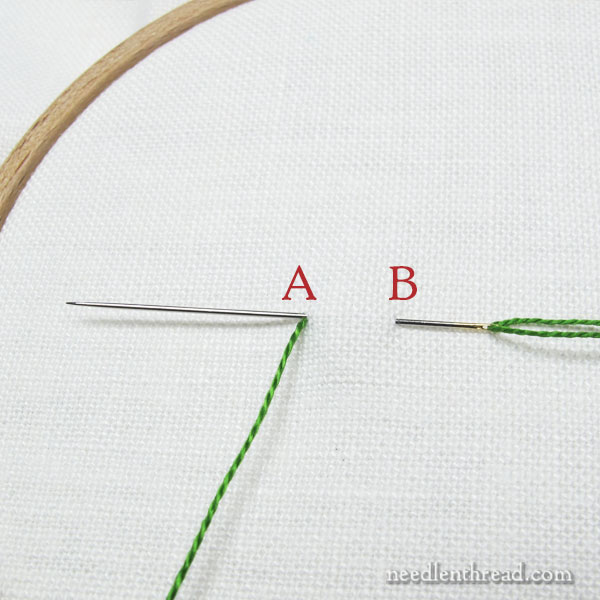
Here’s the typical needle and thread configuration for the beginning of the cast-on stitch. The thread comes to the front at point A, the needle is taken down at a point (B) away from that (the distance from A to B is the length of the cast-on stitch), and the tip of the needle is brought out again at point A, above the thread and in the same hole.
The needle is left on the surface (as shown above) while the stitches are cast onto the tip of the needle.
Again, if you’re unsure of how to cast on the stitches, watch the video!
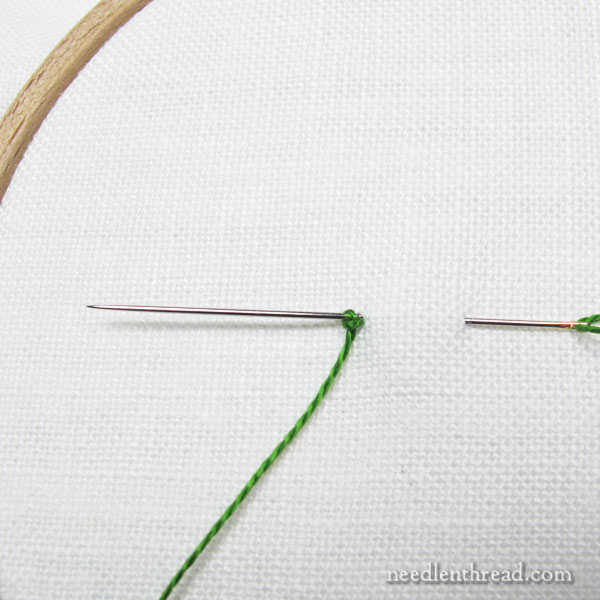
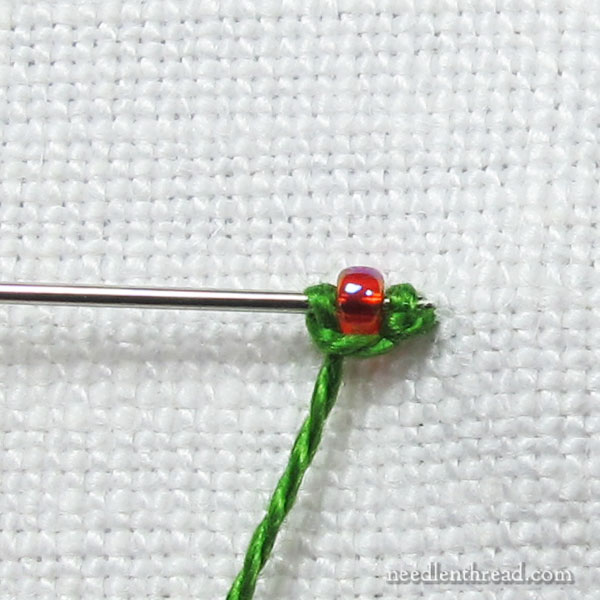
Cast a stitch onto the needle. Just one. All by itself.
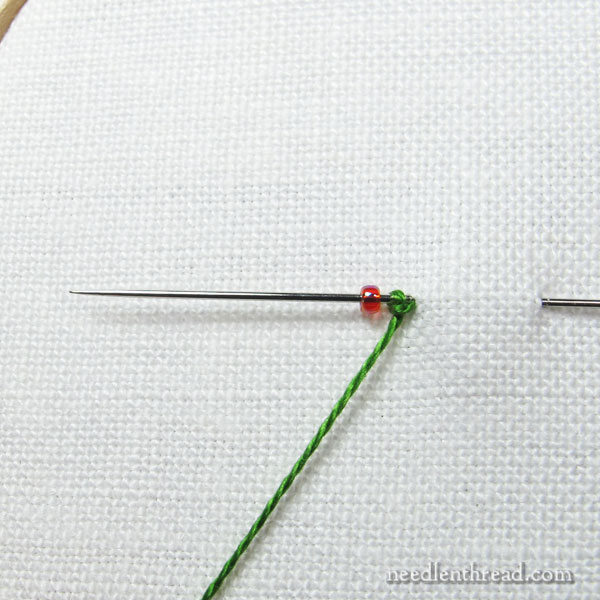
Then stick a bead onto the needle.
This is the hardest step, because you can’t scoop the bead up with the tip of your needle. You have to put it on directly with your fingers. Watch the tip!
Then cast another stitch onto the needle, so that you have a little cast-on-stitch bead sandwich.
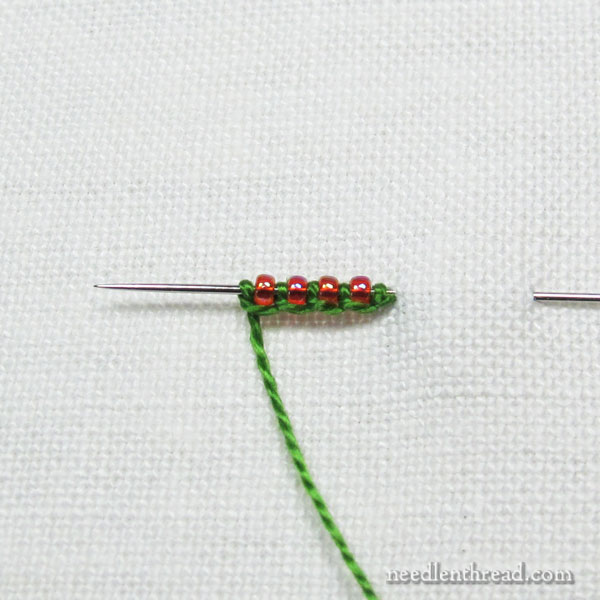
Continue alternating beads and cast-on stitches onto the needle, ending with a cast-on stitch.
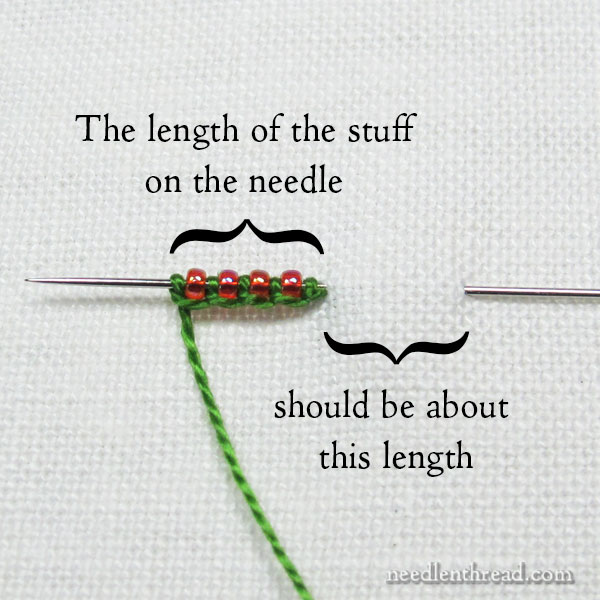
The length of the stuff filling the tip of your needle should be approximately the length between A and B on the fabric, if you want the stitch to lie flat on the fabric.
If you want the stitch to arch (for example, in making cast-on stitch flowers or roses) then the length of the stuff on the needle should be longer than the distance between A and B. How many stitches and beads you fill on the tip of the needle, in relation to how much smaller the distance between A and B is, will determine how much of an arch your stitch has.
In this case, we’ll just make a simple cast-on stitch that lies flat on the fabric, but definitely experiment with arches and loops in cast-on stitch with beads – they look great!
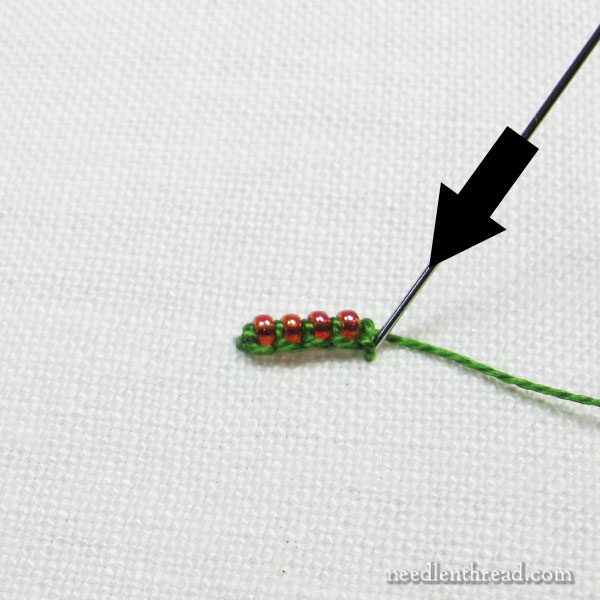
Pull the needle and thread through the cast-on stitches and beads.
As you pull through, the whole stitch will pull over to cover the space between points A and B. Tighten the stitch and take the needle and thread to the back of the fabric at point B, to end the stitch.
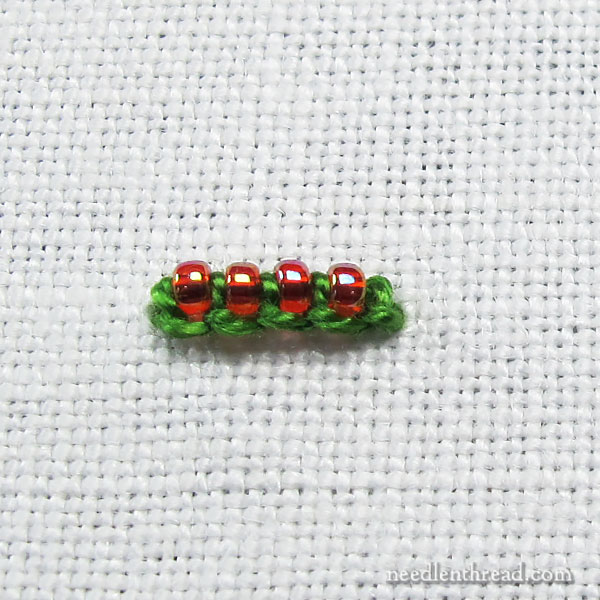
Cute, isn’t it?
And oh! The possibilities! Flower petals and leaves (when worked in loops and arches), textural accents, little caterpillars…
Now that you know how to add beads to cast-on stitch, it’s time to go forth and experiment! Try mixing up thread weights and bead sizes and shapes – tiny delicate beads with finer threads, larger beads with heavier threads, big loops, small arches.
The beaded cast-on stitch just cries for experimentation, so don’t hesitate to play around with it.
The world is your oyster – go stitch it!
Looking for More Stitch Instruction?
If you’re looking for more embroidery stitch tutorials, you can find over 75 video tutorials for embroidery stitches here on Needle ‘n Thread, and a long list of step-by-step photo tutorials for all kinds of more complex, fun, or obscure stitches in the Stitch Fun! index.
If you have a stitch or technique that you’d like to see demonstrated on Needle ‘n Thread, why not drop me a line and let me know? I love fiddling about with stitches, so if you have trouble working one out, I’d be glad to help!
Like what you see?
If you enjoyed this article and you’re looking for more inspiration, information, and instruction on hand embroidery, why not sign up for my daily newsletter?
There are all kinds of reasons to have Needle ’n Thread delivered to your inbox – check them out and sign up today!
Dear Mary
Great tutorial I really like the stitch fun series and I like beads and embroidery and with the cast on stitch using beads I can see there are a variety of ways to create different styles of the stitch and there are many oysters to stitch. Thanks for sharing the tutorial on the beaded cast on stitch and for the related webstites they are great, I must experiment and play around with the stitch.
Regards Anita Simmance
Ah, thank you! Why didn’t I think of this?? I’ve been pondering trim options for the Christmas stockings (the ones with the Sampler Alphabet monograms on them)… Decision made!
beautiful stitch, thanks
Love your idea and hope it motivates others to see Brazilian embroidery techniques now with beads and other fibers. There have been stitches only illustrated in texts for this and when friends (you know who you are) give up because of the usual rayon threads involved, they miss opportunities for such dimensional embroidery. Thanks, as always, for your great inspiration.
You “think” it is a milner #8????!!! Where are those Needle ID cards when you need them!!
I know!! I need to dig those out! I had 7’s and 8’s out in abundance, so it is one or the other! :-/
Me gustó. Bella forma de aplicar mostacillas o perlas.
Saludos,
thank you, Mary!
your posts are always so informative and inspiring! you’re right, I ought to experiment more with beads and pretty much every stitch you can attach one to, they are way easier to deal with than I imagine them to be 🙂
happy stitches,
chiara