


Today, just a quick little stitch tip to start your week off – and hopefully to make your embroidery quicker and easier!
Last week, we talked about the back of embroidery projects and I shared three tips to help you keep the back neat when it matters. Among those tips, we looked at how to start and end threads in a way that reduces “tweakers” (loose thread ends) on the back of our work.
This particular thread-starting tip that I’m going to share today is a quick and easy one that I use quite frequently, if all the stars are aligned and I’m working in exactly the right circumstances – which happens pretty frequently!
The first circumstance that has to be correct when using this no-knot start is that you’re stitching with two strands of embroidery floss.
Well, I take that back.
You can apply the principle of this trick to any embroidery that’s worked with any even number of strands. It won’t work with one strand, or three strands, or five – but it would work with two, four, and six. However, the more strands you’re using (four and six), the more awkward the start would be. It works great with two strands of floss, which happens to be a pretty common choice for numbers of strands to stitch with.
This no-knot starting trick also requires that either the first formation of your stitch is a straight stitch of some sort, or that you work a straight stitch to anchor the thread and then stitch over it with your other stitches.
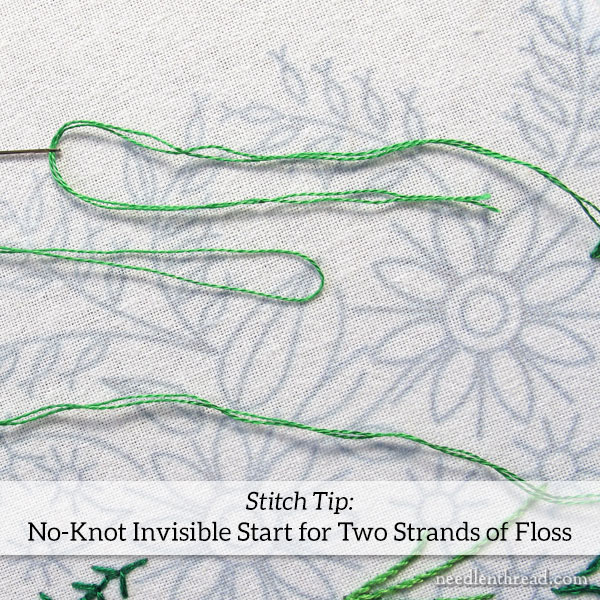
Let’s take a look. It’s a super easy, super quick, and super secure start, with the advantage of being practically invisible.
We’re going to assume that the plan is to stitch a line of stem stitch with two strands of embroidery floss in the needle.
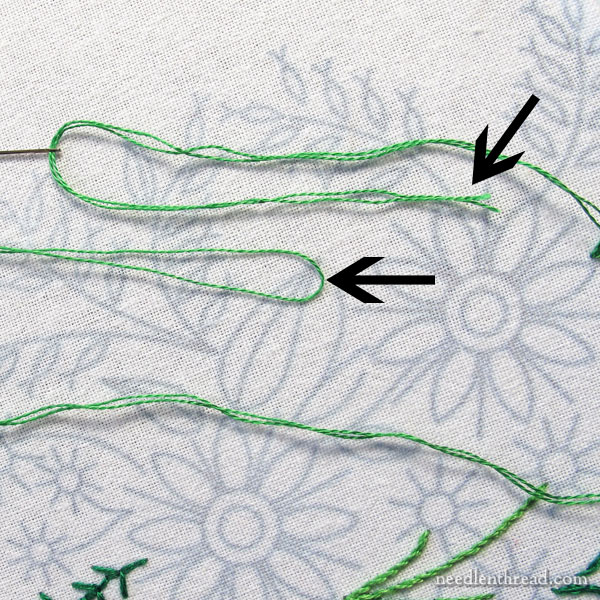
When you cut your stranded cotton, cut double the length you normally would. If you’re accustomed to working with about 18″ of floss in the needle, cut a 36″ piece from your skein.
Strip one thread from the six. Here’s a tutorial on stripping or separating floss easily and avoiding tangles in the process.
Fold the thread in half (the arrow in the center of the photo above points to the halfway fold in the thread), and then thread the two cut ends into the eye of the needle.
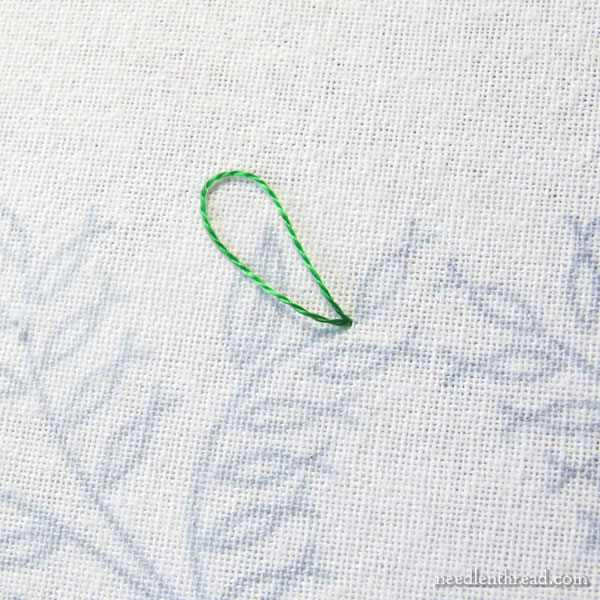
Take your needle down into the fabric from the top, at the beginning of your line that you want to stitch.
Don’t pull all the way through. Leave a loop on the top of the fabric.
Go forward a whole stitch length down the line you’re going to stitch and bring the needle back up into the fabric and into the center of the loop on the front – just as if you were making a daisy stitch, for example.
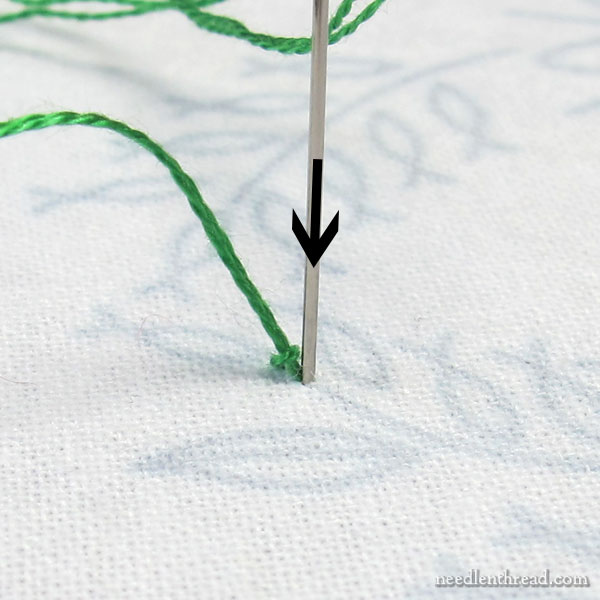
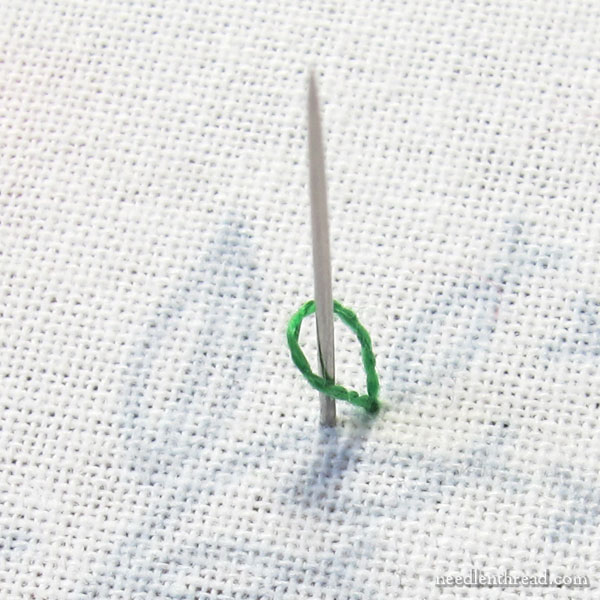
Now take the needle down into the fabric over the loop, just like the anchor stitch for a daisy stitch – only make certain that the needle goes down into the same hole it emerged from.
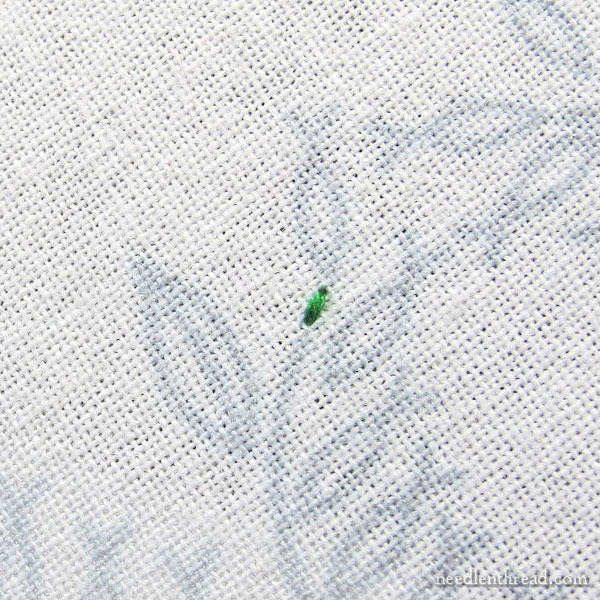
Give the thread a little tug as you pull through, to pop the end of the loop through to the backside of the fabric. You’ll end up with a small two-stranded straight stitch on the fabric’s surface.
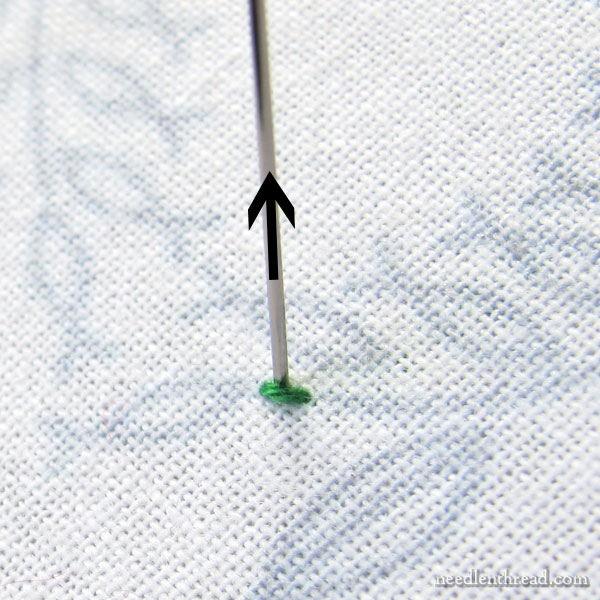
This is my favorite way of starting a stem stitch line when I’m working with two threads. I just bring my needle up on the design line about halfway between the start and end of that little stitch, nudging the stitch out of the way so that it’s below my needle.

And then I stitch my stem stitch line and that’s it! No waste knot to deal with, no thread to worry about catching on the back. Super Simple!
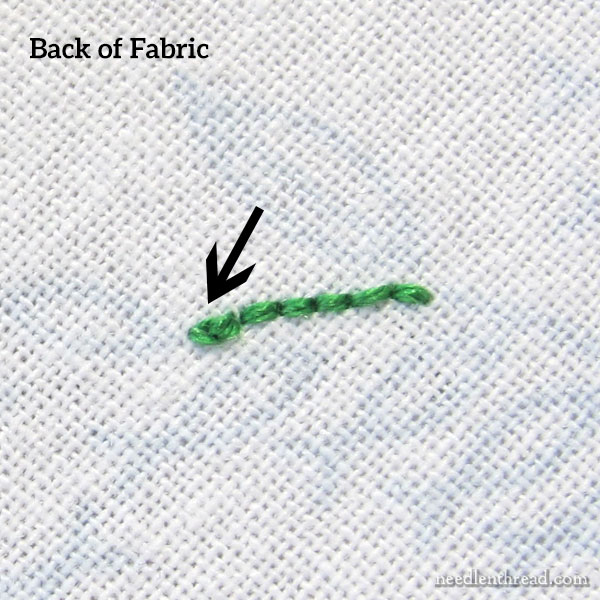
And the icing on the cake? It makes a pretty clean start to a line of stitching, when looking at the back of the fabric.
So there’s your little tip for today. Now, go forth and spend some quality time with your needle and thread!
Looking for More?
Looking for more tips and techniques to make your embroidery easier? You’ll find all kinds of them listed on my Tips & Techniques Index on Needle ‘n Thread. Why not have a browse? You never know what vital information you might pick up!
Very clever. I have never seen this method and wish I had invented it. Thanks Mary.
Thanks Mary for the tip. I was using this technique keeping the loop on the bottom of the fabric. Can you do it either way depending on what type of stitch follows the loop? It looks great for the stem stitch, so I will try that.
It doesn’t really matter if you do the loop from the top or the back, but if you work it with the loop on the back, you wouldn’t pop it through to the front, if that makes sense. Working the loop on the top eliminates the necessity of turning your hoop or frame over, which can be handy if your work is attached to a stand or if you’re working on a large frame.
I love using the loop method to start. And I love that you do it from the top. Many of my friend use this trick but bring up from under the fabric, take needle down and then have to flip the fabric to connect into the loop. Seems more work that way. 🙂
This is an invaluable technique for double running stitch pieces, especially those that are intended to be two-sided. It cuts down by half the number of ends that have to be invisibly finished off. I use it all the time for projects that are stitched with an even number of strands.
Dear Mary
I’ve not seen the loop method of starting a thread before, what a great thread-starting technique and so easy to apply and great when the back of embroidery will show, no lumps or bumps on the front or back. I will certainly use this method in future when using more then one even, strand of thread. Thanks for sharing with us this very useful no-knot technique and for the photo tutorial.
Regards Anita Simmance
This is one of my favourite starting methods. I especially like it for 2-stranded French knots. If only there was an equally elegant method for finishing off the threads!
Hi, this looks like handy and very neat trick but when I took a class years ago, I was taught to separate the strands and make sure our two pieces of thread faced the same direction or I guess what you would call “have the same nap” so that the embroudery/ cross stitch, etc. threads would like smoothly next to each other.
Wouldn’t the method you just described give the threads an opposite nap, or is that method no longer used?
Hi, Cathy – I’ve written an article on the subject here: https://needlenthread.wpengine.com/2015/08/thread-talk-the-debate-i-dont-want-to-have.html
I grew up using something quite similar to this, but from the underside, as others have said – mostly for cross-stitch. Nice to know it’s a legitimate method and not just a sneaky trick!
Wonderful tip, thank you for sharing!
This embroidery tip was perfect for my current stitching project. I am working on a portrait of my first niece who is 6 months old. Thanks again, Mary, for another helpful idea.
I saw this post just when I finished a blackwork piece of a cathedral that uses 2 strands to do all the outlines. I tucked the info in the back of my mind because I had another one to stitch, which I started this week.
Wow, what a difference it makes! The back of my piece is so clean and neat. No thickness from away knots. I will never forget this wonderful way to start 2 strand starts again.
Thank you so much.
this stitch absolutely changed my life!! everything on my embroidery looks SO much better now without all those lose ends
I LOVE your website. I’ve learned so much and your instructions are perfect. With regard to this particular page — this technique works great for beading with invisible thread as well. I just tried it on my art quilt and it made it SO MUCH easier, mainly because the thread is too slippery to hold a knot. Thank you so much for sharing this tip.
So very snazzy. Where has this information been all of my life?!
Thank you, Mary
Self taught newbie here! Do you have a list of stitches this would work with? I hate the bulk of a traditional knot on the back, especially when I go to iron. Any tips and tricks are very much appreciated!!
Thanks!!!
Any stitch that 1. uses two strands of floss (so you can fold a single strand to double it in the needle) and 2. starts with any kind of straight stitch as the first movement, OR 3. that you can start with a tiny straight stitch and then cover with the rest of the stitched line.