Last week, we explored an extra-wide cast-on embroidery stitch, using two needles to help form wide loops for the cast-on stitch.
Today, we’re going to look at a second approach to the same concept.
Before we start, if you’re not familiar with cast-on stitch, you might want to watch the video tutorial for cast-on stitch here, and you might check out the other instructional resources listed at the beginning of last week’s article. it helps to have a good idea about how the basic stitch is formed before getting entangled in adventurous stitch play!
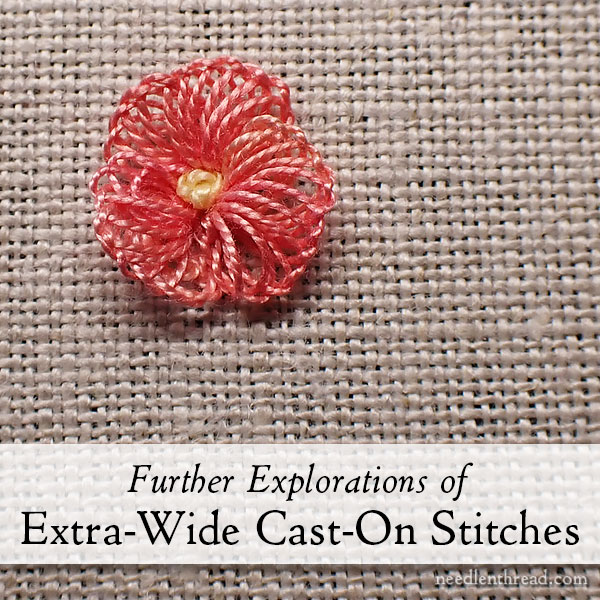
In today’s installment, we’re going to make the extra-wide cast-on stitch, and then I’ll explain how I formed it into a flower.
As you’ll see, this approach is somewhat less fiddly in some respects than last week’s approach.
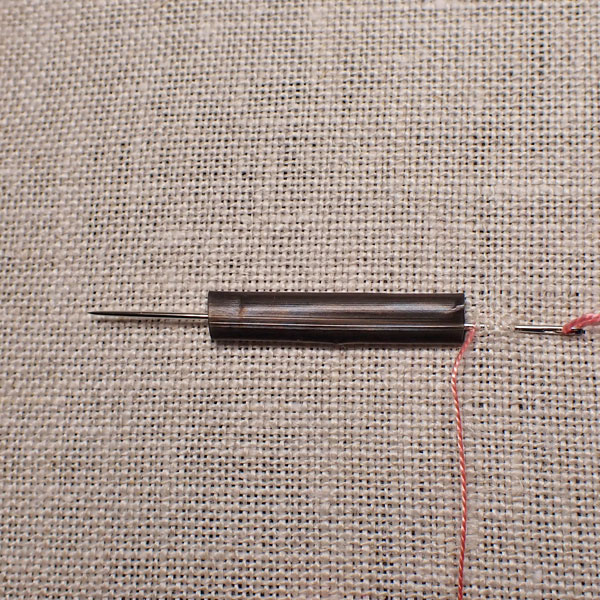
For starters, we’re not using two needles!
There’s an advantage and a disadvantage here. When you’re using two needles, you’re using ready-made tools that most embroiderers have on hand. When you start substituting found items, they aren’t necessarily universally accessible.
In the photo above, I’m using a small plastic stir stick (which is just a very small straw) from the local coffee shop as my form for my wide cast-on stitches.
If you don’t have access to something similar, you could make your own straw out of card stock or an index card, or something similar. Just cut a width of it and fold it in half and tape so that you have a flattened tube. That would work, as long as you can avoid any sticky part of the tape coming into contact with the needle or the thread.
I cut the straw down to about an inch long, and I smashed it as best as I could into a flat plastic straw instead of a round plastic straw.
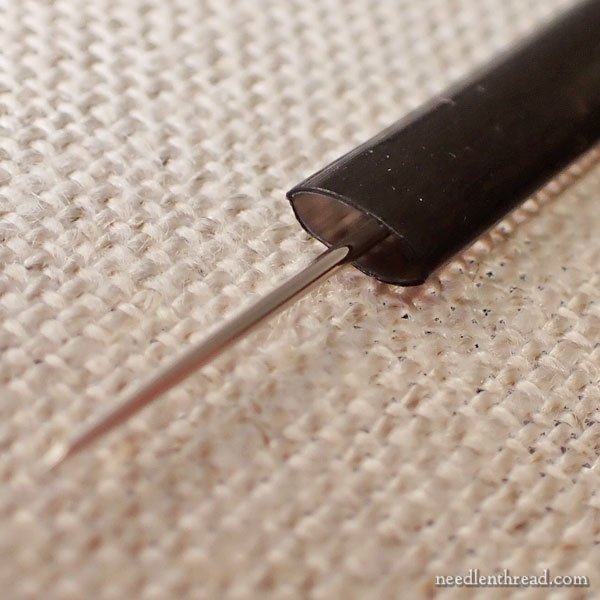
Is the smashing part essential? No, not really – but I found it easier to control the cast-on stitches on the flattened straw than on the round straw.
The straw should be cut relatively small. You should have enough space to comfortably work all the cast-on stitches that you want to work, but still be able to thread the needle all the way through the straw. You have to be able to pull the needle through the fabric and out of the straw, and you can’t do that (easily, anyway!) if the straw is longer than the needle.
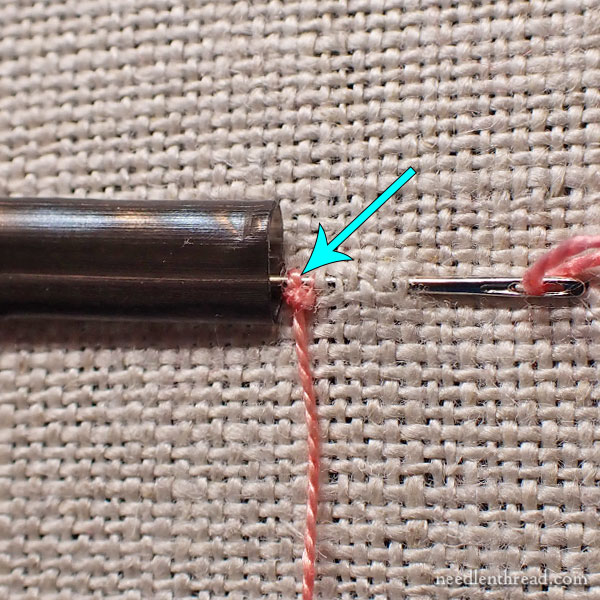
Just like I did with the two-needle method from last week, I started with one cast-on stitch on the needle, before casting onto the straw.
In hindsight, I really don’t know if it makes all that much of a difference to have these tighter cast-on stitches at the beginning and end of the looser loops, but it seems that it adds a little more stability to what are otherwise very loose and unstable loops.
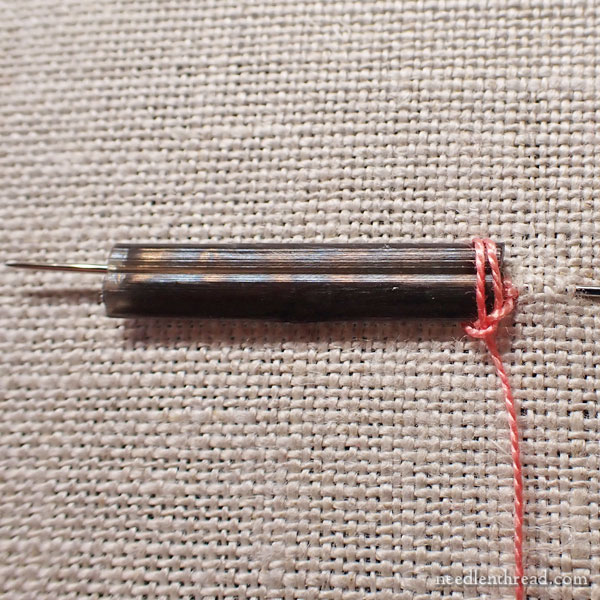
Then, you’ll just cast on the rest of your stitches right onto the straw. You can see that my first stitches that involve the straw are sort of half-on, half-off, as they pull towards that first stitch on the needle.
This turned out to be a good thing, actually. I preferred that there were smaller loops on the outer edge of this whole configuration. It seemed to look better than cast-ons that were worked directly onto the straw without any gradual increase in size.
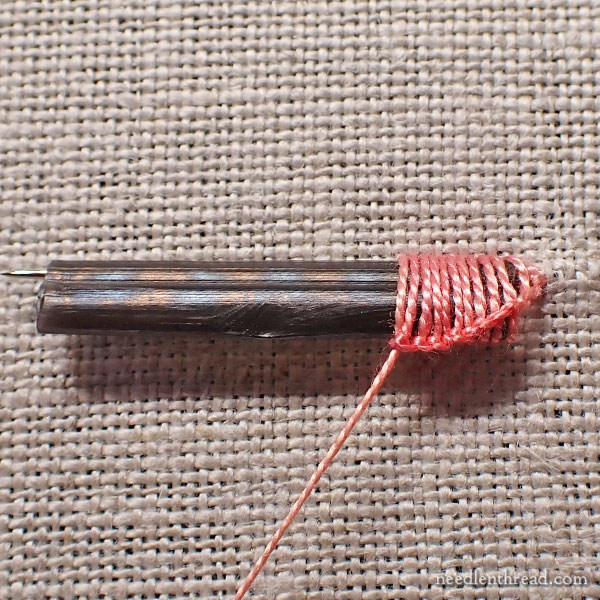
And here we have all the cast-ons.
The difficulty at this point is that I can’t decrease the size of the closing cast-ons, because the bit of straw is in the way. I need to remove the straw to manage decreasing the size of the cast-ons.
i could possibly have cut the straw down to a much smaller size, but if the piece of straw is too small, it becomes increasingly more difficult and more frustrating to keep the cast-on stitches in place on the straw as you’re working the wide ones.
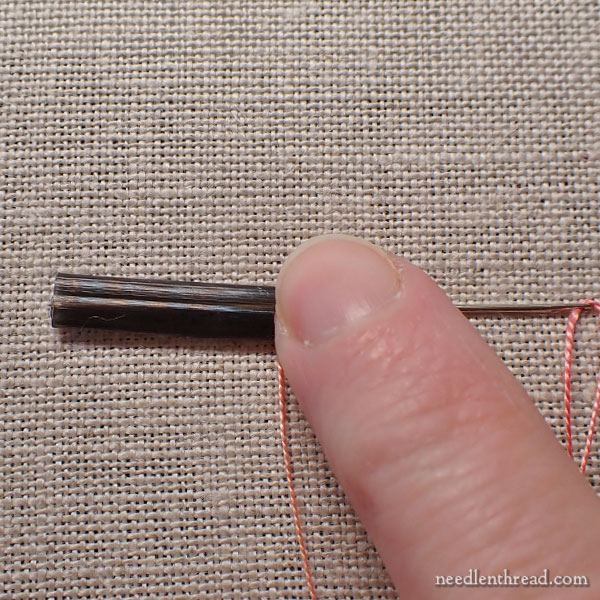
So it’s time to remove the straw.
Place your finger on top of the loops and hold them in place while you slide the straw off the needle.
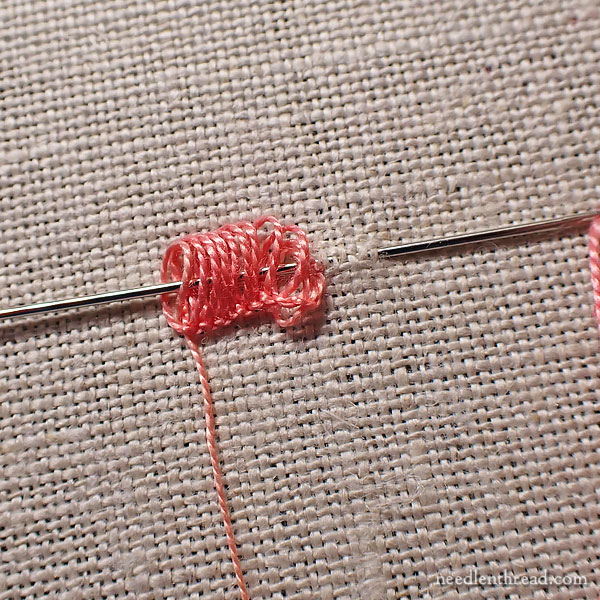
And here we are, with that configuration of open, larger loops on the needle.
*Sigh* This is not the kind of configuration I like, in embroidery. It makes me feel as if things can go south pretty quickly, with just one wrong move!
(This is Control Freak Me showing through.)
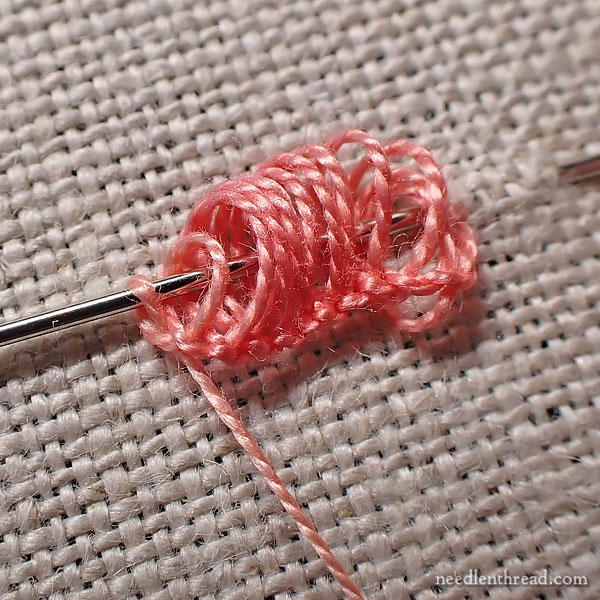
I want a tighter cast-on stitch at the end of this row, so I’m very carefully casting on one more stitch and pulling it gently, to bring the second to the last stitch in just a tiny bit, too.
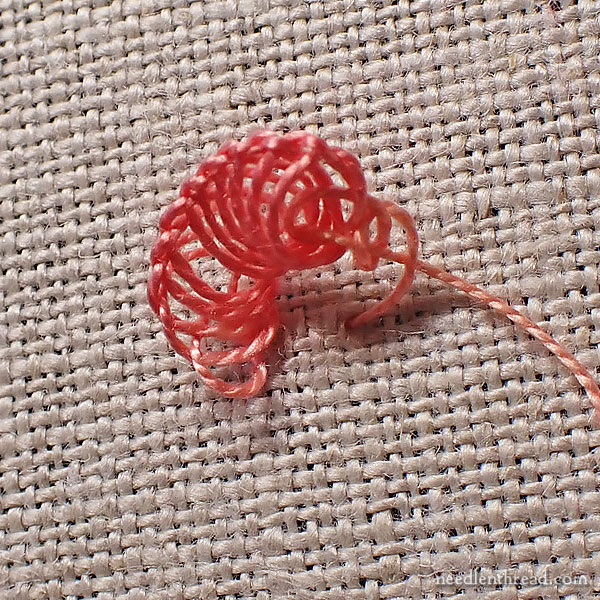
Then, we need to flip the stitch back to the right, to the beginning of the stitch, and move the buttonhole edge to the upper edge of the petal shape.
It helps to do all this with your finger in place over the loops, as much as possible, to keep them from getting all discombobulated.
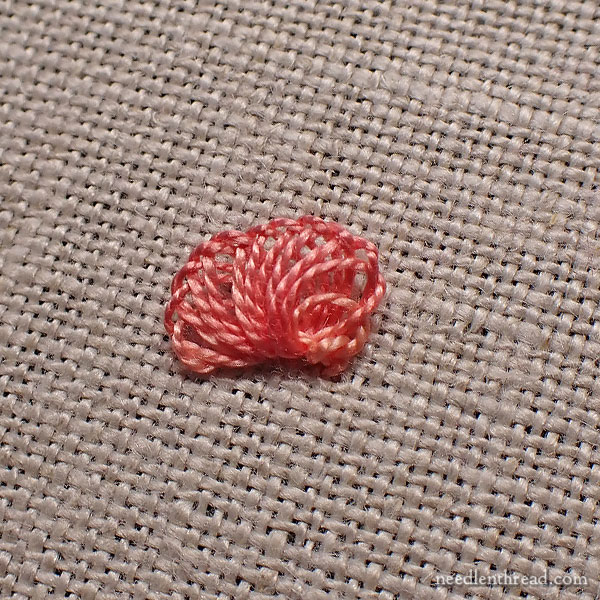
Take the needle and thread to the back of the fabric in the hole where the stitch began – or right next to it – and pull slowly and gently to tighten things up a bit.
The loops will naturally form into this arched petal shape.
It’s rather satisfying, when you get to this point!
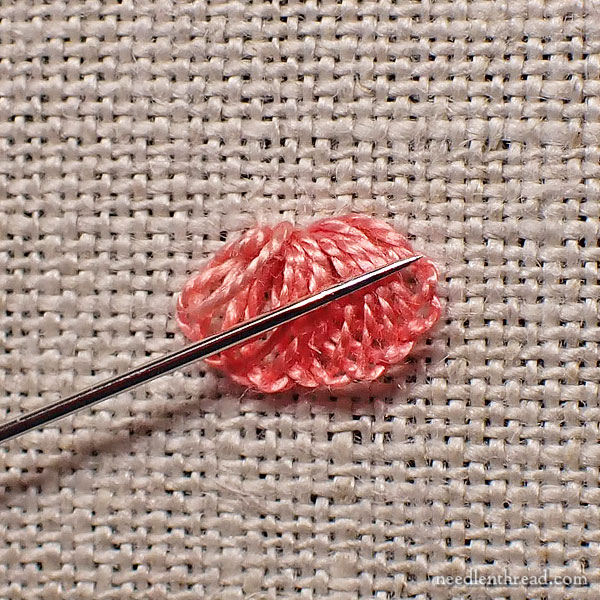
Once again, if I turn the petal downwards, I prefer the look of the underside turned over here. To make this work, you’d have to subtly tack the stitch down, through the buttonhole edge. It can be done! But that’s not what I am after in this particular demo.
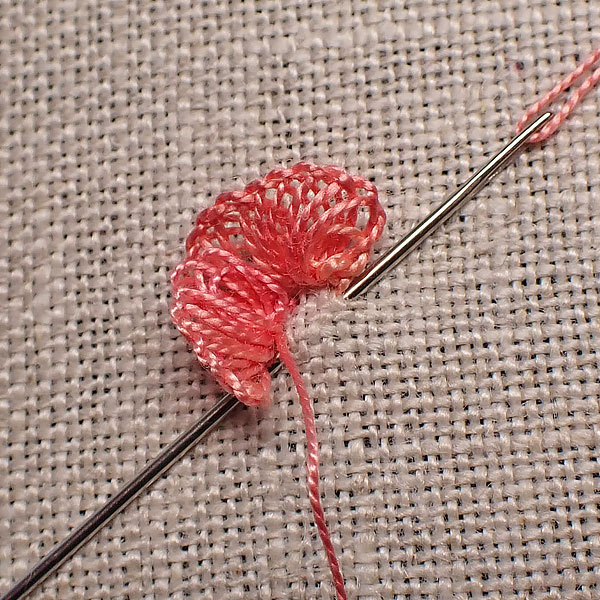
In this particular demo, I’m making a three-petal flower, by overlapping three of these extra-wide cast-on stitch petals, in a triangle configuration.
In the photo above, I’ve already worked a second petal, so there are two finished petals that are on a wide angle to each other, and I’m working the third petal as the hypotenuse of that triangle of petals.
When you start working petals all around each other, the stitch doesn’t get less fiddly.
(I just thought I should mention that!)
You have to take extra care around the already-stitched petals, to make sure that you don’t snag them or pull them out of shape!
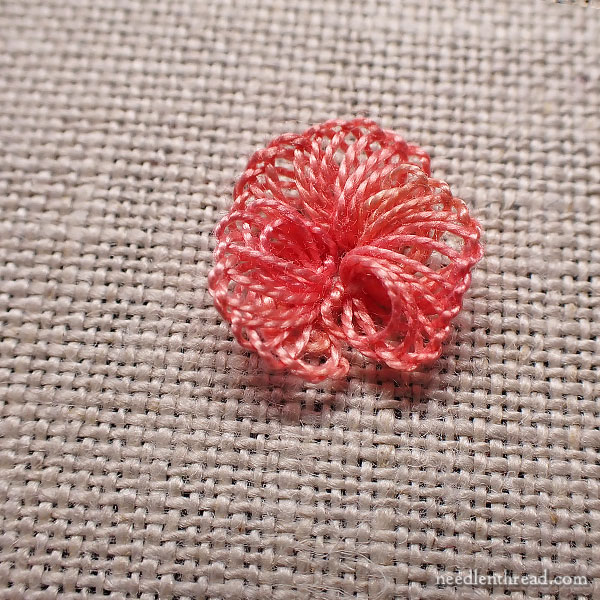
Here you see three petals worked together. You can definitely see the mid-size loops in there. If you want to stitch your cast-ons in a way to avoid a mid-size loop, that’s fine! I ended up with them, so I just went with it!
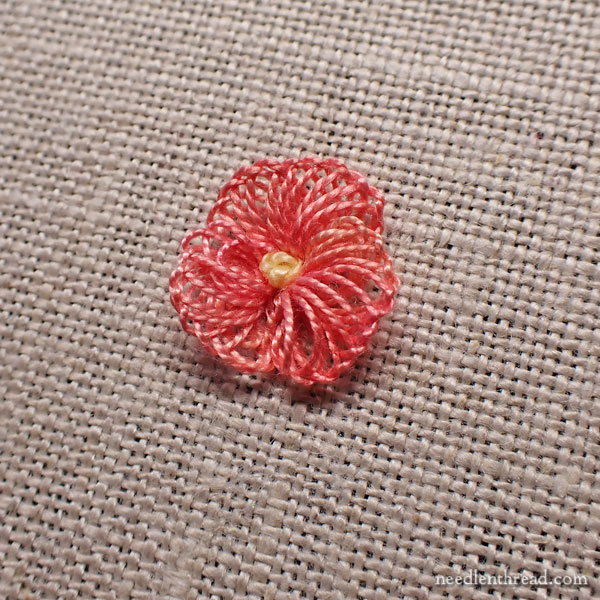
I finished with a #8 perle cotton French knot in the center. It seemed to pull everything right together.
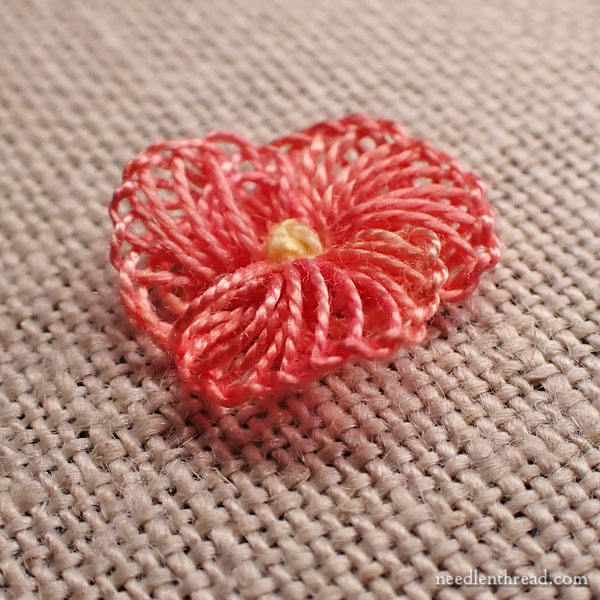
You can see how the loops sit well above the fabric! If you’re uncertain of their ability to retain their placement, you can add a small anchor stitch through the buttonhole edge, where the stitches overlap each other (because this keeps the anchor a little more subtle).

Although they are quite loose, they aren’t unstable, really. I was able to pinch the petals around a bit and flop them about, just to see how they’d behave…
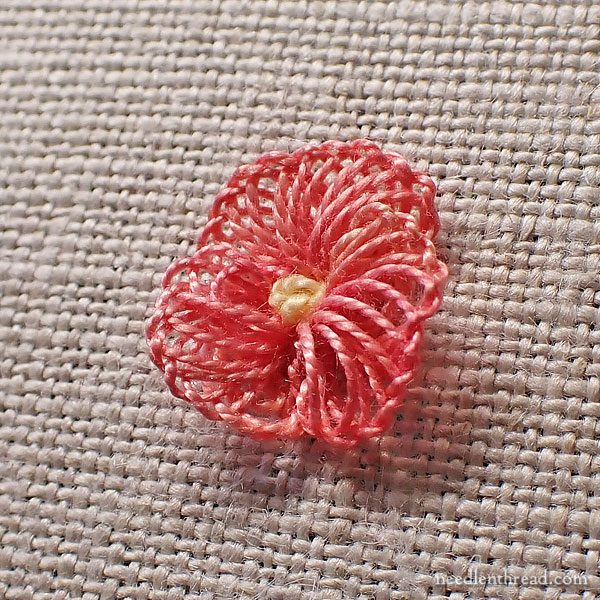
…and they willingly returned to a respectable flower with a simple push and prod.
So that’s the second approach to an extra-wide cast-on stitch.
Is it worth trying? Of course! Any stitch is. If nothing else, it’s a challenge and a learning experience. And the end result is pleasing, if you have a place to use this kind of dimensional stitch!
Just remember when you’re playing with the stitch that it’s unlikely you’ll go from nothing to a completed flower in 30 seconds, despite what the Facebook and Instagram reels might present! It takes a little time, and you have to be willing to fiddle about until you’re happy with it!
Coming up, we have a little more Stitch Fun, with a completely different (easier, and with a good bit of bling!) technique to add to your stitching repertoire.
Have a fabulous weekend with your needle and thread!


This method seems easier than the previous. And I do love a blog post with the word discombobulated in it! (:
I like this flower very much! It would look really nice as accents on a little girl’s dress, or my dress for that matter! Laundering may be difficult, or perhaps cover each flower with a basted bit of fabric before tossing the garment in the laundry. Something I’ll test someday. Thanks for the inspiration Mary ✨