

A few weeks ago, I shared the beginnings of this project, where I was test stitching the design with floche to see how well I’d like it.
The final conclusion about the floche for this particular project: I liked it, but I didn’t love it. It wasn’t delicate enough. The design is fairly small, and it was difficult to get any nuance of shade with the floche, which is a slightly heavier thread compared to one strand of cotton (or silk) floss.
I decided to go with silk, since I already had the quantity I needed in the colors that I’d use.
Now, this is a project I’m just working on at home in the afternoons when I have stitching time. While I don’t have a deadline on it, I’d like to finish it pretty quickly so that I can move on … well, you know how it is! … to another project.
The project is another maniturgium (you might remember that I finished this maniturgium earlier this year), so it falls into the category of ecclesiastical or church embroidery.
The maniturgium is, in effect, just a narrow strip of linen used in the ordination of a priest. Its length and width can vary (somewhat). This particular one is going to be 40″ long by about 3″ (or slightly less) wide. So, very long (they aren’t always quite so long!) and somewhat narrow.
The maniturgium can have anything appropriate for its use embroidered (or painted) on it, or it can just be plain, with nothing on it. But if you can embellish… why not? I’m all for the embellishment of liturgical goods!
Years ago, I embroidered this maniturgium in a record couple days. With my present project, I wanted to do a slower take on that first one. I want to embroider the same thing, but I want to embroider it differently. I also changed the end motifs on this new version.
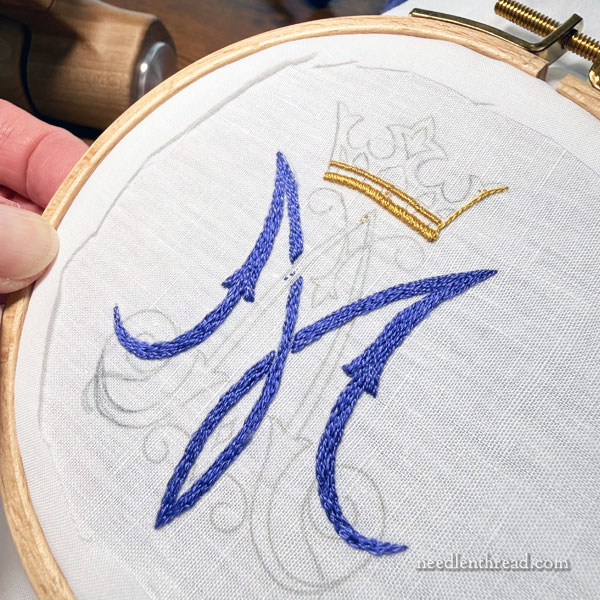
At both ends of the long strip, I added a Marian monogram (an A and an M, intertwined), topped with a crown. This is a typical Marian symbol used in ecclesiastical art, and you can see it in the photo above.
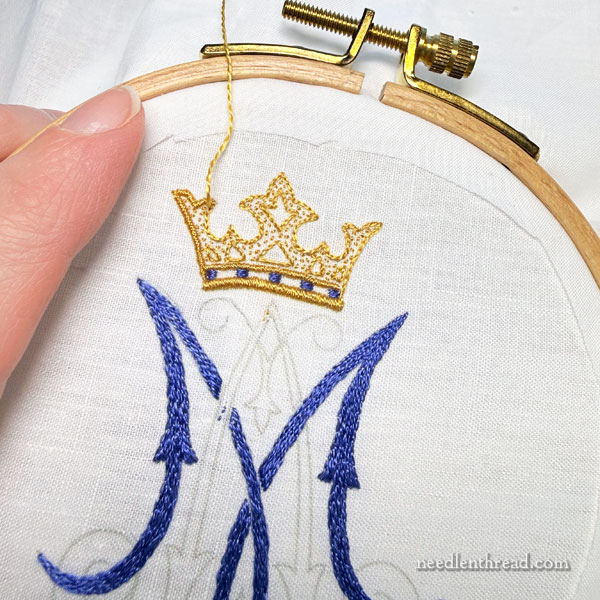
The whole symbol is less than 3″ high, so it’s pretty small!
To outline the crown, I decided to use a variation of an overcast stitch. Overcasting is satin stitching over a thread (or over several threads, depending on how heavy you want your overcast line).
In this case, I needed a very fine overcast outline of satin stitch around the crown because it’s just so tiny, but I found it difficult to stitch over a laid thread, mostly because of the scale and also because I’m working at home without a lot of space and in an awkward set up and it was just driving me nuts trying to keep control of the laid thread while satin stitching over it. I wasn’t getting a precise line!
So I worked a split stitch line instead, working it over the design outline, and then I “overcast” the split stitch (or just satin stitched over it).
I’ve written about overcast stitching in other places on Needle ‘n Thread, if you want to read more about it. I used it in this little whitework sampler piece and I used it in this sampler, for text. I also used it in this “How to Stitch a Bundle of Grapes” tutorial for one of the outlines.
There’s the finished crown, with the overcast outlines, seed stitching for the filling, and some stem stitch to mark out the inside elements on the crown.
Stem stitch that small is kind of a pain in the neck! I probably should have re-thought that.
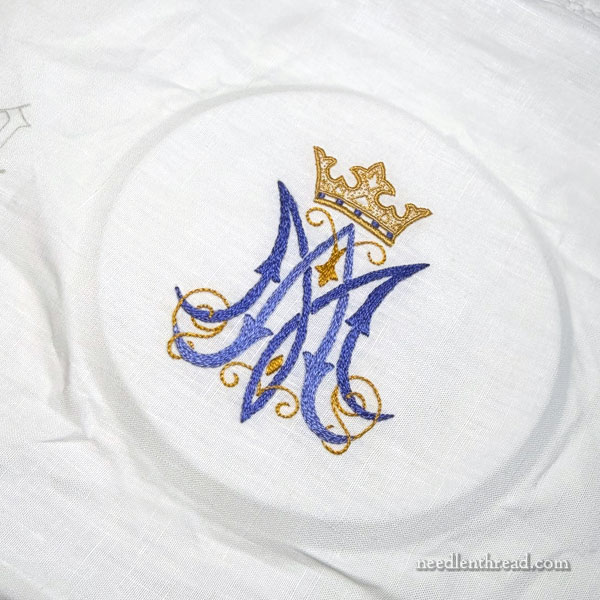
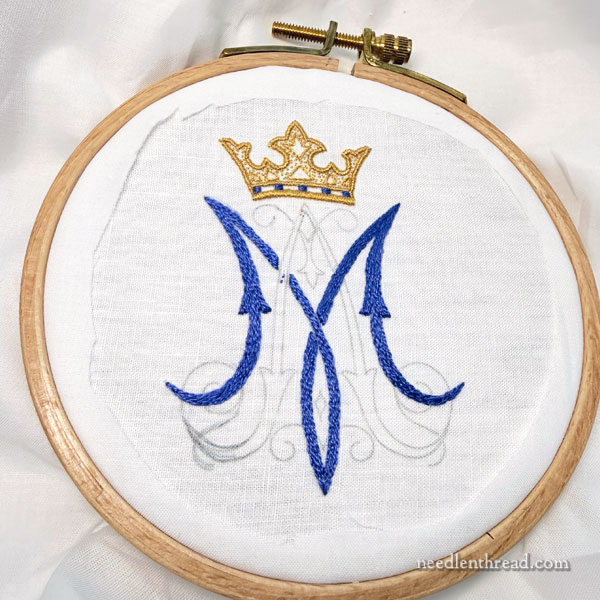
And here is the whole finished monogram. The letters are filled with long and short stitch in Soie d’Alger. The other embellishment in gold is also Soie d’Alger, in satin stitch, long and short stitch, and stem stitch in the various elements.
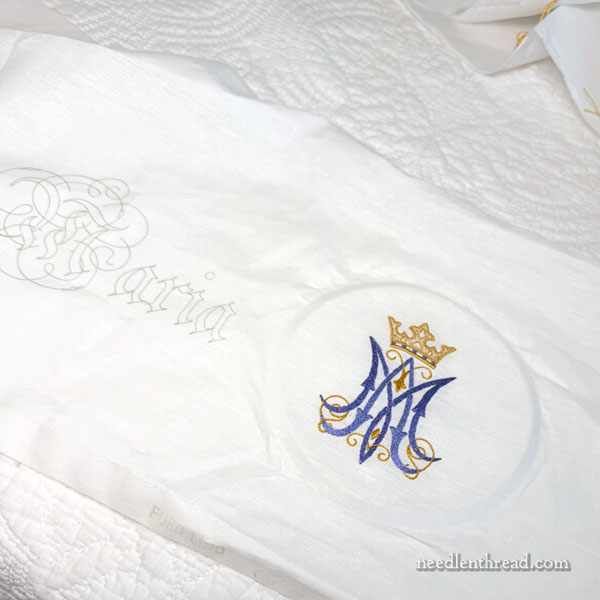
Here you can see the monogram in context with some of the text. I’m actually working this project from the right end to the left end (backwards), because I wanted to stitch that monogram first, since I messed up the design transfer a little, and I wanted to make sure I could effectively cover it up.
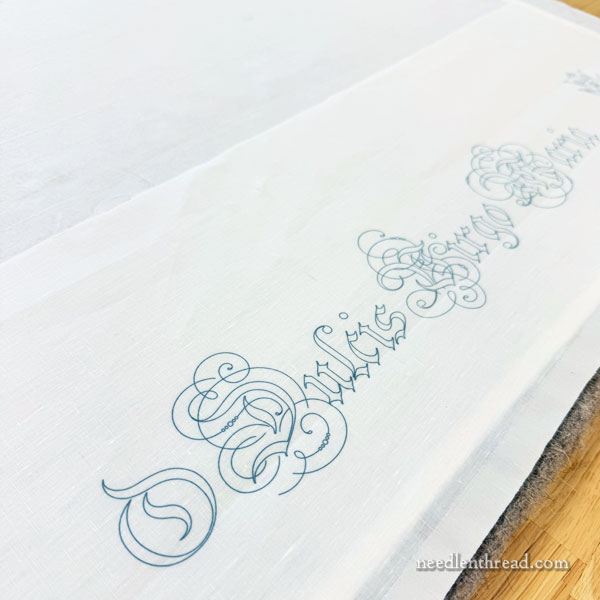
It’s hard to give you a sense of the whole design in its entirety, due to the length of the piece.
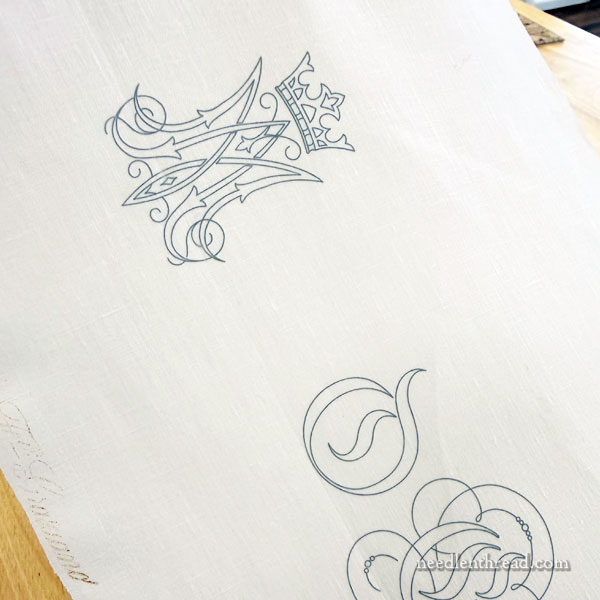
You can see here the monogram on the left end of the piece, near the beginning of the text.
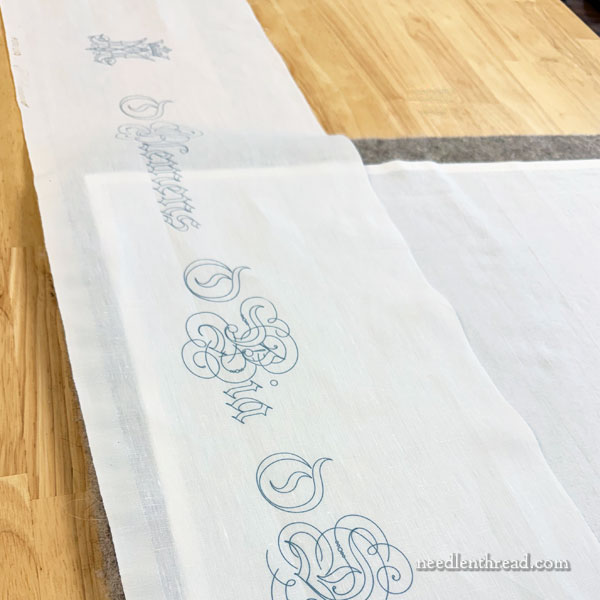
This is just under half of the design, looking towards the left end of the linen.
At some point, I’ll try to get a whole photo of the piece, but as you can imagine, it’s hard to photograph something 40″ long and 3″ wide, in a way that delivers a clear view of the thing!
I’ll keep you updated on the stitching of this project and share some tips along that way that you can apply to any embroidered text projects that you might have in mind!
Coming Up
On Wednesday, we’ll continue with our current stitch along, Blackberry Brambles & Blossoms.
We’ll also continue our discussion on design transfer.
I’ll let you know what’s going in stock this week! We have a lot for you – we’re re-stocking our gorgeous hand-turned tools, the new linen sample packs, some goldwork and silk kits, and two gorgeous new books from Inspirations, including their newest release, Butterflies! That’ll all be out this week, and I’ll let you know once we’ve got it all ready for you!

Hi Mary,
I especially love reading your posts on church embroidery, as I have gotten myself into a few of these projects in recent years. Your embroidery and choice of colors for this Marion symbol are beautiful. I recently did this symbol in white silk in stem stitch and I thought it turned out well. It had a lot more swirls and curly-cues. If I get the opportunity to do it again, I’ll give the long and short stitch a try.
My question: What method of transfer are you using to get such nice dark and uniform lines on your design?
Looking forward to seeing the finished maniturgium!
Joan
Hi Mary!
I really appreciate your posts on design transfer. I have perused your ‘Tips and Techniques’ section on design transfer many times, but will certainly appreciate any updates you have to offer! I am interested in doing small embroideries – lets say butterflies – as small squares/blocks in quilts and more likely, hanging textile stufff. This involves transferring a design onto black or dark blue cotton or cotton/linen blend, OR, silk, OR, velvet – think Mary Jo Hiney’s lovely hand-dyed stuff. Looking at what you have previously posted, my best guess is that the tissue paper and thread is the best approach for all of these. I want to embroider them in Soie d’Alger or Soie de Paris. Regardless, ANY updated advice you have to offer, will be truly, truly appreciated! Thank you so much, and I just love you site! Jan