


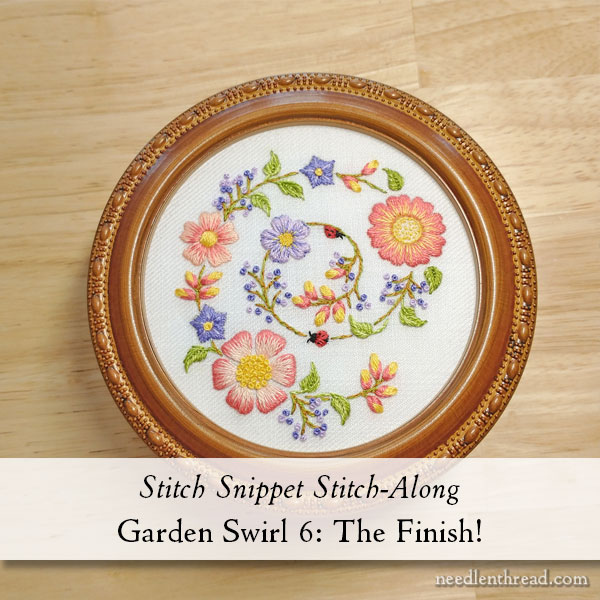
Welcome to the last installment of Garden Swirl, wherein we mount the finished embroidery project in the lid of the decorative box. Woohoo!
For those who are just coming upon this stitch-along, you can find all the previous installments of Garden Swirl available here in the Garden Swirl Project Index.
You can also find a materials kit (with everything you need to stitch the project – including the design pre-transferred for you on fine linen twill) – and the decorative box to mount the project in – available here in the shop. Get the kits before they’re gone, as they won’t be back in stock in this format again.
If you are a member of the Needle ‘n Thread community on Patreon, you already have this information in the handy-dandy downloadable and printable PDF that was posted for you yesterday.
Let us commence with the final steps…
I hope that you’ve found this project satisfying in many ways!
For me, I liked it for the following reasons:
1. It is relatively easy to stitch – there are no very complex stitches involved, and yet the outcome has enough variety to make it pleasing.
2. It is relatively quick to stitch – the whole project can reasonably finished within 6 hours, including the finishing.
3. It has a very satisfactory finish – one that looks more complex and difficult than it actually was!
Gather Your Finishing Supplies
The first step in any finishing process is gathering all your finishing supplies together on a work surface, so that you aren’t scrambling in the middle of the process to find something!
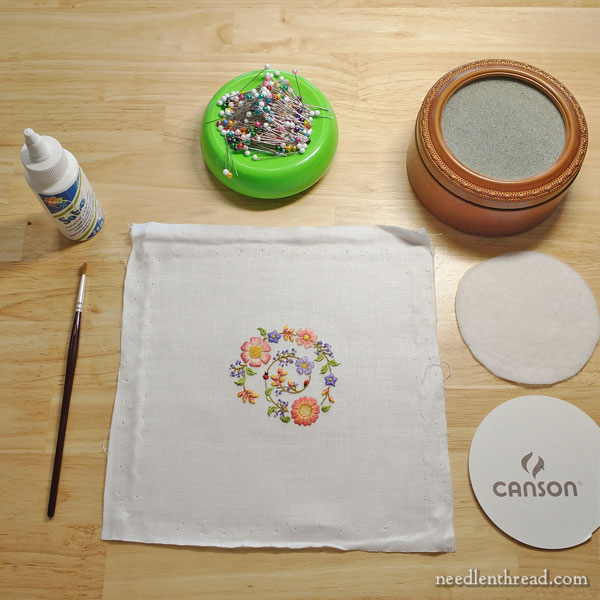
To finish this project as I’ve finished it, you will need to gather the following:
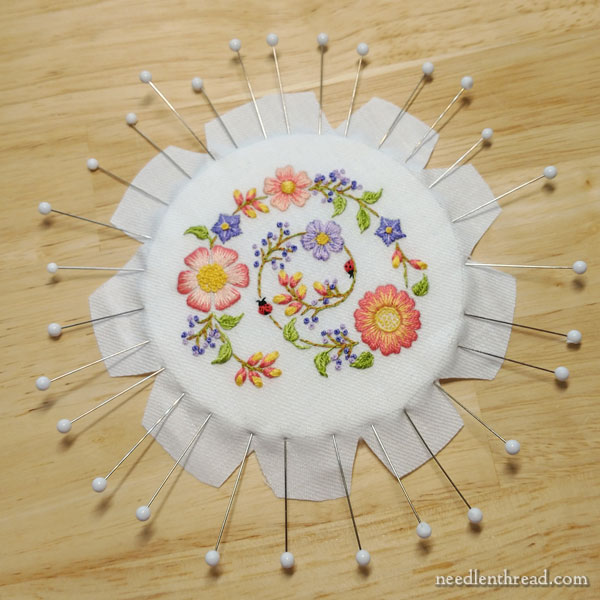
- The finished embroidery, blocked and damp stretched
- PVA glue (I use Sobo)
- Decorative box
- 3 7/8″ round board, cut from archival mat board*
- 4″ square of low-loft fleece / interfacing (I used Thermolam TP970)*
- Sewing pins
- Craft paint brush
*If you purchased your decorative box from Needle ‘n Thread, it came with the finishing kit with these two items in it – the custom-cut round archival board and the low-loft Thermolam.
You’ll also want scissors on hand. I prefer using fabric scissors when I’m doing finish work.
You will need the velvet backing from the inside of the box and the “sponge” layer, but you will not need the glass.

Take your embroidery and cut it out!
You’ll want to lay the white round board behind the embroidery, centered, and cut at least 1/2″ around the perimeter of the board.
Mark on the back of the embroidery where the board is centered – or, if you’re sure you’re mounting in a box, on the front – using a light pencil. It is probably easiest to mark on the back and to lightly trace the circle. Minimally, you could just mark at North, South, East, and West (noon, 3:00, 6:00, 9:00, if you consider the round like the face of a clock).
You just want to make sure the design is centered on the board, and that you have at least 1/2″ of extra fabric around the board. You also want to make sure you can see clearly the parameter of the actual design placement.
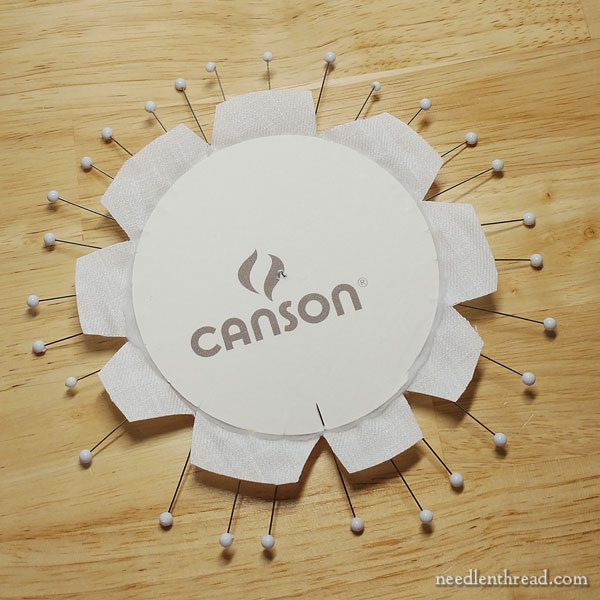
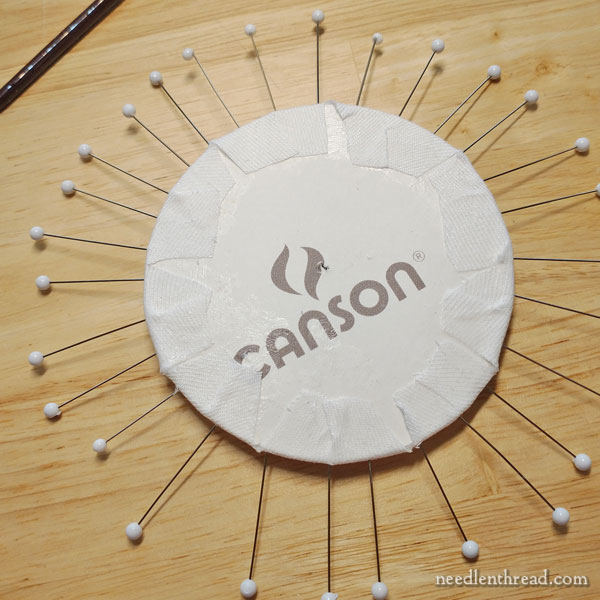
Then, once you’ve cut the piece out with its 1/2″ extra, you’ll cut notches. You want these notches to resemble those in the photo above. Cut them so that the tip of the notch is about 1/8″ outside the round perimeter.
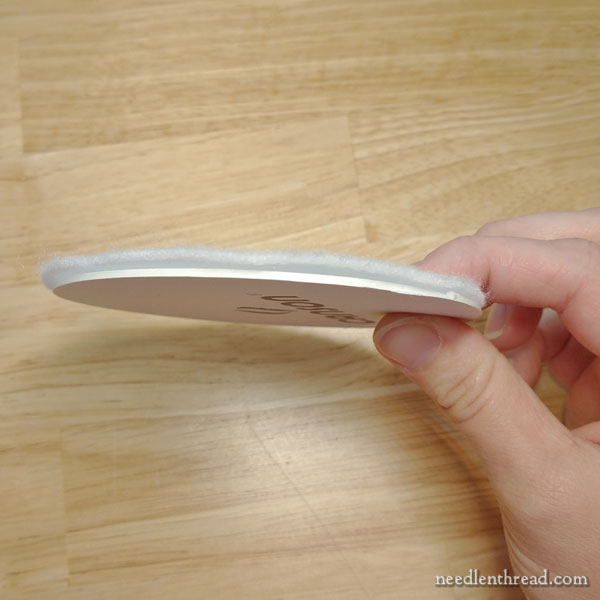
Cut the Thermolam in a circle that fits the round board. I do this just by holding the board and the Thermolam together and trimming the Thermolam.
Lightly glue the Thermolam to the board. If you are using a board that has branding on it (mine was cut where the brand showed), make sure that the Thermolam is adhered to the top of the board, where the branding isn’t.
You don’t have to overdo the glue here – a light coat around the inside of the top edge is just fine.
Press the Thermolam onto the board and let it dry (just a few minutes).
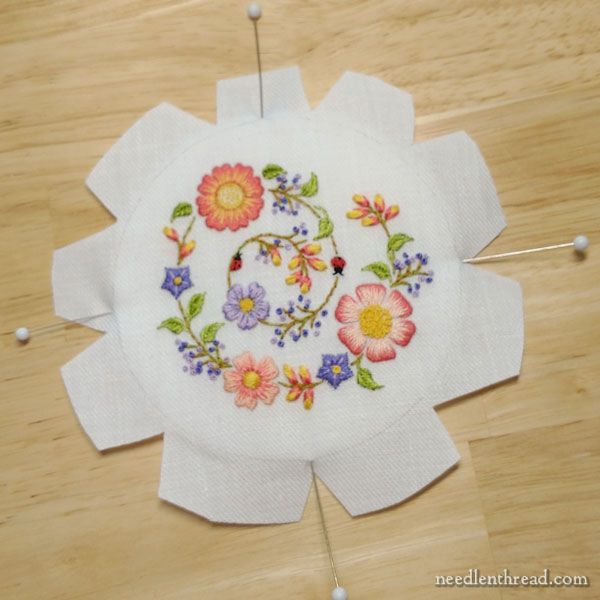
With the Thermolam side of the board face up in front of you, lay your embroidery over the board and make sure it is centered.
I use four pins at North, South, East, and West to initially get the embroidery in place. Make adjustments until it is centered.
When you pin, you’re just sliding the very tip of the pin into the edge of the mat board. This can be tricky – just hold the board down towards the table and gently push the tip through the fabric and into the edge of the board.
Normally, I pin opposite pins. For example, pin the North pin, pin the South pin, and then the East and West.
Then, work around the board, filling in pins between the compass points you already placed. Work opposite pins as you fill in.
It’s important that the tension on this surface is “just right” – you don’t want to pull from side to side. You want the embroidery to kind of “hug” the Thermolam and board, but you don’t want it to dip into the Thermolam. You want it to look like it is comfortably wrapping itself, without any pulling.
But you don’t want it loose, either! If it’s loose, it can end up wavy in the box lid, and that would not look wonderful.
Just take your time to pin around the whole piece.
Once it’s pinned, flip it over.
Now it’s time to turn those flaps or tabs down onto the board and glue them in place.
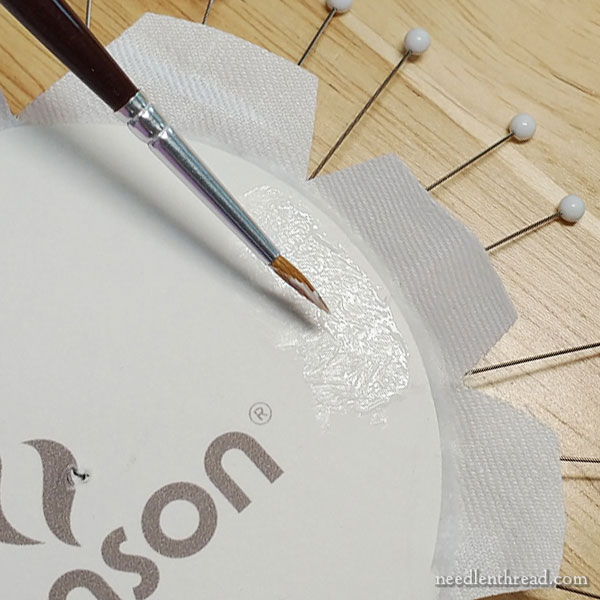
For those who haven’t done this type of thing before, if your glue is very thick, you might squirt some glue onto a small plate or what-have-you – I use a little saucer or sometimes a paint palette – and then it’s easy to dilute the glue just slightly with water. You just need to apply a thin coat of glue, so dilute accordingly if you need to.
Apply a thin coating of PVA glue along the edge of the back of the board in each “tab” area.
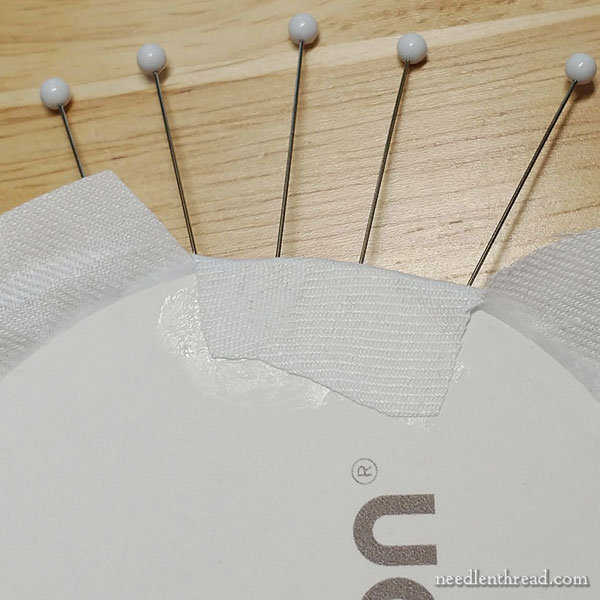
Push the tab onto the glue, smoothing it gently down from the edge of the board to the end of the tab.
It’s important to smooth it towards the center of the board, so that you are maintaining the same tension on the fabric that the pins have supplied.
I recommend leaving all pins in place until all the glueing is finished and dried.
Work all the way around, one tab at a time.
Smooth any extra little “notches” of linen towards the board as you go, to keep the edge as smooth as possible.
Let the piece dry for about 10 minutes or so, and then remove the pins.
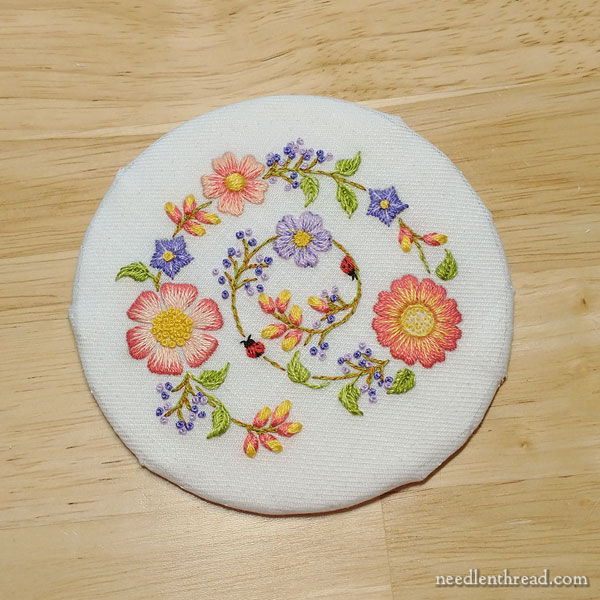
And there it is on the board.
The edges don’t have to be perfectly smooth for this type of finish (it’s not like they are seen, as they are on a Christmas ornament or the like). They will be under the lip of the box top. So if the edges are a bit pokey here and there, that’s ok. Just try your best to smooth any significant notches out.
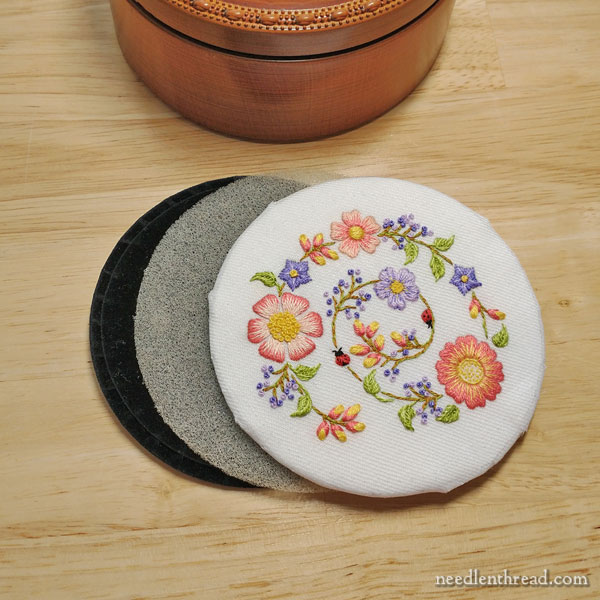
Stack up the velvet backing from the inside of the box, the sponge that fits on top of the velvet backing, and the mounted embroidery, as shown.
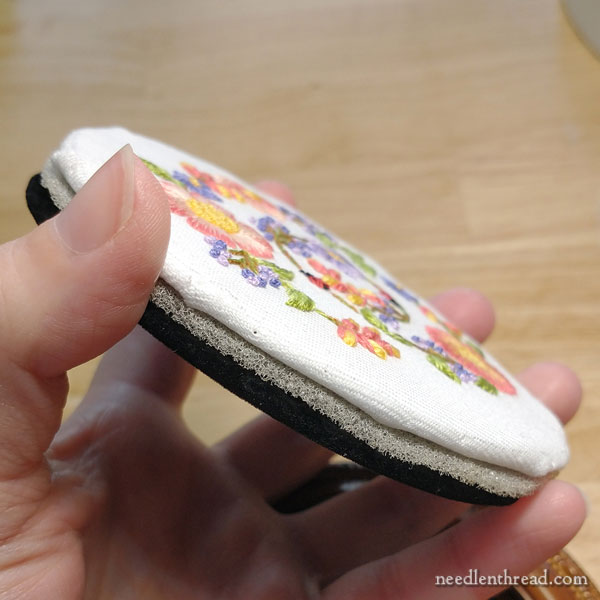
There’s your little sandwich – velvet board backing, sponge layer, and embroidery.
Now, determine which way you want to situate the swirl in the box lid, in relation to the hinge and opening, and then gently push that stack into the box lid from the back, until it fits snuggly up under the lip.
Move the metal tabs in place to hold the back in, and you are finished.
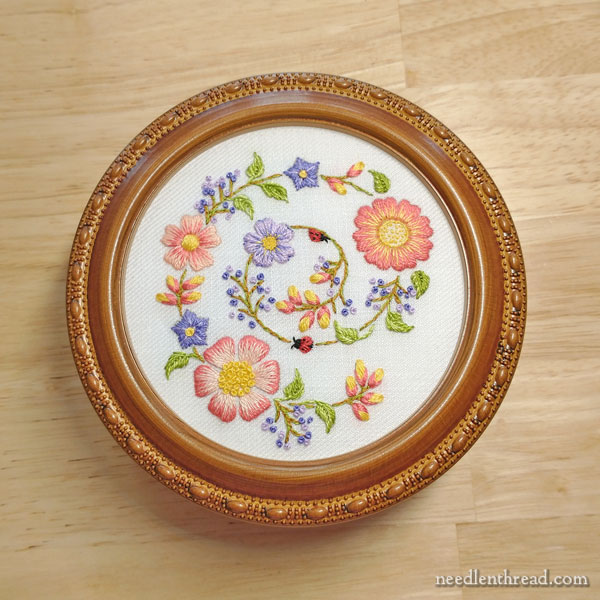
There you have it!

And here’s another stitched sample in the dark decorative box.
The End!
I really hope you enjoyed this project!
We have another stitch-along coming up later this autumn as we move towards winter. It is an ornament, because I love making at least one Christmas ornament each year. It’s going to be a quick and manageable project, so that you can enjoy making just one or several, and there are plenty of options to customize, if you want.
We also have several kits coming out a little later this year – more on those as we finish them up.
As always, I’ll keep sharing embroidery projects, progress, tips and techniques and interesting needlework doodads right here on Needle ‘n Thread!
Thanks for joining me!
Leave A Comment