

Recently, I had a reader write in with a question about using embroidery hoops. It’s a question I get a lot!
When you move your hoop around a bigger project, won’t it ruin the areas you’ve already stitched?
There is a nuanced answer to this, so we’ll discuss various points about the question below. I’ll share my thoughts and experiences, and you’re most welcome to chime in with yours, too.
We’ll look briefly at hoops, what they are, how they came about, how we used them (putting all this in a relative nutshell), and we’ll talk about the advantages and disadvantages of hoops, and finally, we’ll look at The Fiber Crush.
I hope to allay any fears you have of hoops, so that you can use them confidently when appropriate!
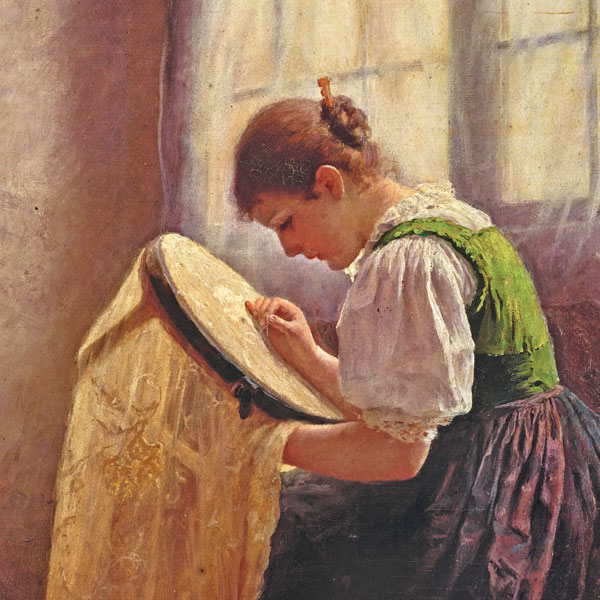
First, let’s talk about the embroidery hoop in general.
A Brief History of the Embroidery Hoop
Embroidery hoops have been around for a relatively long time, but embroidery hoops as we know them today, not quite as long.
Brought to popularity in Western Europe in the 18th century with the rise of “tambour work” (chain stitch worked with a hook) from India, the precursor of the modern embroidery hoop was the “tambour” hoop. Tambour is the French word for drum. The relation is pretty clear: the resulting apparatus with the fabric in it looked like a drum and it held the fabric tight like a drum.
These frames were made up of two rings – outer and inner – like all hoops today, except that they didn’t have the adjustable hardware that we’re used to now. The outer hoop was pushed over the inner hoop to hold the fabric taut, much like this vintage Duchess hoop that I showed you earlier this year, but not necessarily with imbedded felt on the inner ring. To protect the fabric and increase the tension, the inner ring (and sometimes the outer ring) was wrapped with strips of fabric.
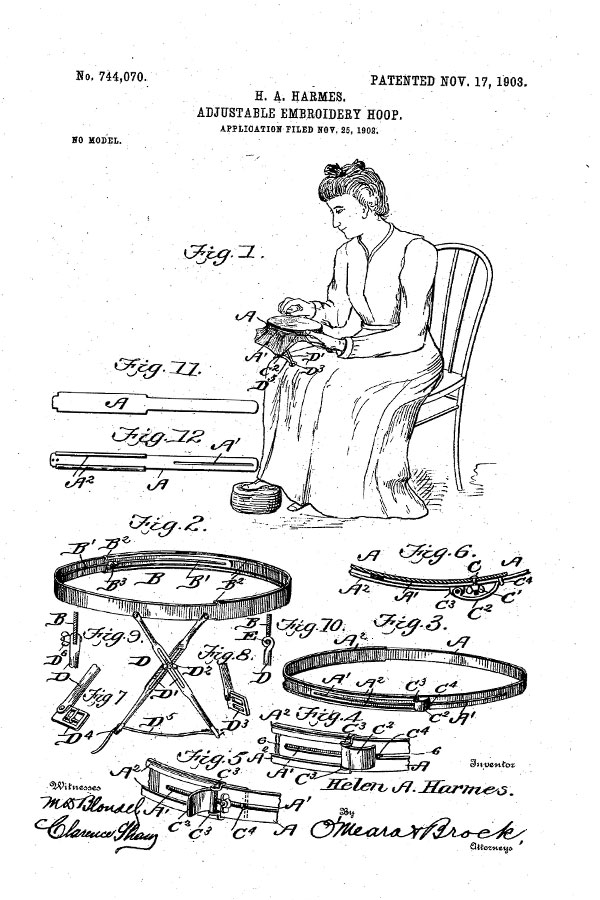
In 1903, the first patent for an adjustable embroidery hoop was given to Helen Hermes, a woman in Missouri who had obvious skill in needlework. We don’t know a lot about her, but the patent drawing (above) still exists. We can see that she understood the significance, efficiency, and convenience of being able to adjust the size of the rings of the hoop, and of being able to hold the hoop by hand while stitching.
The Gibbs company (that made the Duchess hoop mentioned above) invented a spring tension hoop, too, and eventually, the screw hardware that we use for tensioning today came into being, although it’s hard to nail down who first manufactured embroidery hoops with the outer ring tensioned by a screwing mechanism. Many popped up in the early 1900’s in various configurations, with patents overlapping and different configurations being tested, tried, and marketed. By the 1960’s, the screw tensioning of the outer ring became the standard format of most wooden embroidery hoops.
The Advantages of the Embroidery Hoop
Probably the greatest advantage of good-quality wooden embroidery hoops is that they do the job they were intended to do: they hold the embroidery fabric taut.
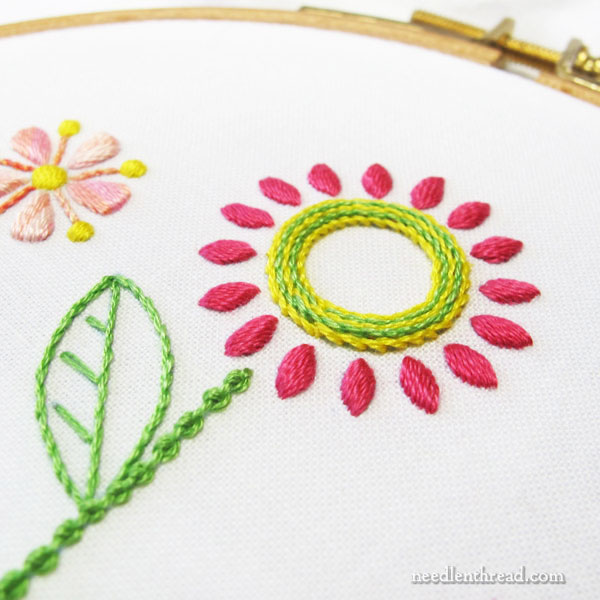
If they are well-made, they are well balanced. They can be held in the hand relatively comfortably. Because they are (often) small enough to be hand-held, they are very transportable and they are notably space-saving compared to embroidery frames.
The embroidery hoop can be moved around a larger piece of embroidery, to work on smaller areas at a time. The whole large piece does not have to be framed or hooped up.
The well-constructed embroidery hoop is generally gentle on textiles (fabrics and threads), and can be modified to be even gentler when the need arises. We’ll talk about how, below.
The Limitations of the Embroidery Hoop
There are, however, certain limitations to embroidery hoops.
Many stitchers find hoops – especially larger ones, or hoops holding heavy or abundant amounts of fabric – uncomfortable to hold. This often necessitates a hoop-holding stand, so that the stitcher has both hands free to stitch.

There are many of these stands available on the market! I pretty much use a Needlework System 4 tabletop stand and a frame clamp to hold my hoop, but I also use a few other stands, too. It just depends on where I’m stitching.
On larger embroidery projects that require moving the hoop, embroidery hoops work with embroidery that is more or less two-dimensional. If you plan to add dimensional stitches, to use certain types of specialty threads, to add goldwork or beads, then the design must fit within the frame of the hoop. The hoop, in those circumstances, can’t be moved over previously stitched areas.
The Fiber Crush
If I move my hoop over a previously embroidered area, won’t it ruin the stitches?
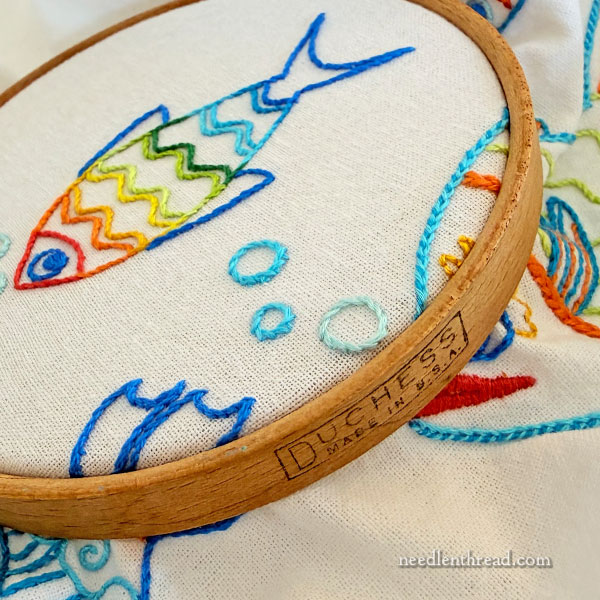
Above, you can see an old vintage hoop that is mounted on a larger piece of embroidery. The already-embroidered area – worked in cotton embroidery floss – is captured and held between the inner and outer ring of the hoop.
Whether or not this will ruin stitches is a legitimate concern, but never underestimate the resilience of fiber!
If you are using common embroidery threads like cotton floss, crewel wool, even silk and some specialty fibers (like mixed fiber threads and the like), while the stitching may initially look crushed when you remove the hoop, it will normally bounce back.
A Few Precautions to Help Lessen the Fiber Crush
There are a few precautions you can take to further protect your stitches from the Fiber Crush:
1. Don’t leave your work in the hoop between stitch sessions. This adds a certain level of protection to both your fabric and your stitches. It helps avoid “hoop rings” (sometimes-permanent marks from the hoop) because it gives the fabric a chance to relax, and it helps to avoid extended crushing of stitched fibers.
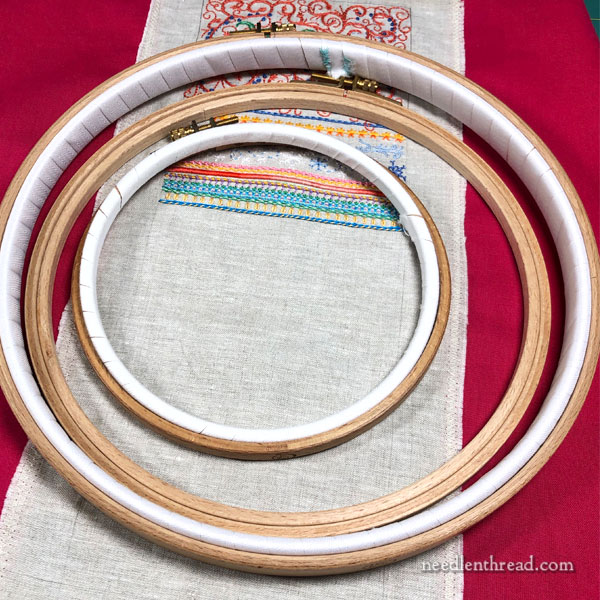
2. Wrap the inner ring of your hoop. This helps hold the tension of your fabric consistent, so that you aren’t constantly adjusting and pulling on your fabric to try to make it taut. It also helps protect your fabric.
3. Use a piece of scrap fabric to cover your ground fabric in the hoop and protect it further. This is especially helpful when working with white fabrics, delicate fabrics, and delicate stitching.
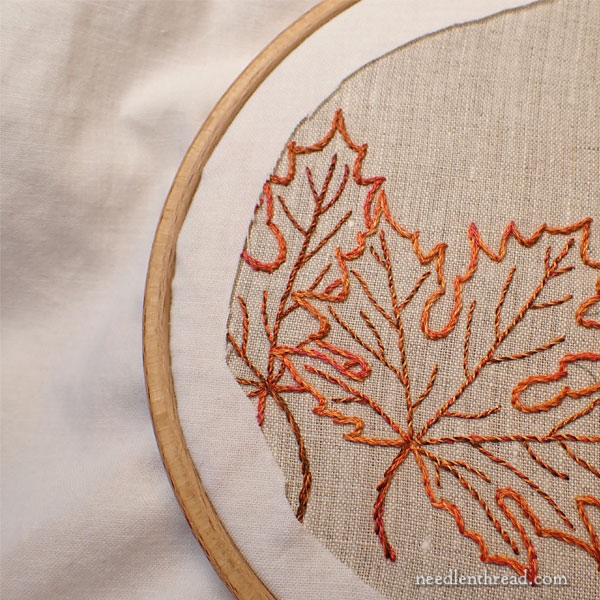
The hooping-up method is this: Lay your inner ring on your work table, lay your ground fabric over the inner ring, lay a piece of scrap fabric over the ground fabric (large enough to cover the hooped area of the ground fabric and fit in the hoop rings), and then push your outer ring over all of it.
Adjust for tension of both layers of fabric, and once your desired tension is achieved, gently pull the scrap fabric away from the embroidery fabric and, using small, sharp scissors, snip a “window” out of the scrap fabric, leaving a boarder around the hooped area. This border of scrap fabric will protect the ground fabric and previous stitching from wear, from hand oils, from dirt rings, and so forth.
You can see this method used here in my article Hoop Tip: Keeping Things Clean.
Looking for More?
If you’d like to delve a bit into embroidery hoop tips, try this article: It’s a Wrap! On your Hoop, that is…
Hoop Tips: Get the Most Out of Your Embroidery Hoop! might be helpful, too.
Finally, I touched on the subject of crushing threads with the hoop in this article, That Stylized Flower & Hoop Crushing, if you’d like to explore that piece, too.
Coming Up!
Read all about it! Read all about it! Disaster strikes Needle ‘n Thread Studio!

When it rains, it pours. And literally, it poured – in here! We had a bit of a studio disaster this week. I can’t wait to show you pictures! It was a bit annoying (to say the least), a bit frustrating, and it almost took me to the tipping point… but at the same time, I somehow found it funny. I mean, how often do you walk into your work place and find the ceiling on the floor, and among the rubble and water and mess, a pipe from who-knows-where? I’ll share the details next week!
We are kitting up our new Christmas Ornament kit for 2026, and we plan to launch the stitch-along right before Thanksgiving. Plan to join us! The project is titled A Christmas Treat – it’s a sweet bell ornament! (Just feeding you a little hint!) If time allows, we’ll have options for other shapes, too. We’ve developed a design set, but I don’t know if we’ll have time to stitch and construct all of them. The bell is done, though, it’s packaged as a kit, and we’re going to stitch it together! Keep an eye out!

Leave A Comment