Today, I’m going to ramble on about embroidery thread. Once in a while, I just have to. It’s like releasing a pressure valve. I have to talk about thread, because I love thread.
Those of you interested in 17th century embroidery, in embroidered caskets, and similar exquisite items in the needlework field are probably not new to Thistle Threads.
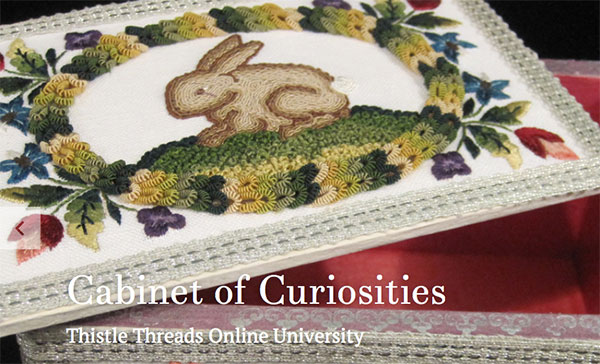
If you’ve scoured the internet for information about 17th century embroidery or making your own embroidered casket (i.e. decorative, intricate cabinet with drawers and little compartments), then you’ve probably run across Thistle Threads – or maybe you’ve even enrolled in their casket class.
The casket class – called the Cabinet of Curiosities – is a two-part course, a fascinating multi-year journey towards creating your own embroidered table-top cabinet that tells whatever story you want it to tell. It includes the history of the embroidered casket, techniques, materials, side journeys for small treasures for inside the cabinet, and all the information you need to be well-informed while you create your magnum opus – your own embroidery heirloom that should last centuries.
 Continue reading “Frostings Club Specialty Embroidery Threads – Unboxed!”