May 8, 2023
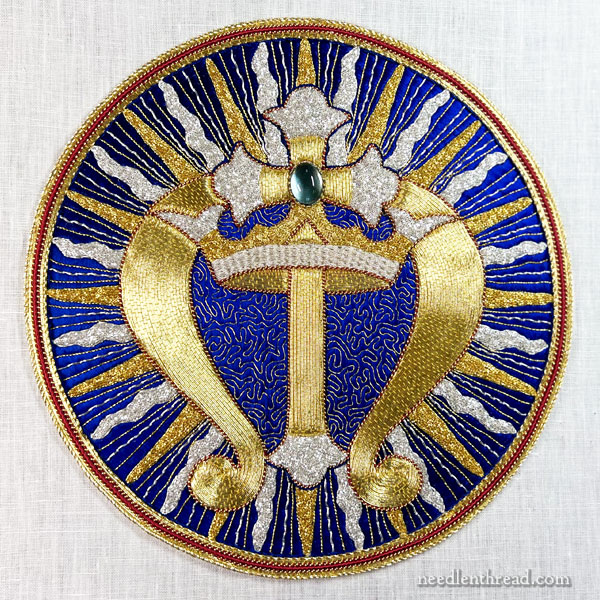
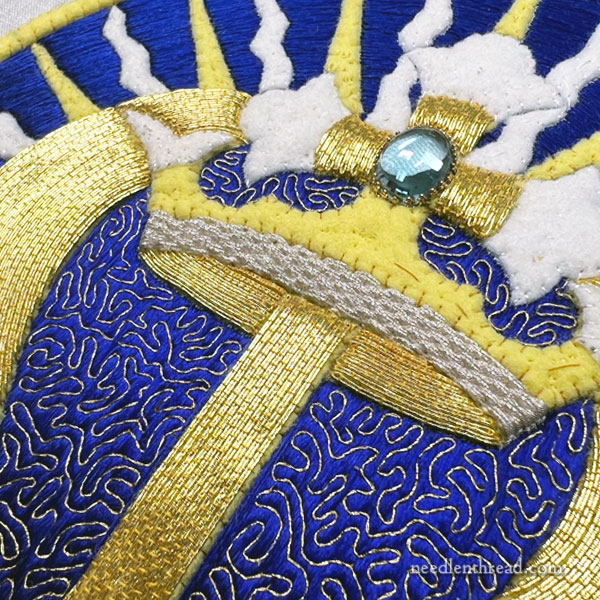
Goldwork Finish – Getting Back on Track!
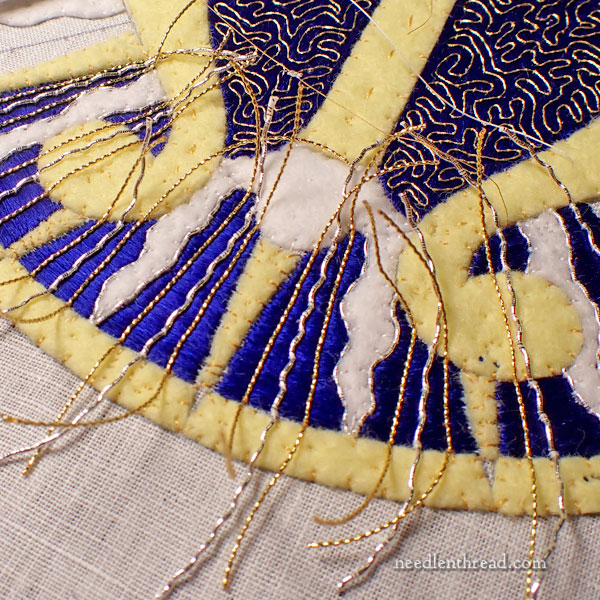
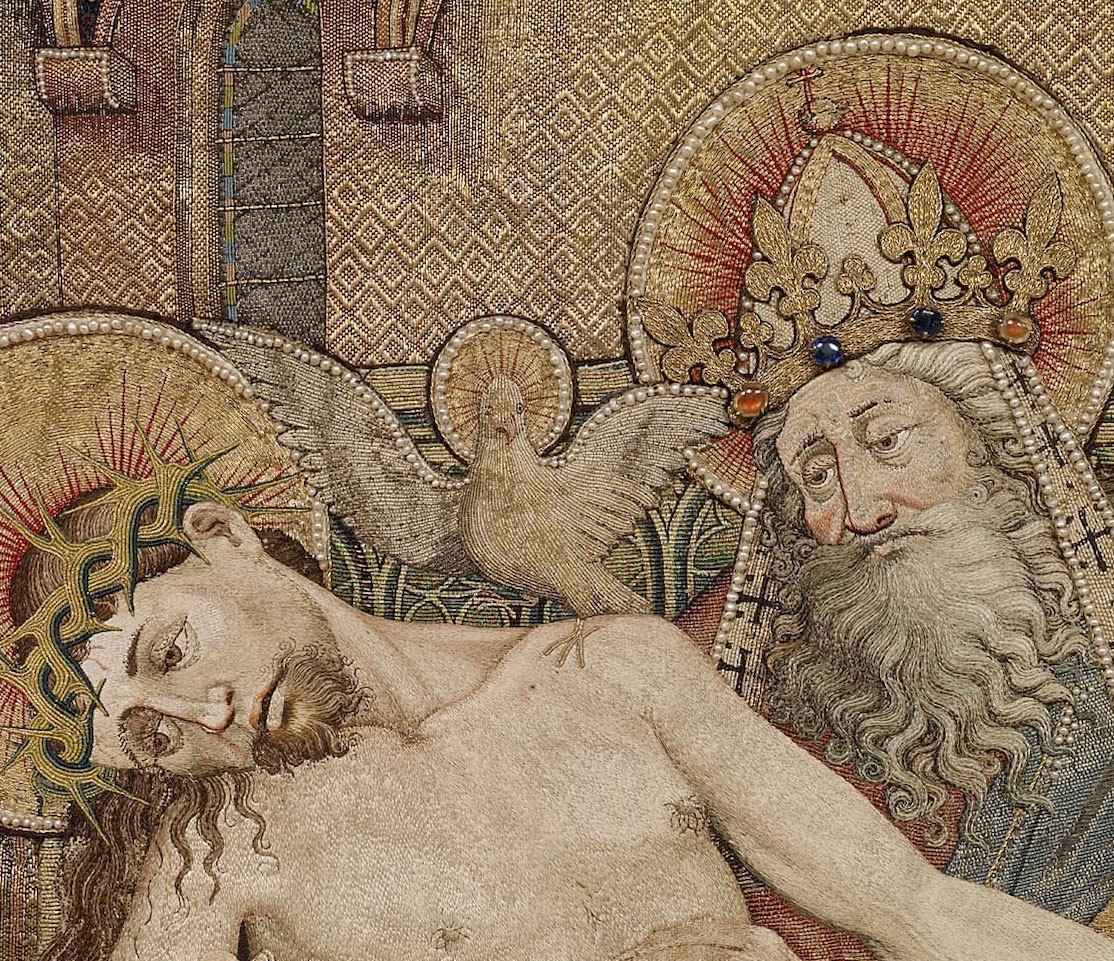
Last week, we (just barely) met the deadline for the goldwork altar cover project that’s been developing for almost a year now. You can find the backstory on this project here.
After the crunch (which was particularly crunchy!), it took a few days to get things back into working order here in the studio, and then it took a weekend to recuperate in general on all the normal aspects of life that were pretty much on hold since the last week of March.
As of today, we’re back to our normal operations – still catching up, but everything should even out again this week!
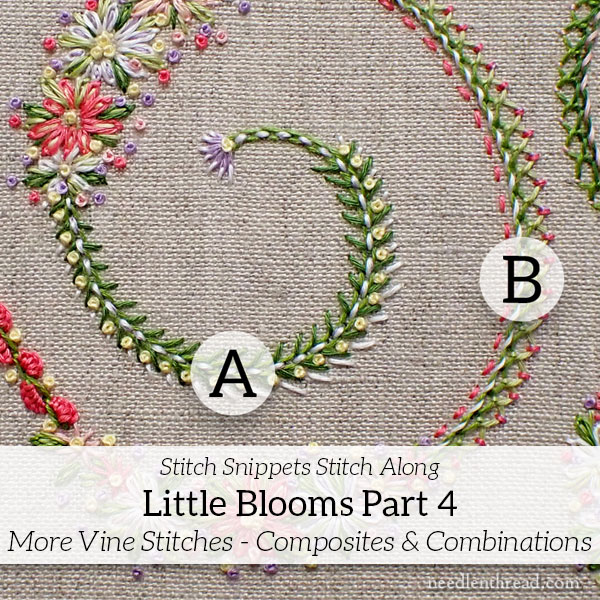
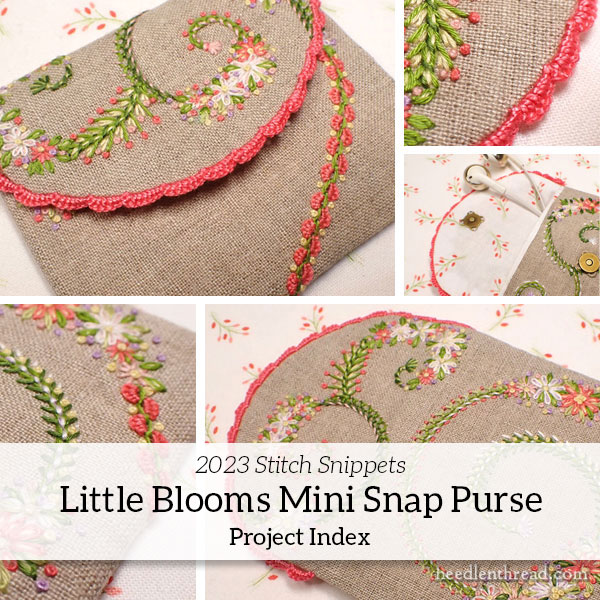
Today, I’ll show you the finish. And then later in the week – delayed, but not forgotten! – we’ll be back to our regular program, including Little Blooms.