


In an effort to keep this series of tutorials on the Goldwork & Silk Tudor-style Rose a little bit organized, I’m created an index page for all the related posts on this project. That way, if you want to come back to this project a little later on, you’ll be able to find all the links in one convenient place, which I’ll include under the Tips & Techniques page here on Needle ‘n Thread.
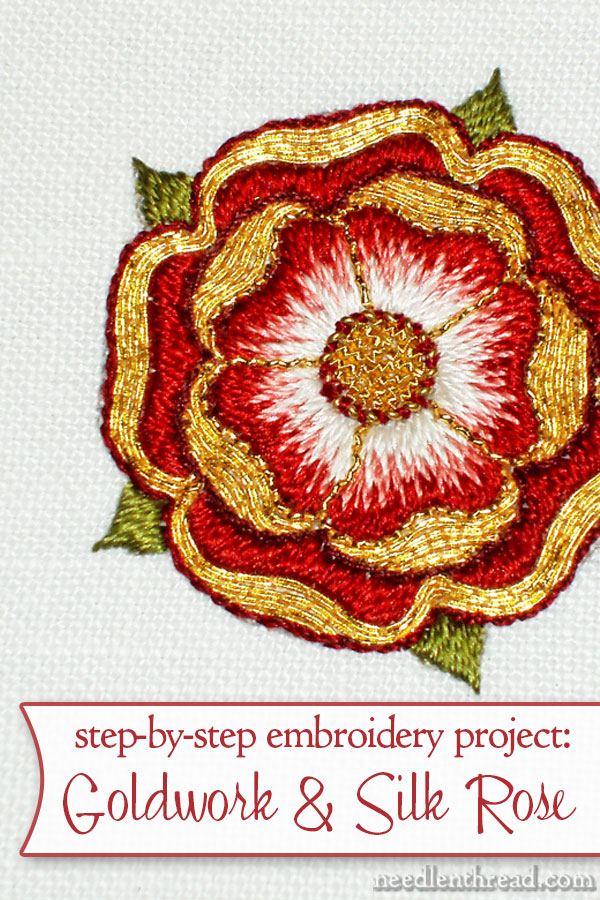
Below, you’ll find links to each article in this step-by-step series on embroidering a Tudor-style rose in silk and goldwork:
Hand Embroidery Pattern for the Tudor-Style Rose
Part 1: Materials List, Set-up, and Satin Stitch
Part 2: Long & Short Stitch Shading on Inside Petals
Part 3: Adding Gold to the Outer Petals
Part 4: Couching Check Thread around the Inner Petals
Part 5: Outlining the Outer Petals with Soie Gobelins
Part 6: Filling the Inner Petal Tips with Gold Tambour Thread
Part 7: Goldwork & Silk Tudor-Style Rose – The Finish!
Considering the Scale of an Embroidery Project – this project in two sizes
Marian Medallion Project – the rose will be worked five times on this project, which you may also follow step-by-step
E-Book Available
You can find extensive step-by-step instructions for this project and for the entire Marian Medallion project in one e-book – The Marian Medallion Project: from Design to Delivery. All the information, materials, tutorials, tips, and techniques are conveniently collected in this one document, interlinked, referenced, and indexed. The e-book is packed full of all kinds of embroidery tips for undertaking a project like this, all in a convenient electronic format for easy searching.
Thank you! Very beautiful and interesting.
Superb…..magic with threads…
the rose
is very cute… I did it on my chudi..
Very beautiful!
Hello Mary !
I just finished my Tudor Rose. I really enjoyed making it.
You can see it on my web site, if you want to take a look.
Again, many thanks for sharing your knowledge.
Have a nice day.
Hi Mary,
I’m interest in working this rose. After you transferred the design how did you mount it. Did you use a hoop or did you use stretcher bars.
Thank you for your great daily newsletters. It is wonderful that you freely share all your vast knowledge.
Hi, Jeanne – I used stretcher bars. When doing the goldwork, it’s important to have both hands free, so you’ll want to use something you can either use on a floor stand or prop on the edge of a table while you’re working. -MC
Hallo, Thanks so much for your generosity!
I wanted to share my work with you….here a clip:
https://www.youtube.com/watch?v=R_Ceb-1oikk
Best regards,
Horacio Cifuentes
Mary,I try to make the back of my embroidery neat with tucked ends…I would like them to be mirror images of the front,or close to that..(especially with dish towels and so for)…but I am a novice…whats the best way to accomplish a tidy reverse side to an embroidery project? Thank you, Janice
Does the goldwork and pdf file include pattern(s)?
I meant to say the gold work “rose pdf book, thanks
Mary, Mary, Mary —
I laughed out loud when I read your tortured words, then laughed again when you confessed it. Laughing is my second favorite thing in the world. (First is Water and third is Color). So, thank you, my dear, for the laughter and the color!
If embroidery was an Olympic sport, then this would be a gold medal winner, and we’d all be cheering very loudly. This achievement is truly inspiring.