


Yesterday, we went through some steps of varying a blackwork embroidery design, starting from a simple wavy line and mixing things up. Today, I’ll show the rest of my fiddling with this particular blackwork square, and give you a printable version of the variations, in case you want to work them out in thread.
Going back to the original “woven” design, I started playing with different ways to fill it. Instead of the stitches crossing over each other in the bumps, I used a little box for the center and branched off the box with little stitches. Then, I repeated that in a checkerboard pattern:
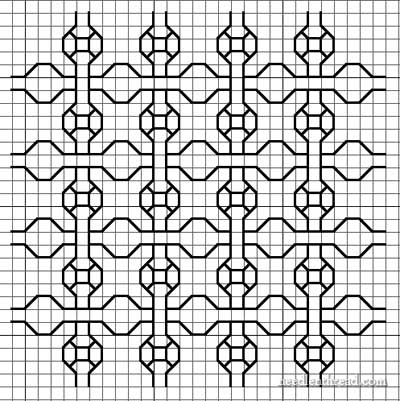
Then I went back to looking at the background of the bumpy lines, and I also finished the edges so that they aren’t open:
Then I started thinking about just filling in the background area, and trying to keep the woven look of the intersecting lines:
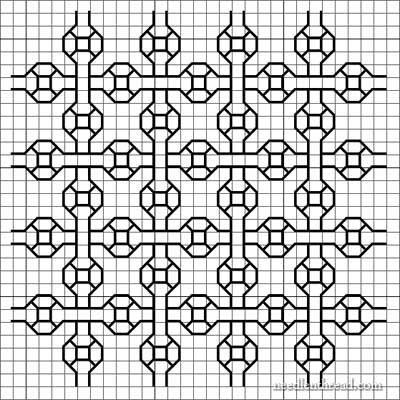
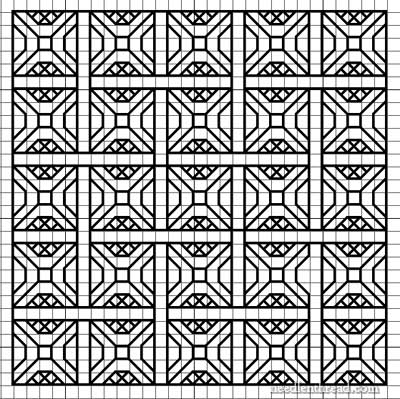
That lead me to finishing off the whole square into little squares. Notice that the bumpy lines have disappeared:
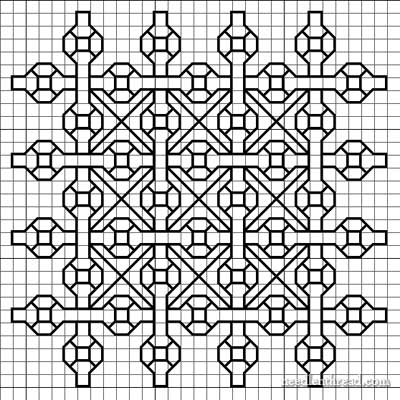
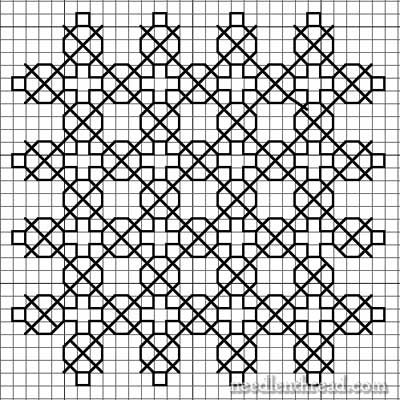
Then I finally I went back to the bumpy look, at least on the ends, by making the lines end in “finials” (think curtain finials):
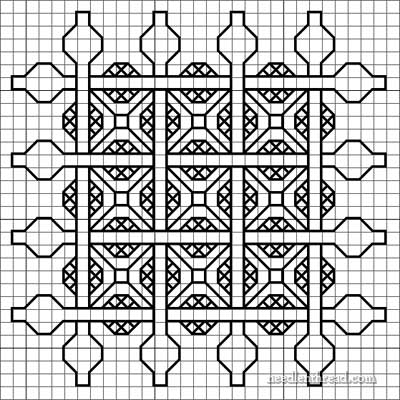
Well, the whole finial thing sort of appealed to me, so I thought I’d play with that, and add a darker background:
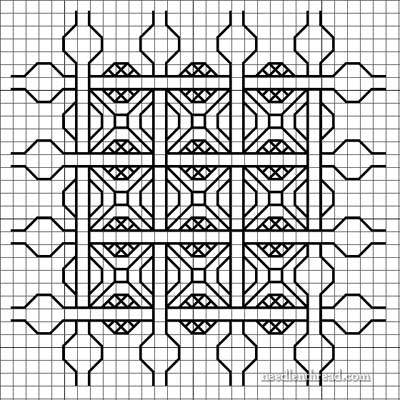
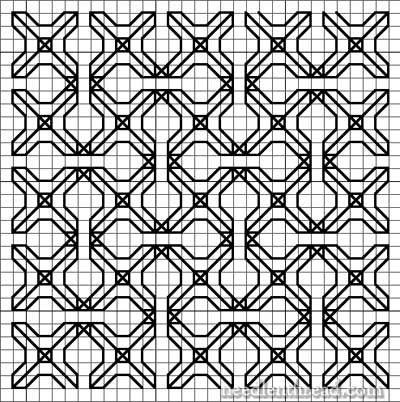
But that over-under weavy thing is now gone. Where’d it go? So I pursued that again:
I tried to shade a bit the under-over area in the above design, by inserting cross stitches as “shadows” – it really made the woven strips stand out, but they look rather narrow. I don’t know how well that one will translate onto fabric. And somehow, I missed some closing stitches on the edge (I’ve fixed them in the PDF).
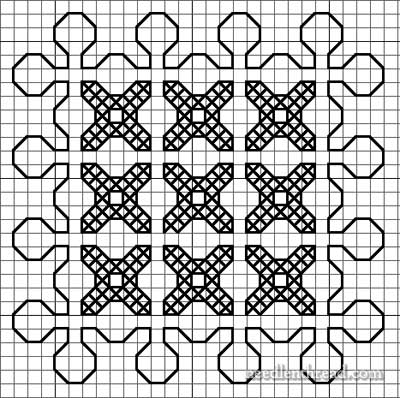
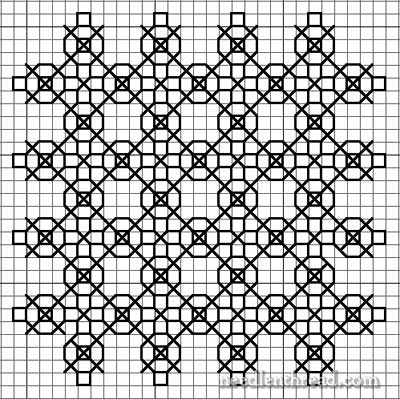
I didn’t really like that one much, so I went back to the finials, which made me wonder about accenting the circles or bumps, and connecting them in a different way. And those thoughts led to this:
And I thought that was kind of funny, how a whole new look developed. So I played with it a bit more:
And then, the circles grabbed me, and I went overboard, and ended up with this:
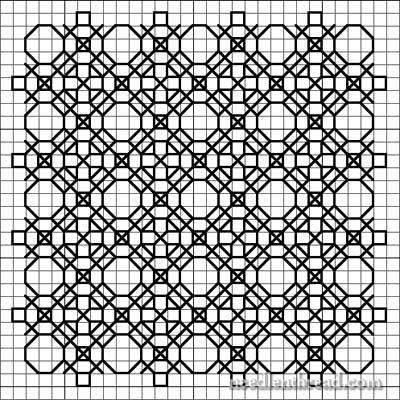
And that’s when I said, “ENOUGH!”
That, then, is the development of many small blackwork blocks, all from one original line. The possibilities with these types of filling are endless, and if you’re a doodler, you could have lots of fun playing with several basic designs and spicing them up.
As fillings, they can be worked inside other shapes, too. Or they could just be a fun blackwork sampler, to get the hang of Holbein stitch.
A reader asked yesterday if, on Needle ‘n Thread, I’ve covered the concept of following the blackwork pattern in stitching, to achieve a reversible image. Complex patterns like this last square might look impossible to follow in Holbein stitch – and to tell you the truth, I haven’t tried stitching any of these squares yet! But most patterns like this can be stitched successfully in Holbein stitch, ending up to be (more or less) reversible.
I’m not sure if the interest in this would really be out there, to see a pattern worked through. Is this something you’d like to see? If so, do leave a comment and let me know!
For your own needlework purposes, here’s a PDF of all the blocks I’ve shown here, in case you are interested in playing around with them. If you stitch them, I’d suggest stitching over 2 on any fabric 25 threads per inch or higher, with one strand of floss. There are 15 squares total.
Blackwork Design Development Blocks (PDF) – 3 pages
Wow!!! Thank you!
I had a kind of vertigo looking at that… but I’ll like to see how is the progress of something like this.
G’day Mary,
Yes, PLEASE. And unboggle the mind!
Cheers, Kath
Hi Mary,
It’s been a few months since I’ve come around and drooled over your blog. Your new decor is prettier than ever, and you continue to inspire. Just wanted to give you my greetings from Maine.
WendyBee
Mary? Have I ever told you how bad you are for my to-do list? I’ll NEVER get caught up on it if you keep dangling fun things like blackwork in front of me – and then letting me really want to try it (and therefore adding something else to my list!!).
Dear Mary,
Thank you so much for the patterns, I started playing arround with them.
http://tenar72.wordpress.com/2010/12/12/a-loss-and-a-new-beginning/
WOW I love your detail and directions. I have just started with blackwork this past week and love it already. I found your website and I will be coming to it for further ideas and instructions. Thank you for helping an old lady learn new tricks.
Jannie
Mary, one of my biggest problems with blackwork designs is “mapping” the stitches so that I have neither “orphans” nor threads carried over blank areas.
Do you – or your readers – have any tips on how to tackle a new pattern? I usually try to use graph paper to deconstruct a couple of repeats but these can get really confusing when it takes more than 2 runs.
I live everything blackwork. I would love to see more like this. And then even more. I find it fascinating!
Terri