


Today, a little Stitch Fun!
Remember a couple weeks ago when we looked at adding beads to embroidery stitches?
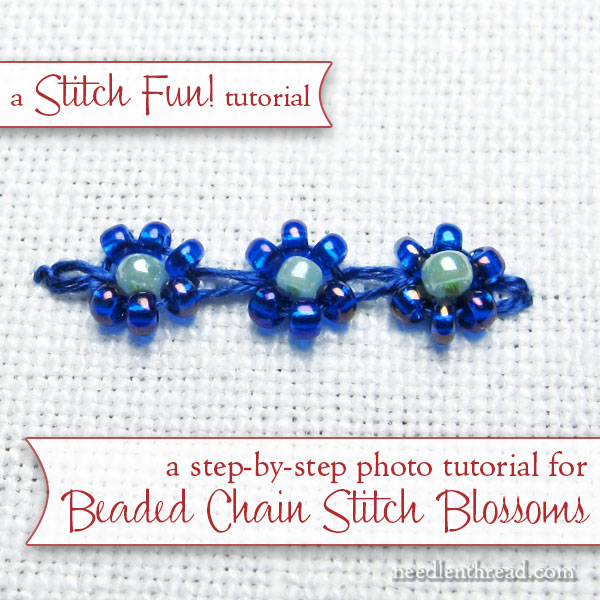
Well, here’s a little follow up tutorial for a cute little line of beaded chain stitches that work up into little round blossoms.
This is a simple technique for embellishing a straight, curved, or undulating line. It’s fun, easy, and quick!
So, let’s get started – I’ll take you step-by-step through how to work a line of beaded chain stitch blossoms.
For this tutorial, I’m working on linen fabric (Alba Maxima linen), using one strand of DMC stranded cotton floss doubled in the needle, a #11 beading needle, and size 11/0 beads.
To double the thread in the needle, thread one end of the floss into the needle and pull it through so that needle is at the half-way point in the thread. You can then knot the ends together.
Doubling the thread like this allows you to use two strands of floss for the stitch, without the tail in the needle. It prevents you from having to pull four strands of floss (two strands and the tail) through the bead.
You can use much smaller beads, too – 15/0 would look great with this technique (but it’s easier to take photos with larger beads).
If you choose to use smaller beads, the number of beads and your stitch length should be proportionate. You might have to test the number of beads and your stitch length until you find the right combination.
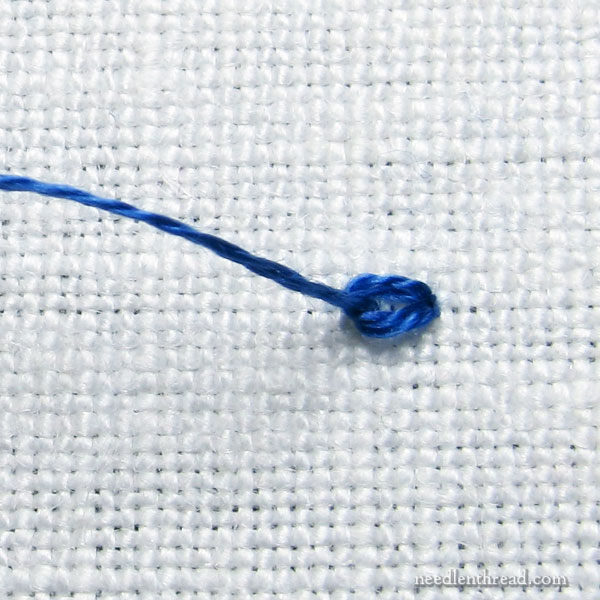
Start the line by working just a plain old chain stitch on the front of the fabric. My chain stitches are about 1/8″ – 3/16″ long.
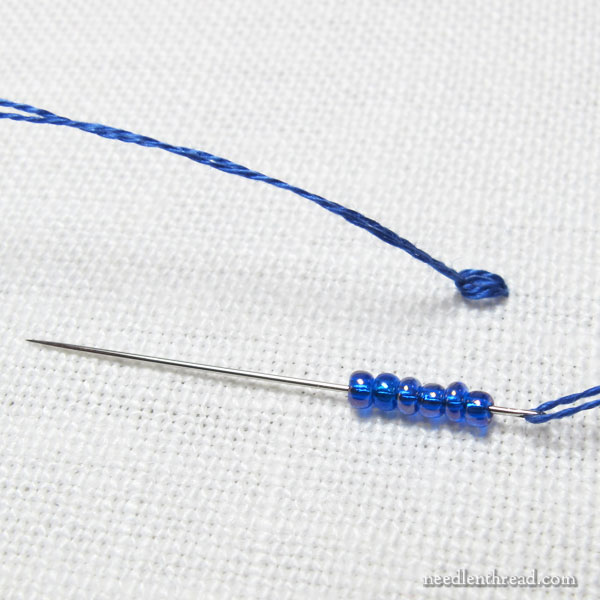
Thread an even number of beads onto the needle, enough to cover the whole loop of the next chain stitch. In this case, with the size beads I’m using and the length of my chain stitch, six beads worked well.
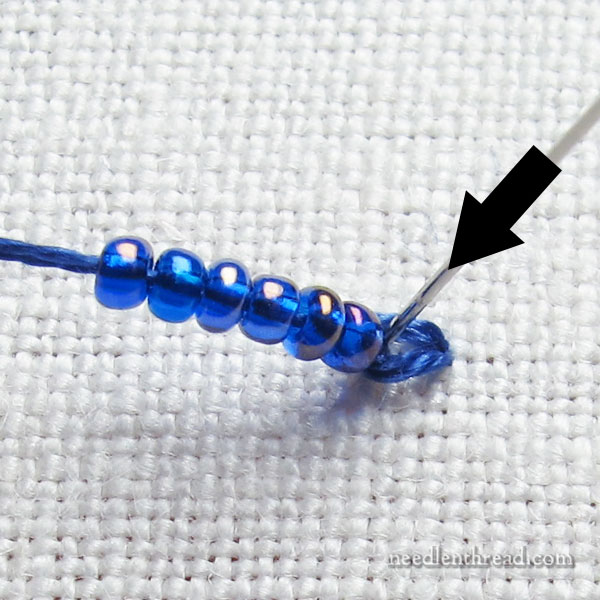
With the beads on the working thread, take the needle back down into the first chain stitch, into the same hole where your needle and thread came to the front, to form the loop of the second chain stitch.
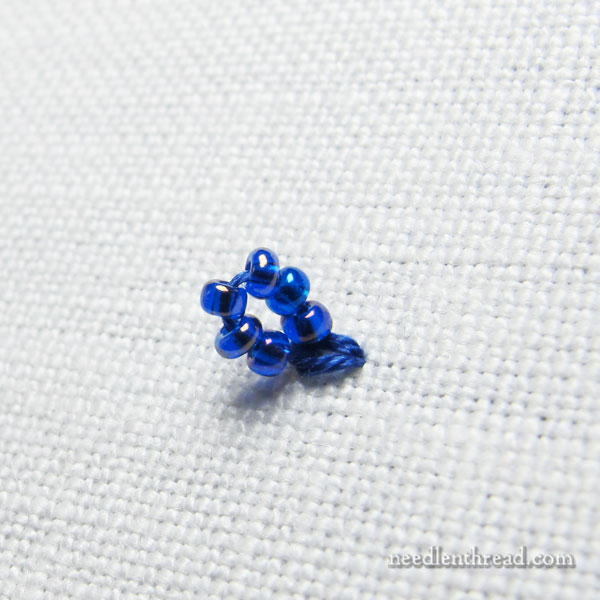
When you pull through to the back, you’ll have a little beaded loop on the front of your fabric.
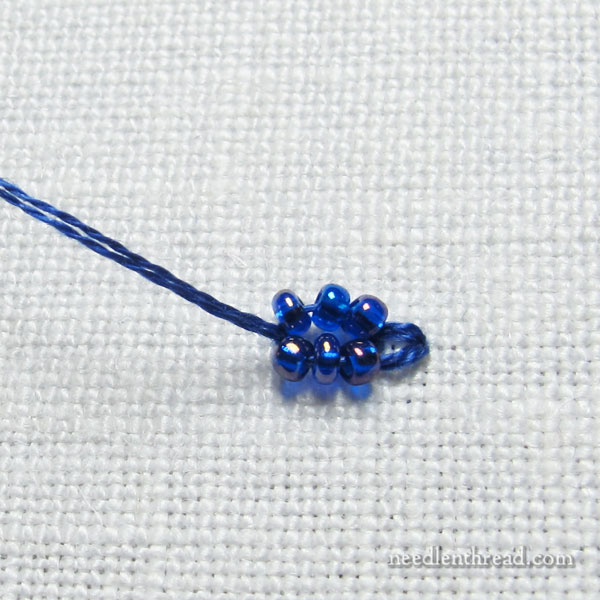
Bring the needle and working thread up inside the loop to make it into a chain stitch. You want half the beads on one side of the loop and half the beads on the other, as shown.
Work a regular chain stitch, sans beads.
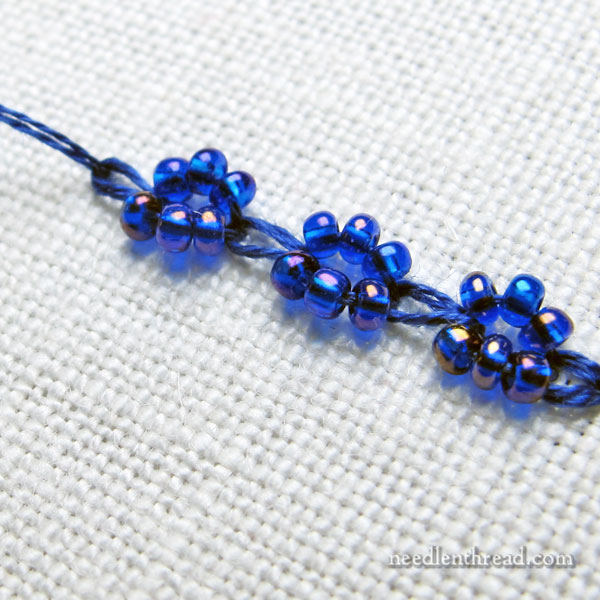
Continue working the line, alternating beaded chain stitches with plain chain stitches, until you’ve finished the line. End with a plain chain stitch and work a tiny anchor stitch just over the last chain stitch to secure (the same way you’d end a regular chain stitch line).
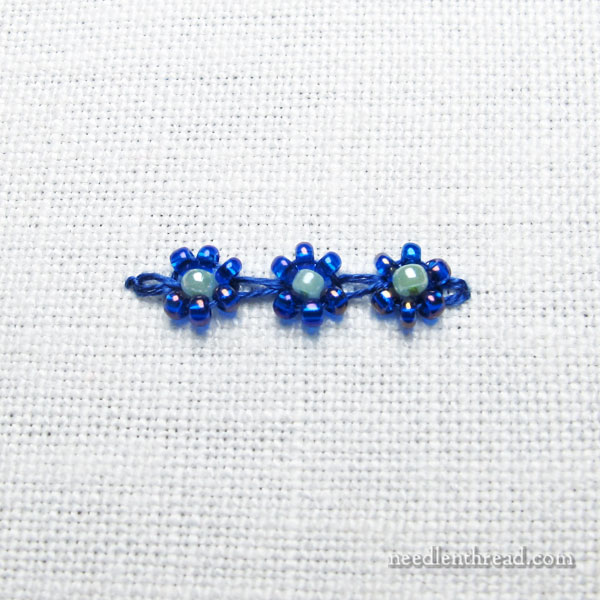
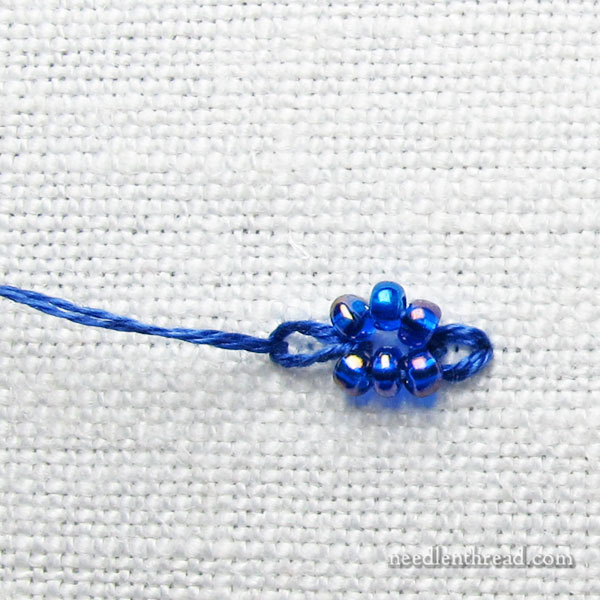
Sew a contrasting color of bead into the center of each beaded chain stitch, so that each center bead runs horizontal inside the beaded circle, as shown. This bead can be the same size, or larger or smaller than the beads you used on the chain stitch, depending on how large you made the original chain stitches. If the chain stitches are small, a large bead won’t fit in the center. If the chain stitches are very large, a smaller bead might be a bit lost in the center. Experiment to see what looks best!
If you really want to bring across the “blossom” look to the line, you could use bead colors that are flower-appropriate with green floss, and then dress up the line with little green leaves, beaded or not.
That’s it! A simple and quick decorative line combining beads and embroidery stitches!
Hope you enjoy it and can find a good use for it!
If you’re looking for more stitch tutorials, you can find all kinds of how-to videos for different embroidery stitches here on Needle ‘n Thread. You can also find a hearty list of step-by-step photo tutorials for more obscure, complex, or just downright fun stitches in the Stitch Fun Series.
Like what you see?
If you enjoyed this article and you’re looking for more inspiration, information, and instruction on hand embroidery, why not sign up for my daily newsletter?
There are all kinds of reasons to have Needle ’n Thread delivered to your inbox – check them out and sign up today!
Those flowers are great! I’ve never used beads but I can’t wait to try now. They may fit on a long term project I am planning. Thank you!
Dear Mary!!!
I LO-VE LO-VE LO-VE this Stitch Fun Series!!!
Don´t stop doing this!!
Apart from that, lately I am a bit obsses playing with beads… so, I´m “happier than a two tails´dog” jajajaj excuse my English!!!
Best wishes, Paula.
Oh, I love this. They are terrific. I’m guessing that once you get the beads on and then make the next chain stitch to anchor down the loop, you don’t want to take it too far away or put too much tension on the loop. Otherwise you’d end up with 2 lines of beads, no flower. 🙂
I have to try this on one of my cards. It would make a pretty border. Thanks so much.
You’re right! The tension shouldn’t be too much – but that inside bead helps round out the outside loops.
Very cool! In India I saw this concept being used with tambour work, on a very big project. The stitcher had a large number of beads pre-strung on a spool of thread, shuffling the required number into place as needed. This allowed rapid work with few stops to pick up beads or begin a new thread.
As ever, thanks for the inspiration! -k.
Love it…thank you for another great idea and lesson.
Dear Mary
A great fun stitch idea making a flower out of beads and I like the idea of knotting the two threads together so you don’t have to pull through 4 strands of threads through the needle. Very inspirational. This would look great on a monogram which I might incorporate in my next project, I’m in the process of making a lace journal for my twin niece who is getting married next year and I decorating lots of Dorset buttons to add to the journal as well as embroidering a monogram and various other bits so the beaded chain stitch blossom would add a nice touch to the journal. Thanks for the chain stitch blossom and I love the fun stitch series its so inspirational.
Regards Anita Simmance
So quick and beautiful. Thanks Mary!
What delightful little blossoms and simple technique! And the cobalt blue look is very striking. Thank you, Mary. I have a shirt that these will look great on.
This one looks like a lot of fun. Thank you so much Mary!
Love this idea. So cute and so simple.
WOW! I love it! I would make a great border and an accent on a monogram. Just in time for a birthday bookmark I am setting up. A little planning, a little stash hunting, a little courage and a lot of fun.
Thank you, Mary and friends for the inspiration.
will try this,,thank you
Wow, Mary, this is super cute, and I can see it will work up quickly. I will remember it! I’m a sucker for daisy chains. 😀
I am trying to figure out how to cut through the fabric and secure it. To use these stitches to crochet necklaces and bracelets or maybe turn the fabric edges over and embroidery therm with and without beads. I think they will make beautiful necklaces and bracelets. I know you are teaching embroidery and not crochet but sometimes I like to changes things and use them for other uses. I will give the credit to you for the designs. Thank you for your ideas I Wrote you awhile back and told you that I had given up embroidery but that your blog and newsletters had given me the inspiration to try and make a stump work crazy quilt. Which I am still working on it is my bucket list project which you inspired. Thank you not many people that take the time without getting paid a lot fneedlework needs to continue to inspire people to do needlework which I think is so important to pass on to future generations. At one time I had over 400 of your newssletters saved . When I got my new email address I lost them when I tried to switch them over. Your wonderful catalogue helps me to find the instructions that I need. thank you again Karol Beaufore
It is really fun stitch, thank you very much:))))
I have tried to sign up for your newsletter but my email continues to come invalid. This is my correct email. Why won’t it accept it?
I am trying to sign up for the newsletter but it won’t accept my email. This is my valid email. What seems to be the problem with it?