


Oooooh, now it’s time to do something kind of fun with that rolled woven picot that we looked at on Wednesday!
I’m afraid this could just be the beginning. There are so many ideas brewing in my head – alterations, combinations, variations and whatnot on the rolled woven picot!
I love playing with stitches like these, to see where the exploration takes me. Sometimes, admitted, my explorations can end in a flop. But sometimes, they can lead to some surprisingly fun and fabulous results. I hope that you take some time to play with the stitch, too, to see what you can come up with!
Today I’ll show you a larger woven picot roll and what I did with it. The key point here is how to anchor a larger roll to the fabric. It requires a slightly different approach compared to the smaller roll that we looked at on Wednesday.
In today’s tutorial, I’m still working on linen, and I’m still using DMC Perle #5 (Variations – their variegated line).
I really love the side view of the rolled woven picot, don’t you? The texture of the stitch is very pretty!
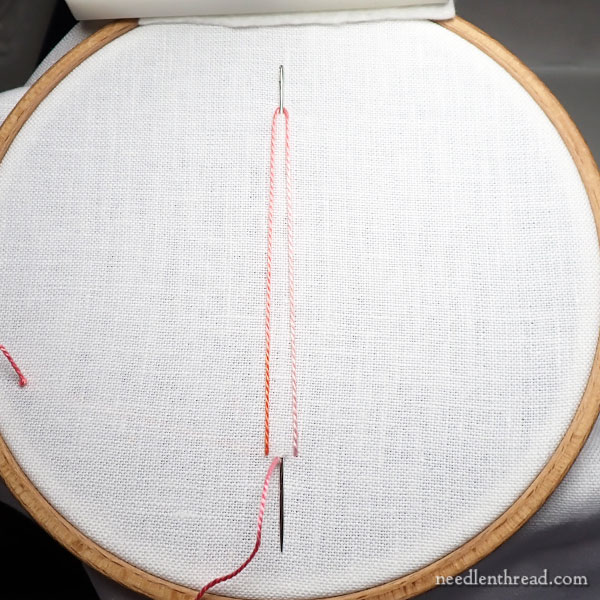
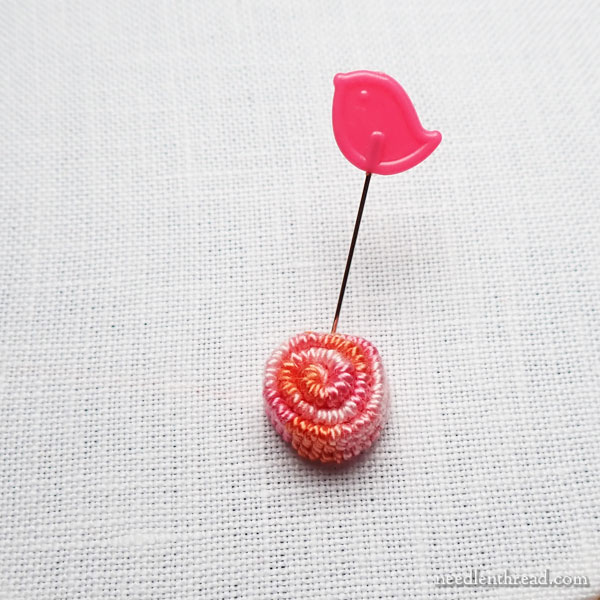
I’m starting with a much long woven picot today. I used a doll maker’s needle to create the long picot, but if you don’t have a really long (4″ – 5″ long) needle or pin, you can use the method we looked at on Monday, involving an anchor stitch for holding the foundational stitches in place.
You’ll want to cut a length of thread that’s about 50″ – 60″ long to make this picot. It needs to be a very long piece of thread! You don’t want to run out of thread in the middle of the picot.
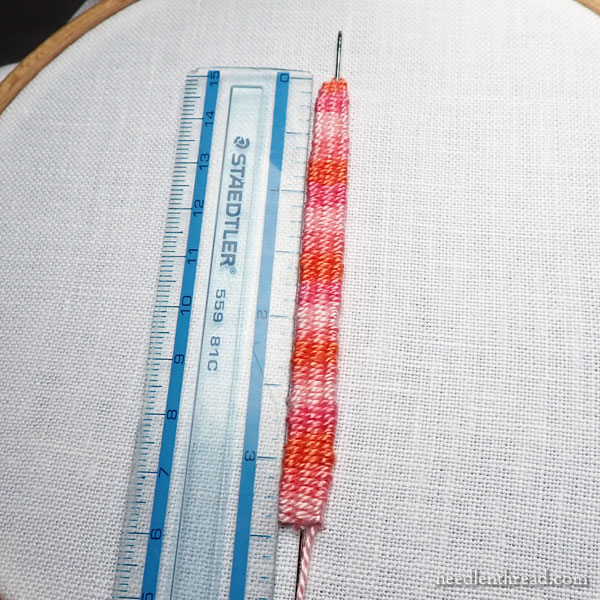
My picot ended up being around 3.5″ long. It could have been longer, but this will suffice.
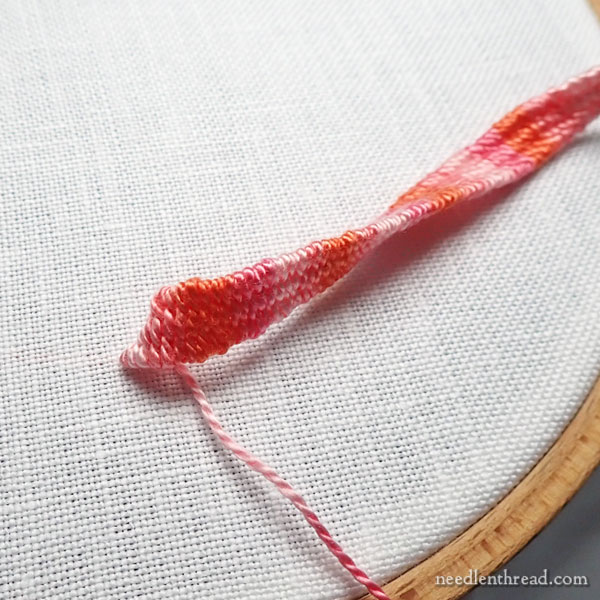
Once the picot is finished, take the working thread to the back of the fabric over one leg at the base of the foundation stitches, but don’t cut the working thread – you’ll need it to anchor the roll to the fabric.
Just like we did in Wednesday’s tutorial with the smaller roll, turn the base so that you can begin rolling the picot around itself, with the base practically perpendicular to the fabric.
Roll the picot around the center base area, around and around, spiraling larger and larger, until it’s all rolled up – then stick a pin through the tip of the picot, into the roll and into the fabric, to hold the roll in place while you stitch it down.
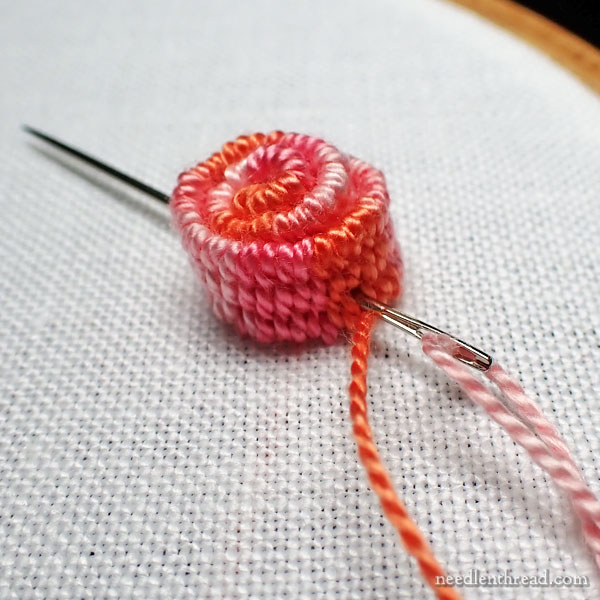
Stitch the tip in place, the same way we did on Wednesday, by bringing the needle and working thread to the front of the fabric underneath the edge of the roll, passing through the tip (or near the tip) of the picot and back down into the fabric.
Then, come up under the edge of the roll again, a little farther away from the tip that you just anchored, and this time, pass the needle through the roll to the other side, as shown above. You’ll be entering the roll between the woven stitches and over the original picot foundation threads. Go straight through the roll – you want to pass through every layer, including the center – and out the other side, between two of the woven stitches.
Then, take the needle and thread down into the fabric, just under the edge of the roll on the opposite side.
Work another anchor stitch through the middle of the roll in the same manner, perpendicular to this one, so that you’re anchoring through the roll twice.
It’s important on a larger roll to run anchoring stitches into the center, to make sure that all the wraps are secure to the fabric. Otherwise, some of the wraps may wriggle free as time passes and stick up further than the other layers of the roll.
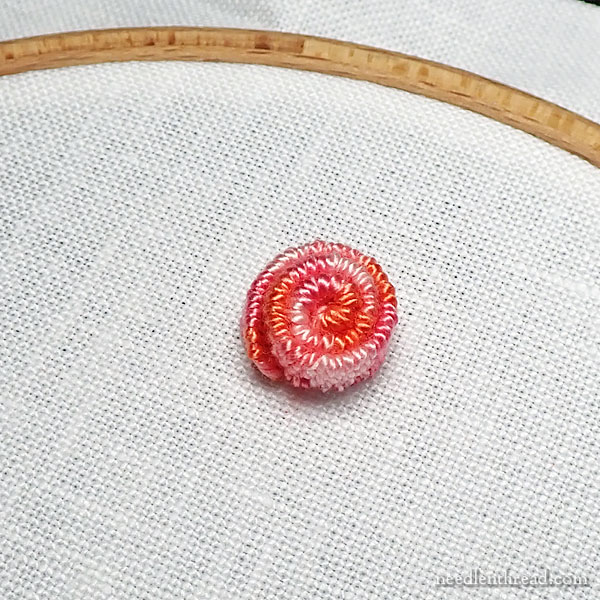
Here’s the larger roll, anchored.
I do love the look of that! Even though it does stick up quite a bit from the fabric, I just think these are really pretty! I can’t wait to play with them with other threads, too!
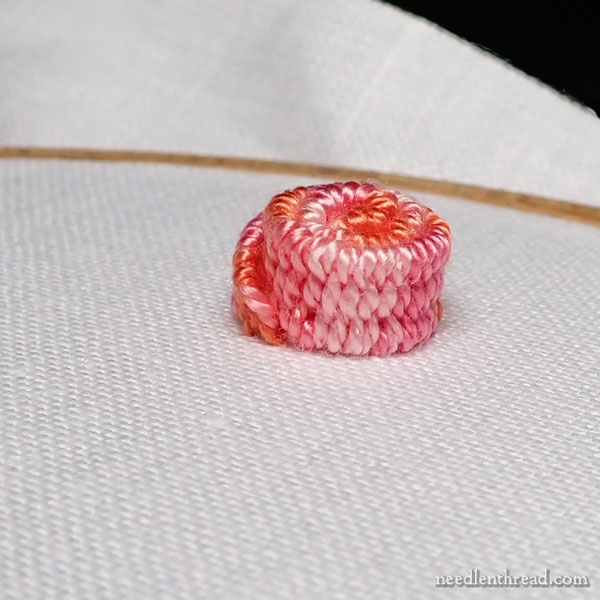
Ahhhh. From the side, the texture is fabulous, isn’t it?
Kind of makes my mouth water in a weird way.
Once you’ve got a rolled woven picot on your fabric, it stands to reason that you should embellish around it.
So I did this:
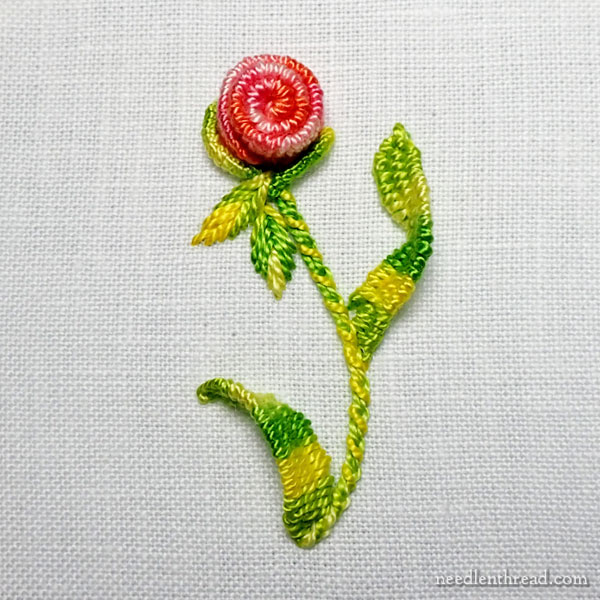
I used bullion stitches at the base of the roll, overlapped by some fishbone stitch leaves.
The stem is a whipped chain stitch.
And the two large leaves? Well, they’re just more woven picots that have been bent and anchored to the fabric.
It looks like it’s dancing. It’s a happy little flower thingy.

If I had had just a wee bit more time, I would have worked up one more sample that I have in mind. Perhaps in the not-too-distant future!
I hope you enjoyed this short series of tutorials on rolled woven picots – play with them and see what you can come up with!
I’m currently away on a short trip, but I’ll be back soon. If there’s a delay in publishing blog comments or replying to email, that’s why! Feel free to leave comments on the website if you’d like, though. I’ll get to them as soon as I can! If you can hold off on any email question until next week, it’ll be easier for me to address them then. Thanks!
Oh Mary, I love the look of this! Very instructive and creative and helpful, as always. Thanks so much for sharing your thoughts and expertise!
Cool idea!
I found a different work around. During the strawberries stitch along I had a hard time placing the pin for the picots. Not for the tip, but making the tip of the pin emerge exactly where I wanted at the picot base (especially with very taught fabric), I found very frustrating. Then I realized I don’t need it to emerge at the base. It doesn’t seem to serve any purpose there. I just use the pin at the top to hold the tip in place. Meaning you don’t need a long needle to start a picot of any length. Hope my explanation makes sense.
If you would like me to send a picture to explain it better please let me know.
Regina
Thanks, Regina – It’s true, you don’t need a pin at the base. But I don’t like to insert a pin at the tip and have the point of the pin interfering with stitching. That’s why I like the anchor stitch – I don’t have to worry about any pin interference.
Oh, how about an “open roll” with overlapping ends…that would make a great center to a daffodil! Now, you have me thinking too…am happy to wait and see what you create next…hope you are enjoying your trip! Hugs!
Mary,
These look so fun and I can picture these little cinnamon rolls in a variety of fun things. I can’t wait to try them.
You’re right this flower does look like it’s dancing!
Vraiment très joli!
It’s delightful Mary! I can see why it made your mouth water, it reminded me of something we find in a bag of mixed sweets we call Dolly Mixtures here in the UK. It’s lovely how you’ve manipulated it into a floral motif!
Of course I did run out of thread despite cutting a super long piece! Maybe I packed the stitches too tight as I was weaving. Determined to make it work I wove in a new length of thread and it worked and no one would be the wiser (except Mary!).
I’ve had to do the same thing, Jan. I think I cut about a 9 foot length for one, and still got very close to running out! LOL! It uses up a lot of thread!
I love what you are doing with this woven picot. I think I could use a pin to anchor the tip no matter the length. I’ll try to send you a picture showing how I see the set-up. This has me very excited.
Yes, it’s true, you can, but I found the tip of the pin under the area where I was weaving got in the way. It was a little less frustrating (and I didn’t have to pay as much attention) with the anchor stitch.
Dear Mary
I really like this stitch fun woven picot leaf and flower it’s really pretty. I like the variegated pink thread the picot really stands out in the pink and light green. I can imagine there are lots of different ways you could stitch the picot it’s a very pretty and interesting stitch. Thank you for sharing with us this interpretation of the woven picot flower and for the tips and techniques of the flower and leaf.
Regards Anita Simmance
Really eye-catching. I had to go back through your recent posts on this to satisfy my curiosity.
You didn’t do this the way I expected. That is, you didn’t do it the way I would have tried. So now I’m wondering if you tried that way and failed!
What I was thinking was that you would anchor the layers of the picot as you wrapped it. That way, you wouldn’t risk missing a layer or the centre when anchoring. But maybe that approach didn’t work?
[I don’t mean you would have failed, obviously, but that the way-I-would-try would fail if you or I or anybody tried it.]
Sounds awfully fiddly when this way works fine and is perfectly stable.
I just want to say, you are a great inspiration. I love all your work and instructions.