


OK! It’s time to rectify yesterday’s blunder, wherein I published the final article on the pincushion (the Palestrina stitch edge) when I should have been publishing this article on the second-to-the-last step.
On the Bee-Jeweled Project Index page, the articles will be listed in the correct order of work for proceeding normally through the project, so if you have to come back to this later in the year (maybe you aren’t stitching your pincushion just yet), you’ll find all the articles listed in the project index, in the correct order.
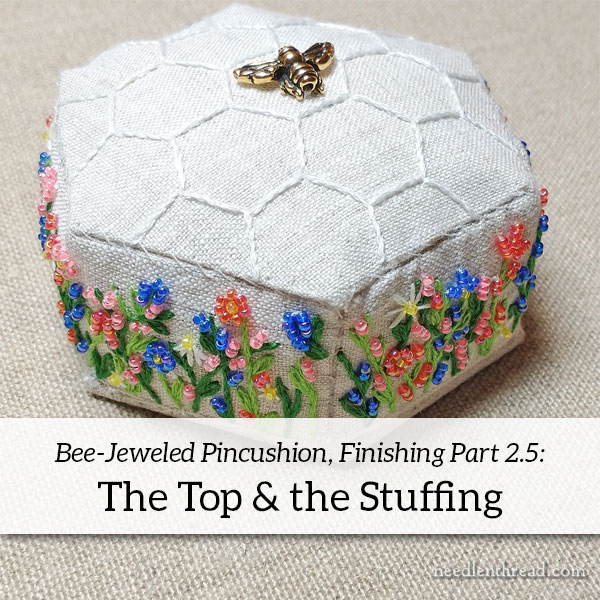
So let’s look at how to add the top to the pincushion and stuff it and close it. Please remember to read through all the steps thoroughly. Don’t rely solely on the pictures, since some steps are not pictured but are explained in the text.
To finish the top of the pincushion, gather together the following:
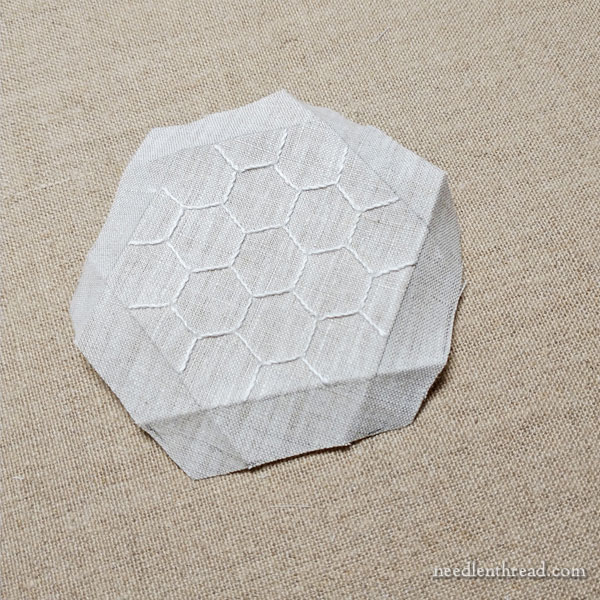
Place the embroidery side of the top of the pincushion down on your work surface and finger press all around the design edge so that you have clear creases at the very edge of the design area.
You can use an iron for this step, but I usually just use my fingers at this point because I can manipulate the fold of the fabric better and get a more precise crease right where I want it.
On the pincushion, I didn’t really have need of an iron. Some project finishing really benefits from an iron, but this one was fine without it.
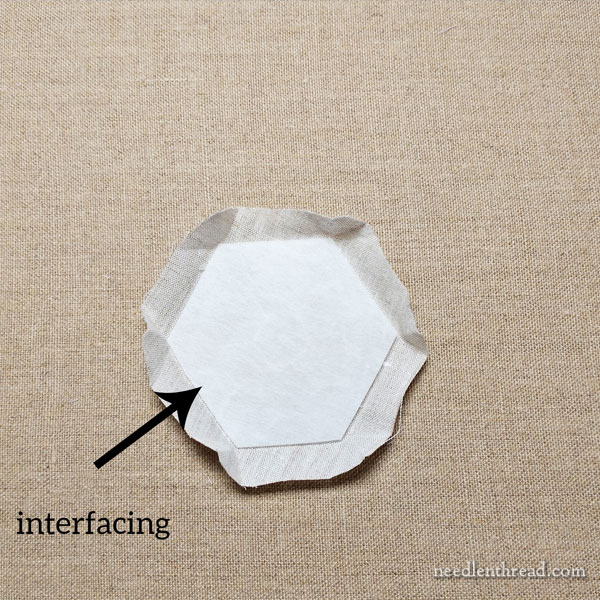
Place the hexagon-cut interfacing on the back of the embroidered area. It should fit just inside the design area, right within the creases, so that you can fold the seam allowance over the interfacing.
Using your sewing thread that matches the ground fabric, thread a needle and knot the end of the thread.
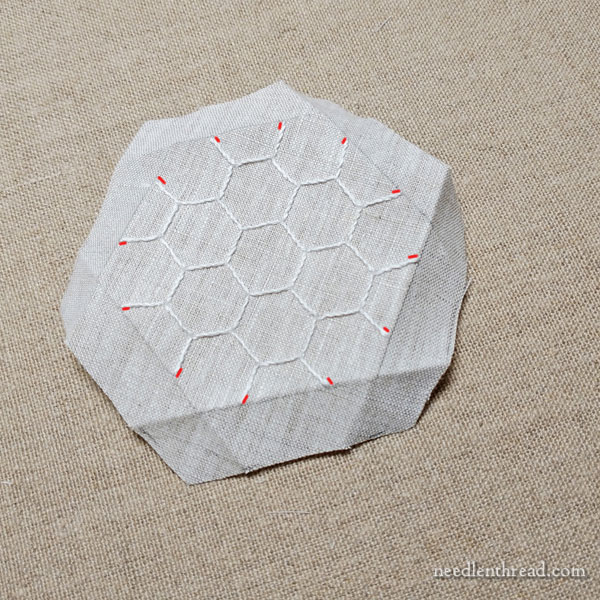
Work tiny tacking stitches (these are just tiny straight stitches) around the outer edge of the interfacing right next to the embroidered lines on the front. The little dashes in the photo above indicate the placement of the stitches.
The thread – if it matches the ground fabric well – won’t be seen, but use the embroidery to help mask these tiny stitches by stitching right up close to your embroidered lines.
This will hold the interfacing in place.
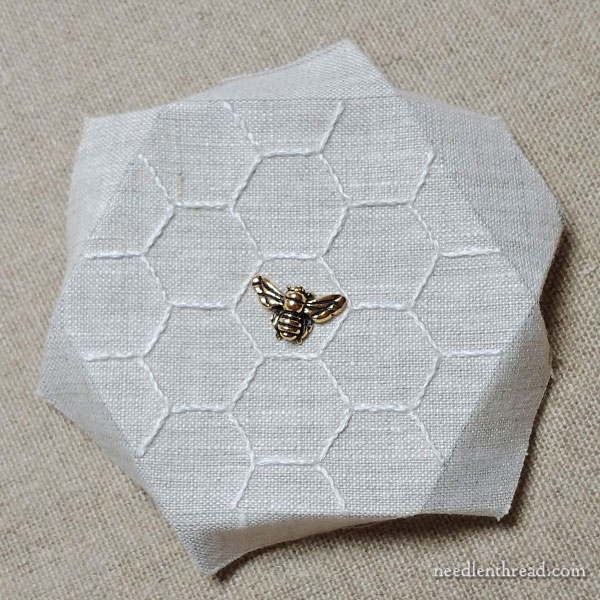
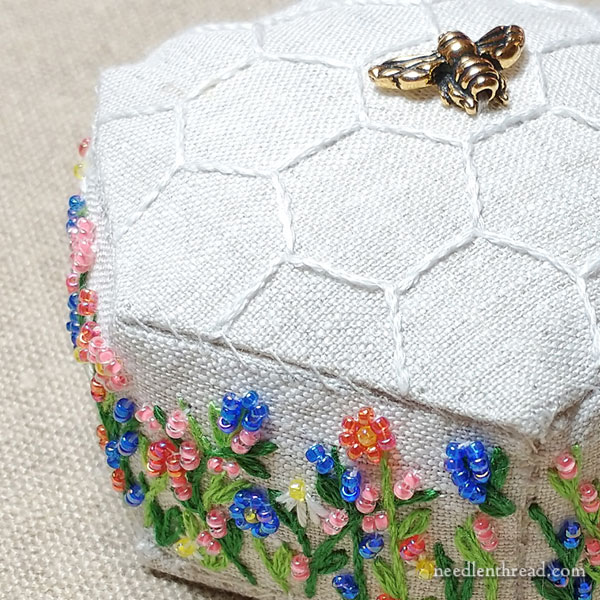
Next, sew the bee onto the middle of the piece, using either the bead thread or regular thread. If you use regular thread, pass through the bee bead numerous times (four, five) to really secure it. If you’re using the bead thread, pass through about three times.
Notice that my bee is a little off-set in the center hexagon on the top. I did this on purpose. I thought the bee looked a little odd, set exactly in line with the center hexagon, so I tilted it.
You can put the bee wherever you want on the top of the pincushion. It doesn’t have to be in the center.
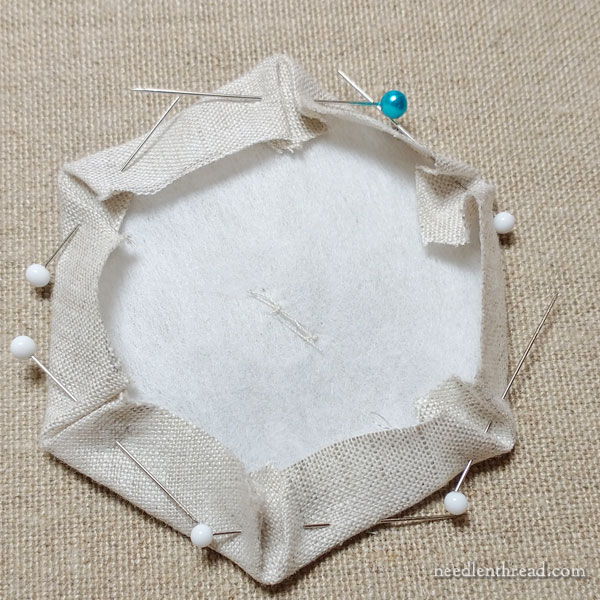
Turn the top over and miter and pin the corners.
To miter the corners, fold the tips of the corners in over the interfacing, and then fold the sides so that they overlap the fold at the tip.
When you pin the mitered corners, they might look a little loose. When you sew them, they will come together like that miter on the lower left, where you can see the two sides meeting up right next to each other.
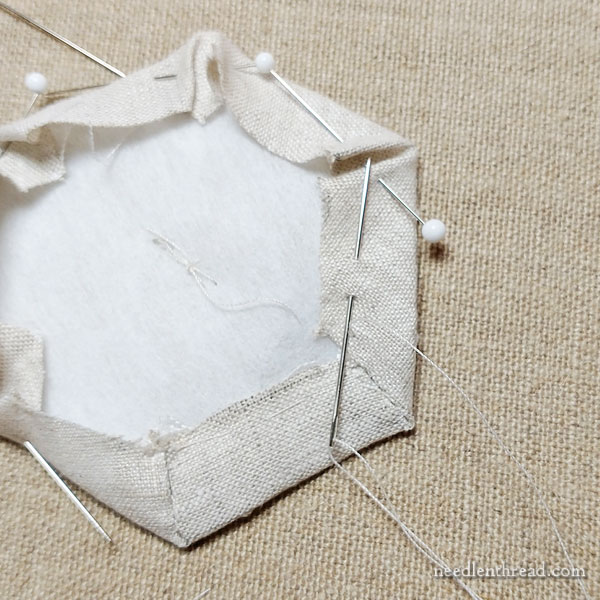
Sew the mitered corners together, using the blind ladder stitch that we used here when attaching the side strip to the base.
Realistically, you could also just use a whip stitch. It’s not as if anyone will ever see the mitered corners!
When you finish one corner, move on to the next by passing the needle in and out of the side as you travel over to the next corner.

Now you have your top and the body of the pincushion ready to go…
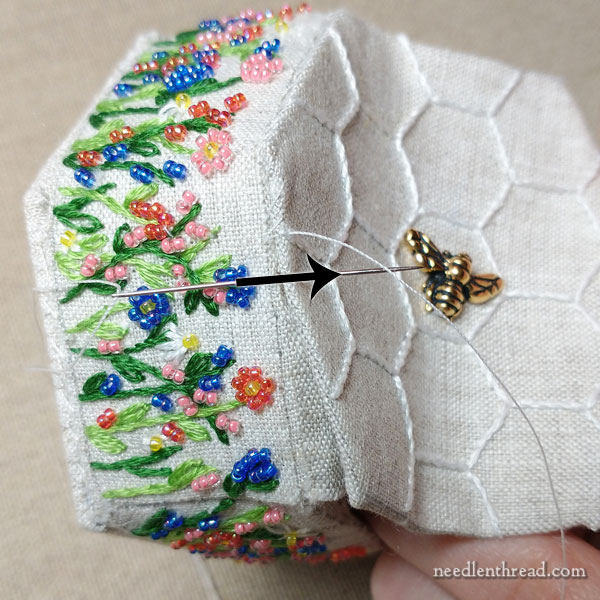
…and all you have to do is sew the top to the body of the pincushion.
You can use the blind ladder stitch here or you can just whip stitch the top on. Once you work the Palestrina stitch edge, no one will see the whip stitch, and it is quite a bit faster than the blind ladder stitch.
(The blind ladder stitch works best for the base, because the sides have to stand up from the base, and they do that more readily with the ladder stitch than they would with a whip stitch.)
For the whip stitch, knot your sewing thread and bring your needle and thread out to the front of the pincushion from inside the pincushion, at a corner of the top, which is aligned with a corner of the side.
Whip stitch by passing the needle always in the same direction – and preferably up, away from the side stitching. You don’t want the hassle of running into the beads and the embroidery on the sides while you whip stitch.
So, work the whip stitch going into the top edge of the side and picking up a little fabric, and then pass into the very edge of the top and pick up a little fabric. Then, back down to the top edge of the side, back up through the edge of the top, and so forth.
Whip stitch four or four and a half sides, and then leave the thread while you stuff most of the pincushion.
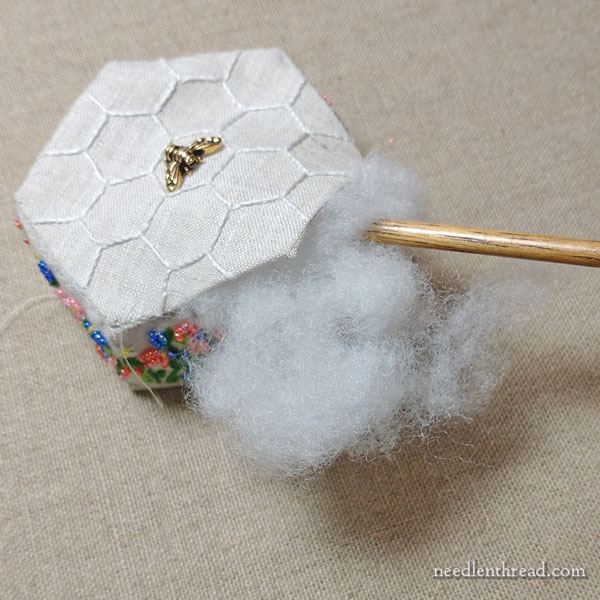
Grab a blob of fiber fill, and shred it with your fingers to pull it apart and make it fluffy and less prone to clumps. I pull it all out in little pieces until I have a nice fluffy cloud of un-clumpy fiber fill in front of me.
Then, stuff it!
Start by putting in a good amount just to fill up space. Then, take small pinches and work them into the pincushion. If you have a blunt stick – like a chopstick or something similar – it can be very helpful to push the fiber fill around and well into the corners.
Keep filling until you think you’ve got it as full as you want.
You want the pincushion to be firm, not floppy, and this will take more fiber fill than you think.
Then, sew up the top a little further, until you have only about 3/4″ of the top unsewn.
At this point, gently squeeze your pincushion all over, checking to make sure it feels equally firm everywhere, that it’s not excessively and noticeably bumpy, and that there are no discernible gaps in the filling.
If you need to at this point, use your blunt stick to push in some more filling and wiggle things about a bit.
Really! Go for Firm filling. (But not so firm that it’s bursting its seams!)
Once you’re satisfied that your filling is fabulously firm, close the gap with the whip stitch, end the thread with a knot, pass the needle and thread into the pincushion and out again somewhere on a seam, and snip the thread.
Voilá! Your pincushion is constructed!
The final step is to decorate around the base seam and the top seam using the Palestrina stitch, which we already did here.
Looking for More?
If you’re looking for the rest of this project, you’ll find every step of it listed here in the Bee-Jeweled Pincushion Project Index.
If you want an affordable kit to create your own pincushion, you will find those listed here in my shop. If they are out of stock, drop me a line and I’ll add you to the notification list.
Membership on Patreon
Members of the Needle ‘n Thread community on Patreon can download this project in three handy PDFs that will take you from start to finish. As we progress through other Stitch Snippet projects here on Needle ‘n Thread this year, the downloadable and printable PDFs for the projects will be available for members.
Patreon is a membership platform wherein folks support the creative work of their favorite artists, much like the patrons-of-the-arts of old did, but in a group sense.
If you want to become a member on Patreon and help support the work of Needle ‘n Thread, the pledge is as little as $1 – $5 / month.
Thanks to the members on Patreon, we’ve accomplished two important things so far at Needle ‘n Thread:
1. I’ve been able to eliminate network ads from Needle ‘n Thread. Perhaps you’ve noticed that my website doesn’t behave like most popular blogs out there (think: cooking blogs, news blogs and the like). There are no pop up advertisements and videos taking over your screen!
2. I’ve been able to hire a full time assistant (Anna!) and pay her a living wage. This has allowed me to expand Needle ‘n Thread, to bring you more needlework instruction, goods, and services that otherwise I could not have done. We have further plans for expanding the content here on Needle ‘n Thread in the near future, while we continue to build and maintain a close-knit community of embroidery enthusiasts.
So, for those who have asked, that’s what the membership on Patreon is about, and that’s what the generosity of the members has done for Needle ‘n Thread. I am ever so grateful for them!
Coming Up!
We’ll start the next Stitch Snippet project in April, and in the meantime, we’ll continue to explore other needlework content here on Needle ‘n Thread.
See you Friday!
I purchased the pin cushion and i need access to the complete instructions. I have not started the project.
You’ll find all the articles for the instructions listed in this index: https://needlenthread.wpengine.com/2022/02/bee-jeweled-pincushion-project-index.html
Hope that helps!