


My friends, it is time to finish Cotton Quartet! Yay!!
It was a long project, but a fun one! I’m not sure it quite fits the notion of a “Snippet,” but I hope you enjoyed it and learned a lot while you worked through it.
If you’re just joining in on this project, you’ll find a project index here that will take you step-by-step through creating Cotton Quartet. Each article contains tips & techniques for completing the project and links to other helpful tutorials.
Members of the Needle ‘n Thread community on Patreon already have all the instructions in four downloadable PDFs. You’ll find all the download posts listed under the tag Cotton Quartet, if you’re logged in as a member.
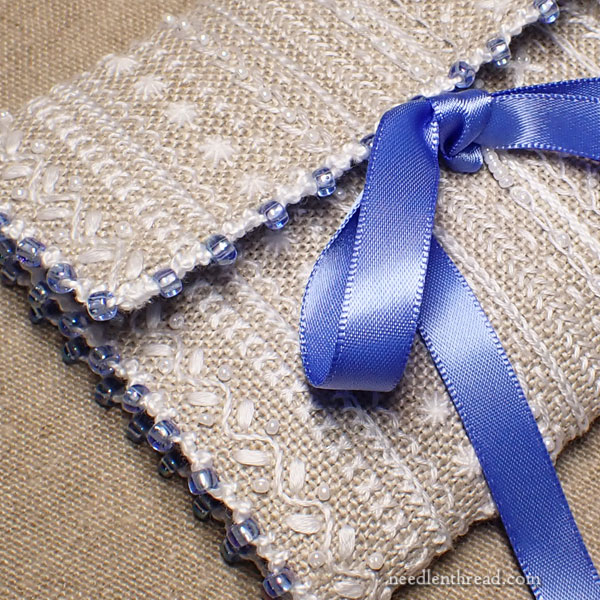
Installment #10 is pretty brief. We’re going to add the decorative beaded edge around the outside of the finished needlework tool wallet.
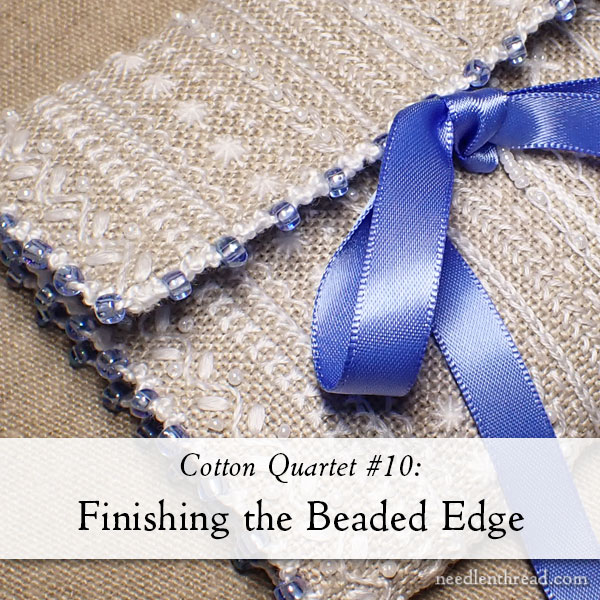
To finish the edge, we’ll be using perle cotton #5 in B5200 and size 6/0 round seed beads from Mill Hill (#16168).
The knotted embroidery on the edge is Palestrina stitch. If you worked the Bee-Jeweled Pincushion project, you’re already familiar with working Palestrina stitch on the edge as a finishing technique, which we did in this installment.
For the edge of Cotton Quartet, I alternated with two Palestrina stitches, a bead, two Palestrina stitches, etc.
Here are some helpful links to familiarize yourself with Palestrina stitch for this project:
Video tutorial for Palestrina stitch
Palestrina stitch on the edge photo tutorial
Beaded Palestrina stitch photo tutorial
With your tool wallet all assembled, you’ll thread up the #5 perle cotton that came in your kit, and start the thread as we did in previous installments. Use a knot that remains on the top of the fabric while you work some tiny holding stitches in the linen, hidden by the gingham lining as much as possible. Then snip the knot close to the fabric.
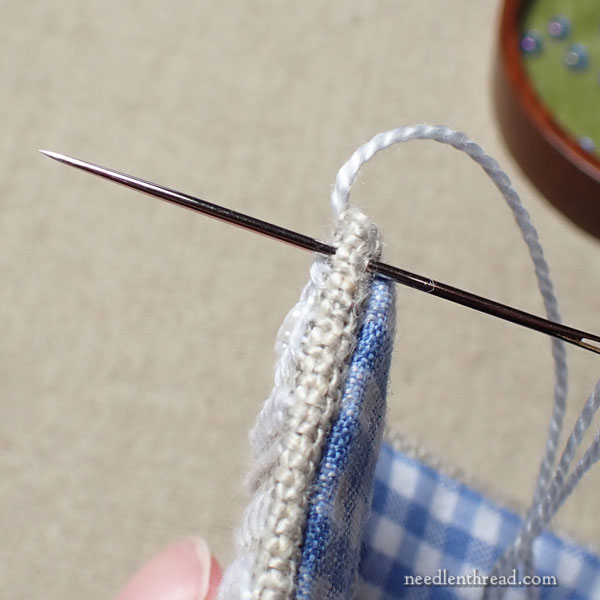
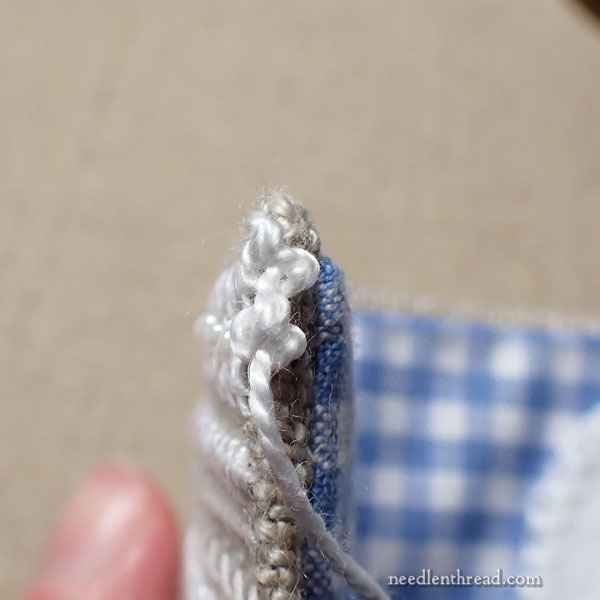
Bring the needle and thread out on the outside corner of the tool wallet as shown above. Working towards you, begin the Palestrina stitch by passing perpendicularly through the folded edge of the linen, passing through the inside of the folded edge to the outside, as shown above.
Pass the needle and thread under the resulting slanted stitch, without passing over the working thread.
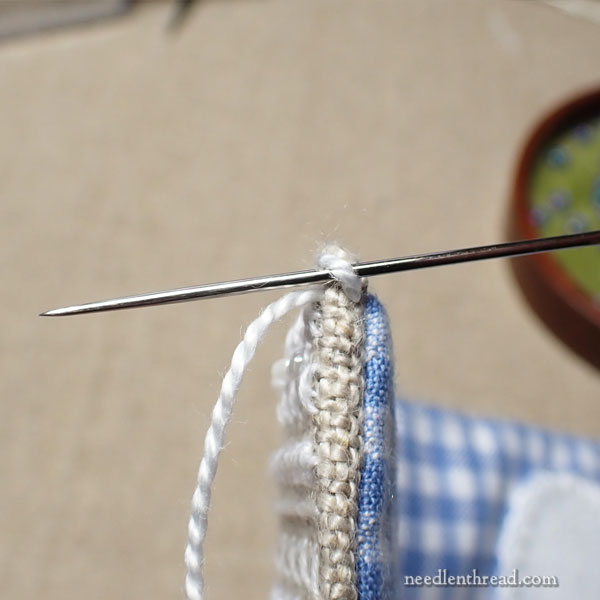
Pass the needle under the stitch again, emerging between the two resulting “legs” from the previous step.
This time, as you pull through, come out over the loop of the working thread so that it catches in a knot around the stitch.
This finishes one Palestrina stitch.
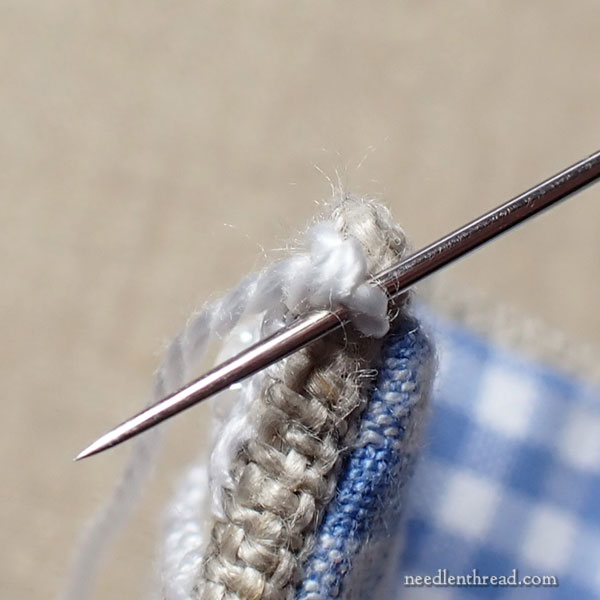
Work a second Palestrina stitch right after the first, keeping the first diagonal stitch (that passes from the inside of the linen edge to the outside) small enough that the Palestrina stitches sit practically right next to each other.
You don’t want long spaces between your Palestrina stitches, or they will look skinny and strung out and the resulting “bridge” between the stitches could catch and snag on things.
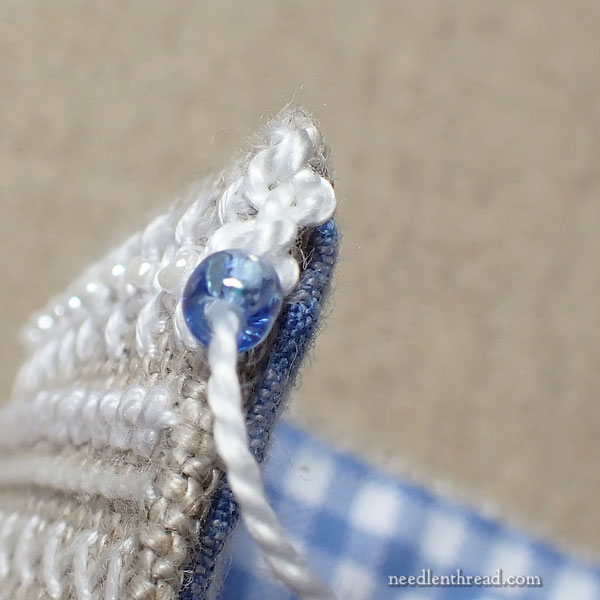
String a bead on your thread.
The nice thing about 6/0 seed beads is that they are immense and the #5 perle easily fits in the hole. In fact, you could get away with a 8/0 bead here, too. Anything smaller won’t fit on the perle cotton.
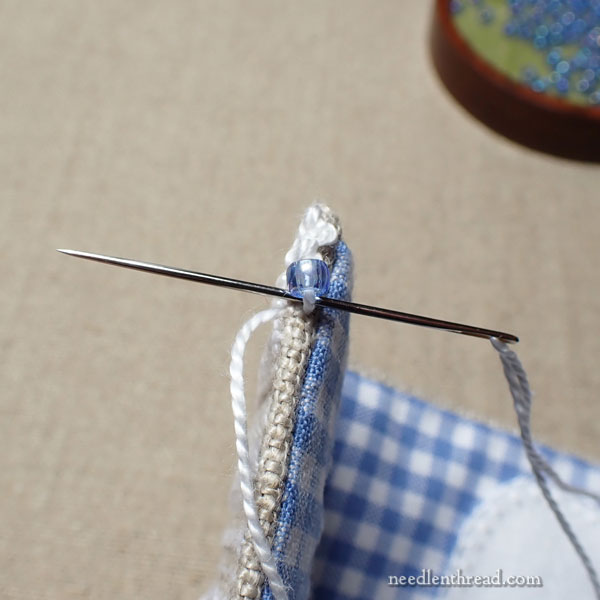
After you string on the bead, continue into the fabric from the inside edge of the linen to the outside edge, to create the first movement of the next Palestrina stitch.
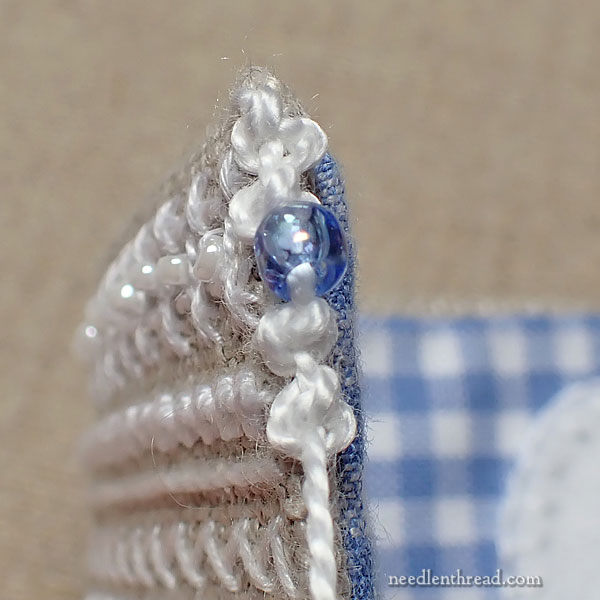
At this point, stitch away! Go all the way around the tool wallet.
If you need to switch threads, end your thread after the first diagonal movement of the Palestrina stitch and start the new thread where the needle emerges on the outside of the linen edge across from the end of that diagonal stitch.
You are officially finished with your Cotton Quartet tool wallet! Congratulations!
Now, tie your favorite scissors into their place, add some of your favorite pins and needles to the felt needle pad, and tie your wallet closed with a pretty bow passed through the beaded loop on the outside of the tool wallet.
I hope you enjoyed this project!
Stitch Snippet Kits
So far in 2022, we’ve stitched two beautiful projects together – this one and the Bee-Jeweled Pincushion.
We will continue to stock kits for Cotton Quartet and the Bee-Jeweled Pincushion here in my shop for now. If you want a kit and they are out of stock, just drop me a line and I’ll add you to the list.
The Bee-Jeweled Pincushion kit is in stock right now, but Cotton Quartet isn’t. I have more Cotton Quartet kits in the works, and for those on the waiting list, I will let you know as soon as they are ready. There’s a hold-up on one of the threads at the moment.
Another Stitch Snippet
We’ll be launching another Stitch Snippet in the second half of August (about a month from now). It’s a smaller one. It will stitch up pretty quickly, and we will have a kit for it that includes fabric, threads, needles, and the foundation supplies for finishing it.
In this Snippet, you’ll learn how to transfer a design with a free-style approach; you’ll experience stitching with silk (and cotton) threads and blending colors; and you’ll learn how to finish your own embroidery project for framing – with the enclosed board and specialty cut mat. It’ll be a faster but fun (and lovely) project. Can’t wait!
Dear Mary
The Cotton Quartet needlecase is so lovely especially with the added beads and palistrina stitch on the outside it looks very professional and so pretty. Even though I not making this I have followed the project and really enjoyed all your tips and techniques for the project which are so useful for other embroideries. Thank you for sharing with us the last tutorial for the cotton quartet I’m looking forward to August for the next snippet and it will be very interesting to learn how to transfer free style design and finish an embroidery project for framing, can’t wait I learn so much from you Mary it’s great.
Regards Anita Simmance