


Today, we get one step closer to the end of Cotton Quartet, a stitch-along project here on Needle ‘n Thread that we’ve been working on for a while.
After this installment, we only have one more step to go, and you’ll have a beautiful tool wallet for your favorite scissors and needles!
Before we launch into today’s lesson, a little tip: read through the whole article before you begin this part of the project. This is a long article today, with a lot of photos.
For members on Patreon, you already have this lesson (and all the lessons to finish Cotton Quartet) – they are part of the 4th PDF posted a week ago.
For the order of work, we’re going to start by sewing together the outside cover and the inside lining.
Last week, we prepared those and added the ribbon, so now it’s just time to assemble the tool wallet.
You’ll need either natural colored sewing thread that matches the ground fabric of the cover or white thread. They both work here, because this stitching won’t be seen.
Some clips – like Clover’s Wonder Clips or even clothespins – come in handy here.
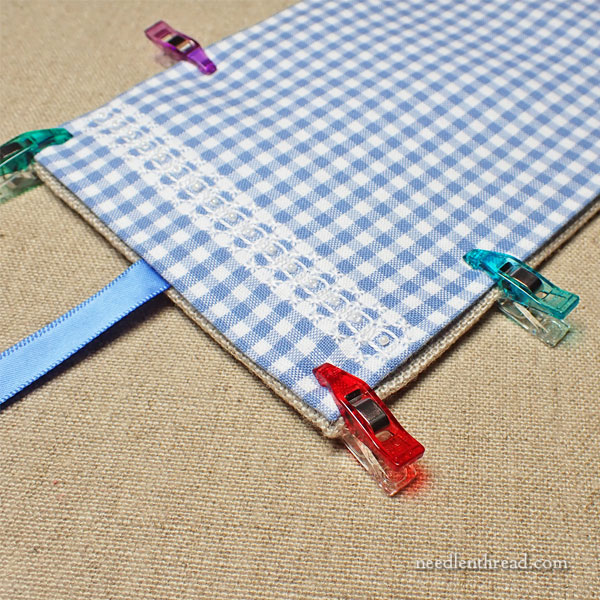
I began by situating the lining over the cover, wrong sides together, and clipping all around to hold the two pieces in place.
Make sure that the “flap” side of the cover (the short side with the ribbon) is aligned with the embellished side of the gingham – that’s the short side with the white gingham lace embroidery on it.
I’m going to use a blind ladder stitch to sew the sides together. If you participated in the Bee-Jeweled Pincushion Project earlier this year, you’ve already used this stitch for finishing.
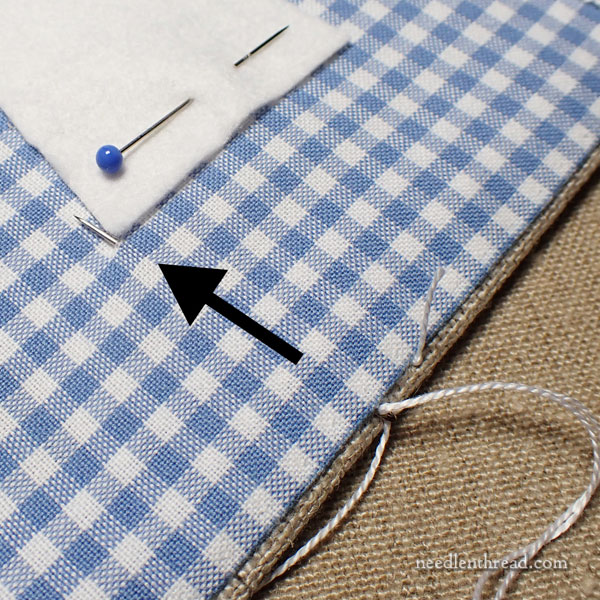
Knot your sewing thread and begin by making some tiny stab stitches in the seam allowance area of the linen cover, under the edge of the gingham where they won’t be seen. Cut away your knot.
Every time you need to secure a thread, either beginning a thread or ending it, you’ll do it this way, by working tiny stitches in the linen underneath the lip of the gingham, so that these holding stitches are hidden.
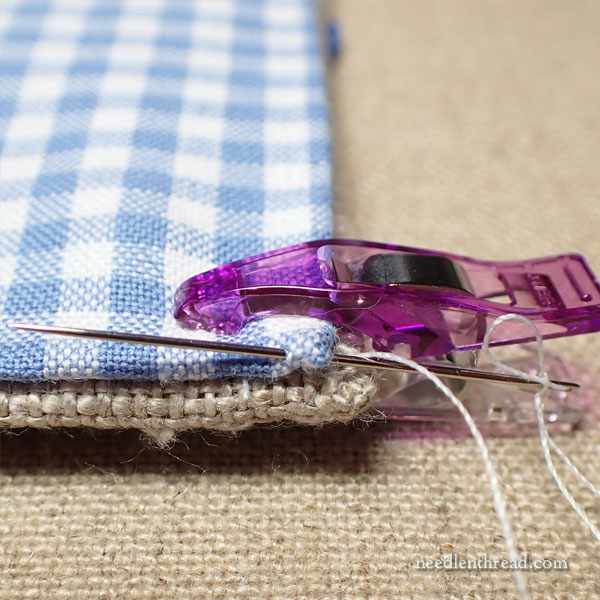
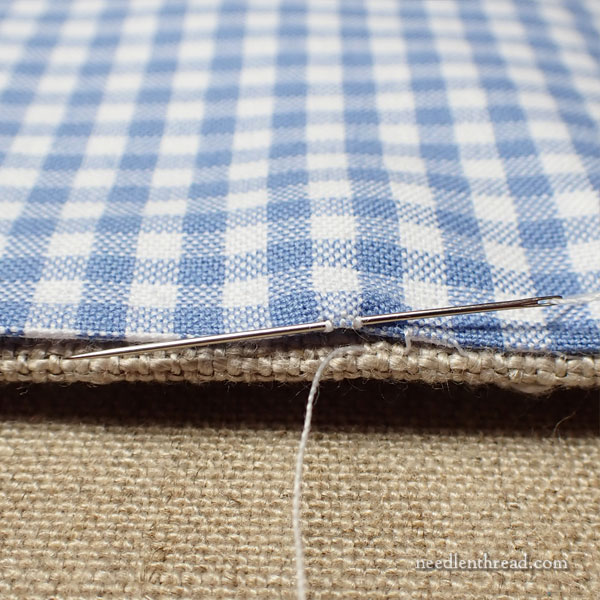
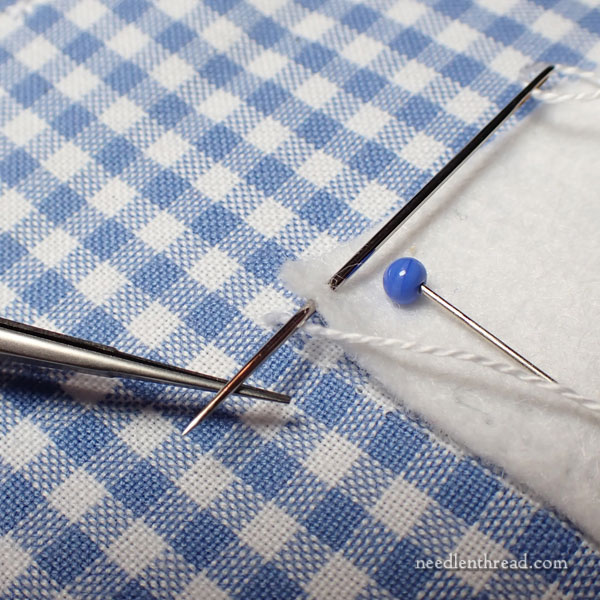
Bring the needle out of the linen in the corner, take it into and out of the gingham, right along or just under the crease of the edge of the gingham, picking up a tiny bit of fabric, as shown in the photo above.
Then step straight down to the linen and pick up a tiny bit of the fabric just along the inside edge, just under the lip of the gingham, as shown above.
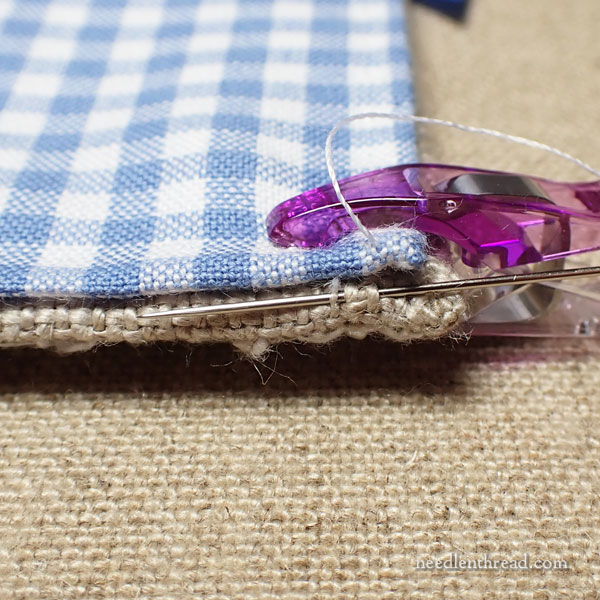
Step back up to the crease of the gingham and pick up a tiny bit of fabric for the next stitch.
As you work these ladder stitches, after a couple stitches, pull the thread to tighten the ladder stitch and bring the gingham and linen together, but be careful not to pull too tightly. You want the gingham and the linen to come together snuggly, but you don’t want either of them (especially the gingham at this point, since it’s the lighter fabric) too pucker.
Continue all around the tool wallet, sewing the two pieces together.
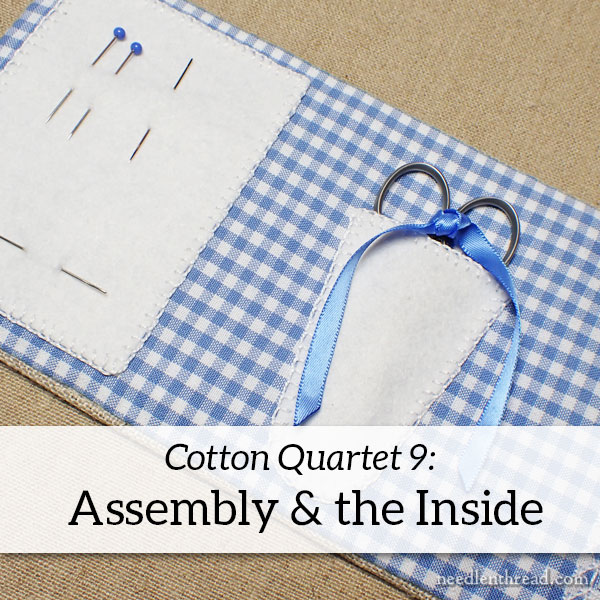
Once the two pieces are sewn together, it’s time to add the scissor sheath and the needle felt.
Cut Your Felt Shapes
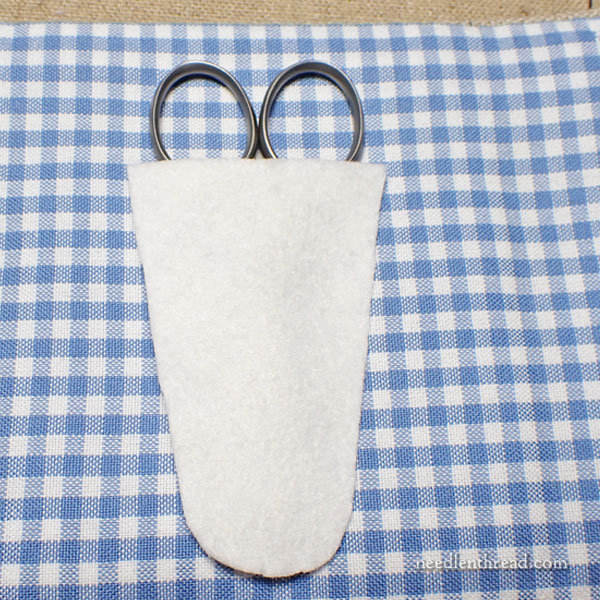
This is the general shape of the scissor sheath, with the sizes marked:
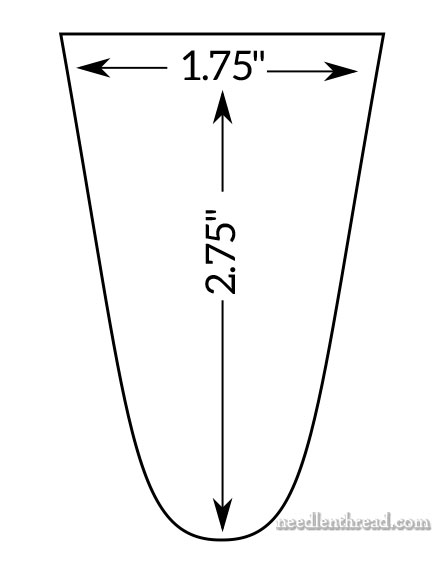
You’ll need to measure that out and make yourself a cutting template that fits over your favorite pair of small scissors. Everyone’s scissor sheath may end up slightly different in size, depending on your scissors.
For the needle felt, I cut a rectangle 2.75″ x 3.75″.
Sewing on the Felt
Remember that all threads start and end inside the edge of the tool wallet, with a waste knot that you’ll cut away and a couple tiny hidden stab stitches that you’ll want to sink into the edge of the tool wallet between the linen and the gingham.
You can start with the scissor sheath or the needle felt. We’re starting with the scissor sheath because it’s the more complicated piece.
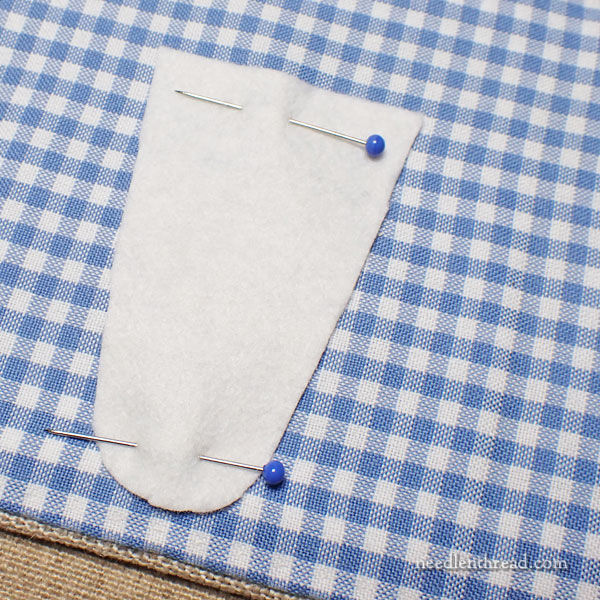
Center your scissor sheath in the center section of the tool wallet and pin it in place.
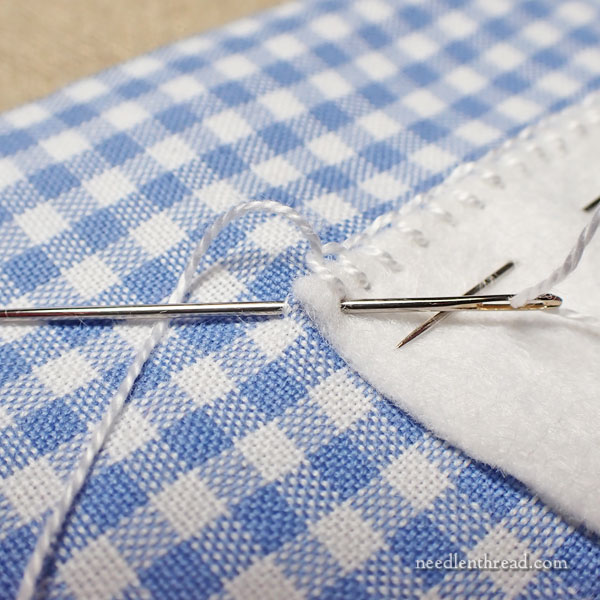
Using the perle cotton #5 and a crewel needle, begin your thread in the edge of the wallet closest to a top corner of the sheath, and bring your needle and thread out to the front at the corner of the felt, as shown above.
Take your needle and thread into the felt – about 1/8″ – 3/16″ into the felt – but not into the fabric, and emerge over the working thread that’s coming out of the gingham at the corner, as shown above.
Here, we’re stitching across the top of the scissor sheath, so you don’t want to pick up any of the gingham or you won’t be able to put your scissors in the sheath. It’s an easy mistake to make (ask how I know), so remember not to pick up any fabric as you cross the top of the sheath!
Work blanket stitches across the top of the sheath to the next corner. Make your stitches about as far apart as they are deep into the felt, for a consistent look. If your stitches are 1/8″ into the felt, work the blanket stitches 1/8″ apart.
If you are not familiar with the blanket stitch, you can find an instructional video for it here.
When you get to the other corner of the sheath, pick up the gingham with the final stitch in the corner, shown above.
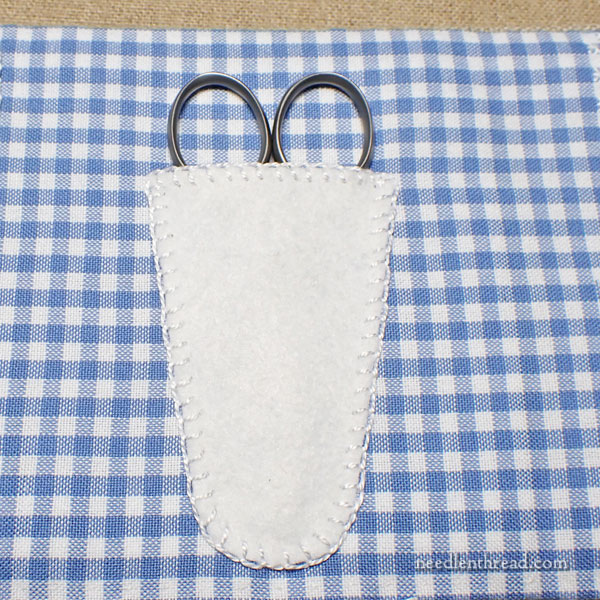
Continue all the way around the sheath to the corner where you started, and end the blanket stitch by passing into the fabric at the corner and out again on the edge, where you’ll make your hidden tacking stitches and cut the thread.
Slide your scissors into the sheath to make sure they fit, and to measure for the next step.
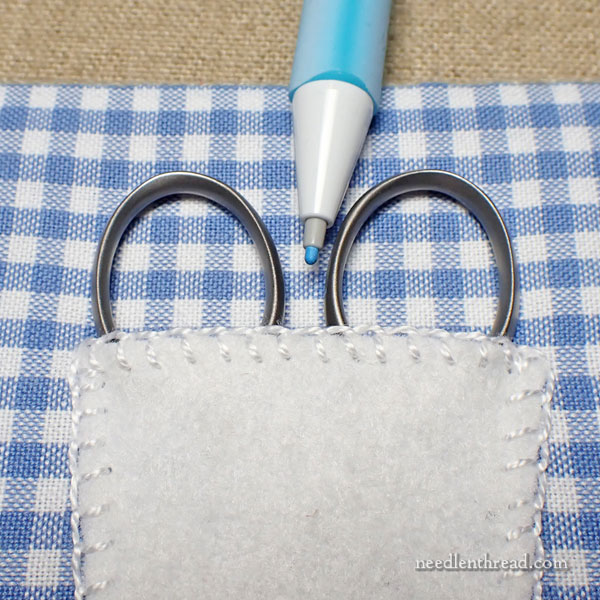
We need to attach the thinner ribbon here, where it will tie between the finger holes of the scissors in order to keep them from slipping out of the tool wallet.
So mark the gingham where the finger holes on the scissors meet (between the two eyes of the finger holes).
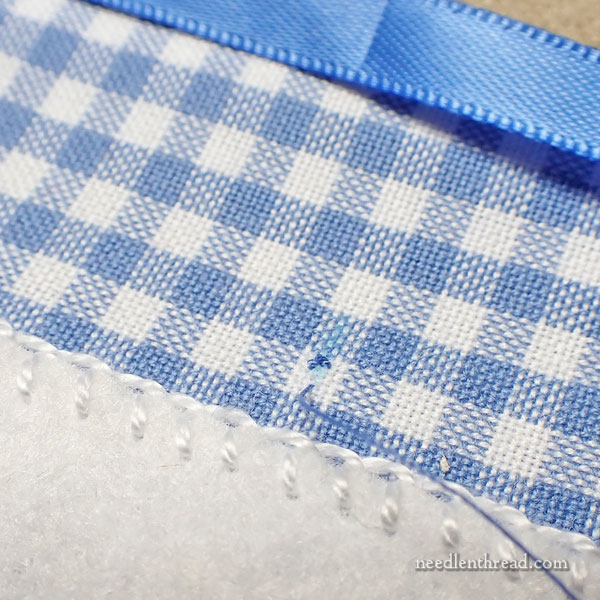
I used blue sewing thread for this step. Start with some tiny tacking stitches in the gingham so that they are behind where your ribbon will be situated.
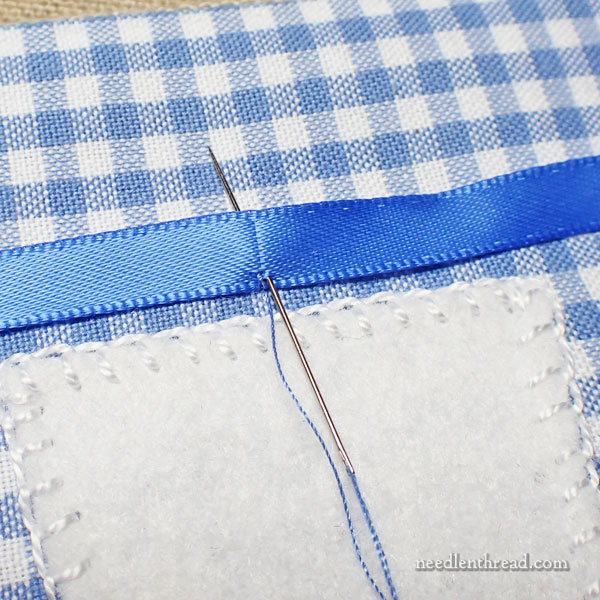
Fold your 1/4″ ribbon in half and finger press it, so you can easily see where the center is. Place it over the tacking stitches, and sew just on the edge of the ribbon at the top and bottom edge, at the center point.
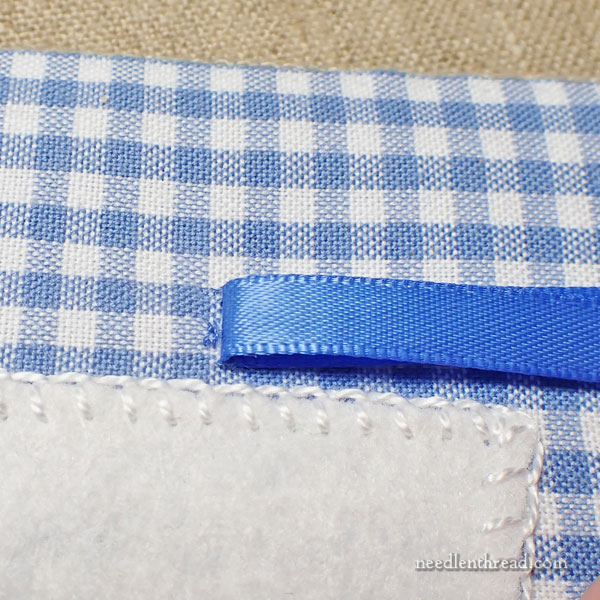
Once the ribbon is sewn in place, you can fold it out of the way and work a couple tiny tacking stitches in the gingham behind the ribbon, to secure the thread.
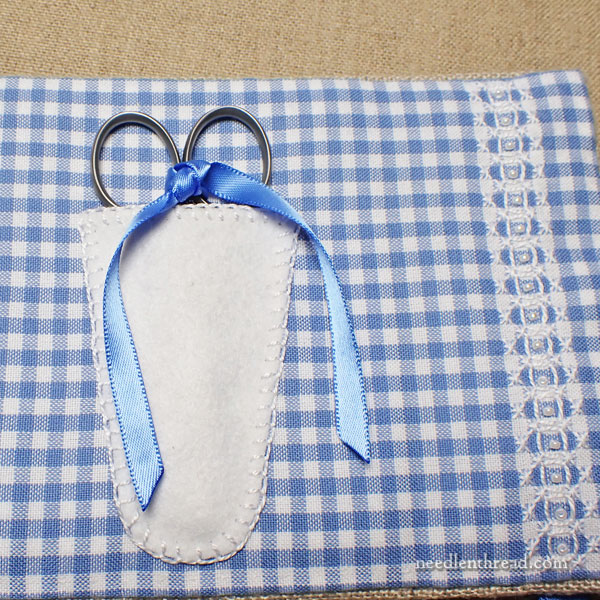
Place your scissors in the sheath, thread the ribbon into the finger holes, and tie the ribbon in a knot or a bow to secure your scissors in the sheath.
I used a knot with this ribbon. If the ribbon were finer, I’d probably use a bow!

Trim the ends of your ribbon by cutting them at a slant. Because this is a polyester ribbon, I like to barely melt the ends to make sure there’s no fraying. You can use a match, a lighter, or a candle – a flame of some sort – and barely (and I mean barely) run the ribbon edge near the flame so that the ribbon just melts. You don’t it to char or bead up. You just want it to melt enough to keep it from fraying.
I prefer this to using fray check, with is often much more visible. But if you want – or if you’re using a silk ribbon – you can use a glue or fray check or something similar, barely dabbed just on the very cut edge of the ribbon.
(You can also do this step before you sew the ribbon on, but I ended up trimming my ribbon a couple times after sewing it in place, so I did it afterwards. Obviously, you want to be careful with the flame around your newly stitched tool wallet!)

Center your rectangle of felt on the blank section of the tool wallet and line it up with the gingham as best as you can. Because the gingham is a visually linear fabric, it’s a good idea to make sure the felt rectangle is nicely lined up with the gingham.
Attach the needle felt rectangle the same way as you did the sheath, using blanket stitch around the edge and picking up fabric with each stitch.

And voilá!
You’ve done it!
The inside of the tool wallet is complete.
If you want to, you can end the project now – you’ve got a perfectly functional and nice looking tool wallet – but next week, we’ll add a little finishing touch by beading the edge.
Looking for More?
If you’d like to follow this project from start to finish, you will find the project index for Cotton Quartet here.
I’m still waiting on backordered threads for the kits, but as soon as it’s in, I’ll have more kits for this project. If you’re on the waiting list, I’ll contact you as soon as they’re ready!
Gorgeous!! (I would totally reinforce the tip of the scissor sheath with some grosgrain ribbon or such before sewing it on, unless my felt was really heavy-duty.)
Yes, that’s a good idea if you want to reinforce the tip. I can slip the scissors into their leather sheath and fit the whole thing into the felt sheath, if I want to.
Dear Mary
It looks so lovely it makes me want to make it. Your instructions are very thorough and easy to follow with the photos. Thank you for sharing with us how to assembly the cotton quartet and for the instructions.
Regards Anita Simmance
Hi,
Is there a reason not to attach the felt before sewing the two pieces together? It just sounds like it would be easier to attach that way.