


Time is ticking and there’s no way to stop it.
I always realize this when a deadline looms and it seems like everything is moving in the slowest of motion and there’s no noticeable progress on anything, anywhere.
Time is ticking. There is no way to stop it.
To be comfortably finished with this goldwork altar cover, we’ve got 34 days. Will we make it? I don’t know. But we’re giving it our best!
We can add five days and be finished at the Absolutely Deadline, but I’d rather say we have 34 days and keep that in my head, because I don’t want to be frantically scurrying at the Absolute Deadline. I want to be able to breathe a bit at the very end of the project.
Now, there may be no way to stop time from ticking away, but there are ways to speed up processes, to make more of your time – even if it’s just in the tiniest of ways. It all adds up!
We’re still on the chip work on the lettering for this project! Good Golly… it’s slow going.
I absolutely love the look of random chipping on goldwork (I love sparklies!), but it is one of the slower methods of filling large spaces in goldwork.
I learned early on in this project to cut a boatload of chips at one time. To stop to cut little chips frequently will drive you nuts if you have to sew on some gazillion-sixty-thousand-million chips.

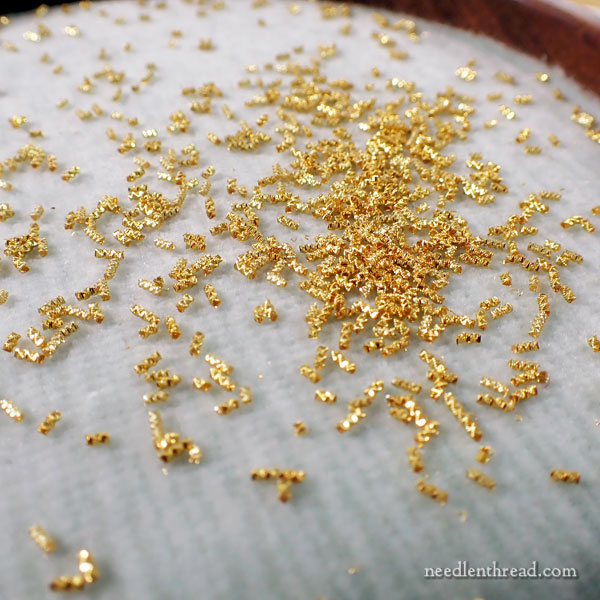
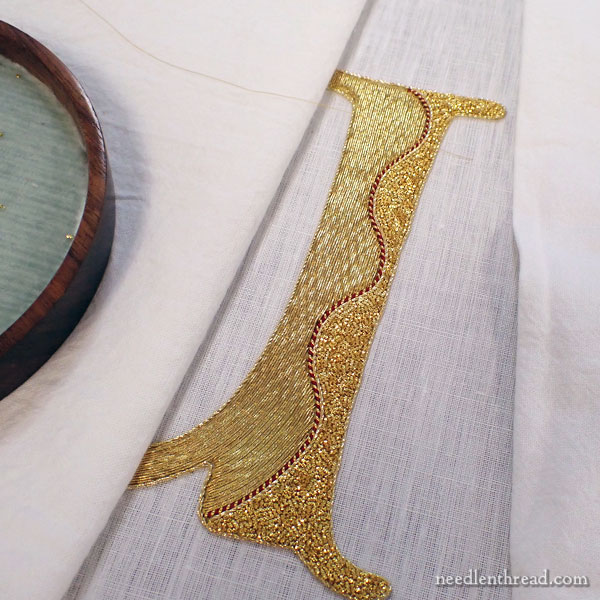
We’re using a #10 bright check purl, which is a small (the smallest, I believe) purl.
Purl is a “thread” that’s actually more of a tube that’s similar to a spring (only it doesn’t spring back if you stretch it), made from the tiniest gold wire. There are different kinds: smooth, rough, and check. On smooth and rough purl, the tube is smooth and it looks round if you look inside the tube.
With bright check purl, the tube is faceted, and it looks like a twisted triangle if you look inside the tube. In the close-up above, you can see the open ends of the faceted chips.
The resulting random chip work in bright check purl is Very Sparkly Indeed.
To use purl, you cut the longer snake of purl into small pieces that you sew on to the fabric like beads, using a waxed thread.
Time-saving tip #1: Prepare your materials in advance! In this case, cut a heap of those little chips before you start your stitching session! I try to cut enough to take me through one whole letter.
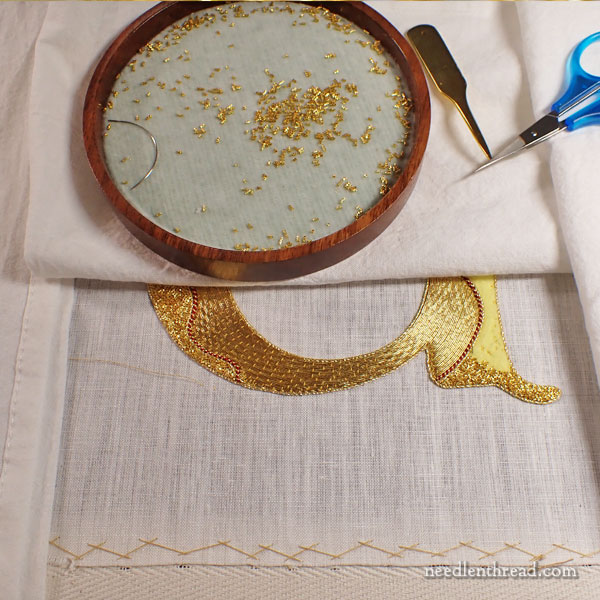
Yesterday around 10:00 AM, I began on the lower right of the U that you can see peeking out under the cloths in the photo above.
I had finished the chip work on the left side of the U the day before, after it had languished for a couple weeks since the last time I could get to it.
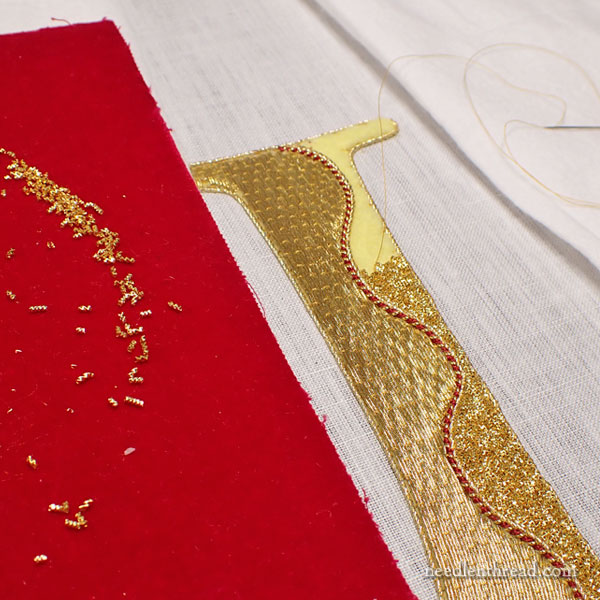
While I normally use the round wood trays that you see in a lot of the photos on this project – they have a small lip on them of about 1 centimeter deep on the inside – I decided yesterday to dump my chips onto a velvet board with no lip. I could get the velvet board right up on top of the goldwork, practically, and I found that it was easier and faster to pick up the chips without working around the lip on the tray.
I love the wooden trays, and I will continue using them, but when I’m in a gosh-awful hurry, I think I’ll go lipless from now on.
Time-saving tip #2: use the most efficient tools, which are not always necessarily the prettiest tools!
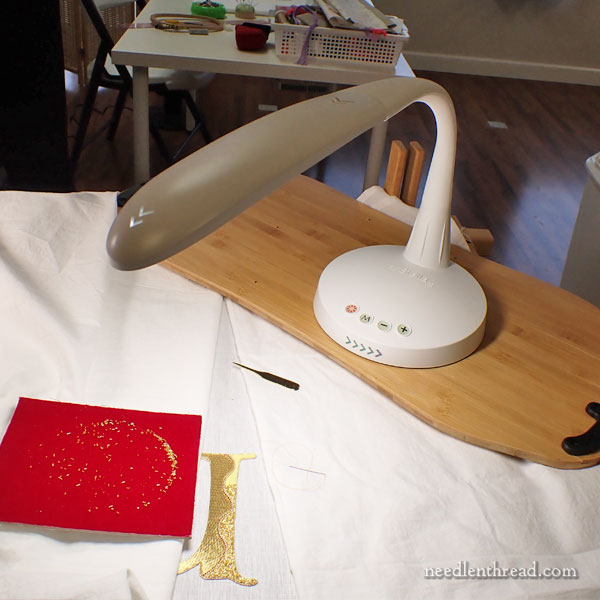
And then there’s this!
Ever since we started this project, I have been fiddling with my light and where it is placed. Because of the width of the frame that we are working on, I have a hard time getting light where I want it over my embroidery area.
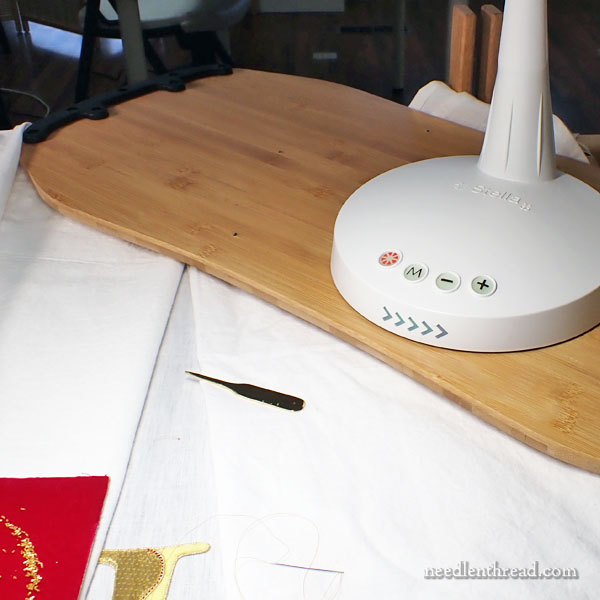
On this project, I like to use the lamp in the photo above – which I’m going to review in depth very soon – because it is light and easily moveable and it gives off great light. But… with the width of the frame, I have to rig something to be able to get the light close to where I need it.
And for months and months, I have spent time moving that light here and there and everywhere, balancing it on this and that, and trying to make something work on top of the frame for holding the light.
You’d think I would have gone somewhere and gotten a board made or something. And that was my intention. But I never thought of it ahead of time – only when I was struggling with the light.
Finally, yesterday, after trying to use a rigid plastic container lid across the top of the frame (stretching from roller to roller), and the container lid dipping down onto the fabric (which is what you don’t want to happen), and the light sliding on the lid, and then trying to balance the lamp on the slats on the side of the frame, and then the lamp falling backwards and then the lamp falling forwards, after constantly trying to steady it and to move not tooooo much so it wouldn’t lose balance… I lost it.
The straw broke, and I expressed my frustration loudly for all to hear (that would be Anna) in somewhat unladylike terms.
Why haven’t I gotten a riffemrackemfrickemfrackem board for this riffemrackemfrickemfrackem light yet?!?!
I was really frustrated.
So we cast our eyes around the studio, desperately seeking a reasonable and quick solution.
Suddenly, Anna said with a smirk, Well, you could use THIS.
“THIS” is a Motion X Rocker Board that came with my tables that we use for most of our work.
Now, Anna is not fond of the Motion X Rocker Board the way I’m fond of the Motion X Rocker Board.
I suspect she cringes internally when I take it out and climb aboard.
You see, when I’m on that thing, I can’t help it! I switch on the Beach Boys and practice my sweet surfing moves to Surfin’ USA. And with our huge plate windows facing out to the world going by, I’m guessing she finds it a bit embarrassing.
So of course, I wasn’t surprised when she made the Motion X Rocker Board the victim of her search.
But you know, it was just the right size. And although it is somewhat heavy, it doesn’t touch the surface of the fabric. It’s a very rigid, strong board and it spans the frame well, from roller to roller.
So, with a couple twists of a handy little screw driver, off came the rocker base.
We gave that thing a clean-up, and now I have a fuss-free light station. My light is exactly where I need it, without the constant fiddling that it required before the Great Rocker Board Discovery.
Time-saving tip #3: Situate your work station ahead of time, and get your ducks in a row for lighting, tool placement, and so forth. The less you have to fiddle with the things you need to work with, the better.
I can’t tell you how much time I’ve wasted fiddling with my lighting. And now the problem is solved!
Thank you, Rocker Board!
(I don’t think Anna realizes I kept the screws to the rocker base. My surfing days are not over.)
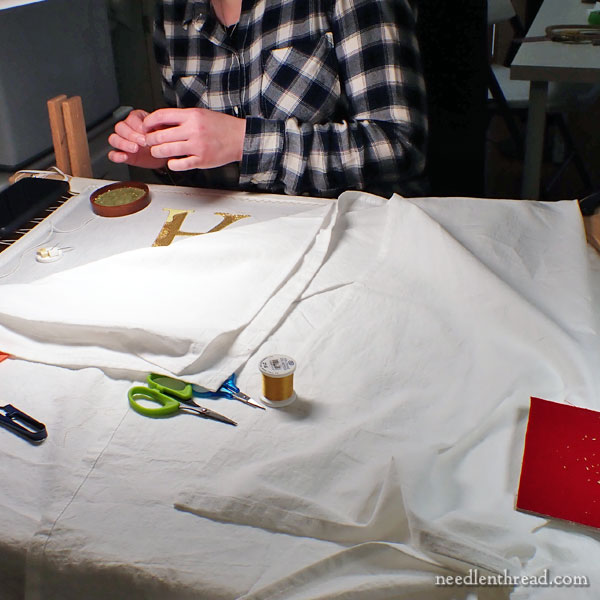
With my lighting situation taken care of, Anna and I both settled down to a quiet afternoon of frenzied chipping.
Anna is working across the frame from me, on an A. I’m on the U on the other side, and I’ll be on the S today.
When the clock struck 5:00 PM, I put the last chip on the U. Yay!
That means it takes about 1.5 days, stitching about 6 hours a day (or 12 hours), to do the chip work on one letter, if the letter has approximately the same chip work space as the U. I think the M took the longest – it’s the largest letter, but thankfully, it’s already out of the way.

S is next. Here I go!
The Backstory
If you’d like to read about this project and follow along with the updates from its beginning, you can find the index of articles about this goldwork altar cover here.
I’m a needle worker and a bobbin lace maker, and I have found a lamp that meets all of my needs. It’s a dual headed lamp, which eliminates the shadow issue that most lights create. The manufacturer, The Daylight Company, makes a floor standing model, a table standing model and a clamp on model.
No financial interest on my part, just someone who needs excellent lighting.
The minute I saw that lamp in the first photo, I lost all focus on your post and went into a deep dive on the internet to find that lamp. I have a floor lamp for needlework , but need something desk-top and it looks like it might fit the bill. Of course, after returning to your post I say your intention to review it, so I’m eagerly awaiting your opinions!
I love watching the project come together. It is going to be amazing. I hope you will do a post on how the letters are appliqued to the project fabric once the goldwork is done.
Wow…..just phenomenal work!
I wish I lived nearer, Mary. I’d come and chip away for you. I did not use to like doing it because it involves “random” but now I really like doing it. The letters are looking great and I hope you make your deadline comfortably.
Oh! Guess what I can’t stop singing now!!!
LOL! Thanks, Carol-Ann! Sorry about the ear worm. :-/
Strangely, Anna really hated chip work, because she didn’t like random. But now she’s enjoying it. I think I’ve converted her to the chipping side of things…
It looks like a lot of work, but it is turning out to be gorgeous!
Hello Mary
John Sinton at Bluebonnet Studios has finely crafted frames and stands for Japanese embroidery. One item he sells is a board that fits on your embroidery frame to hold equipment or support your elbow, etc. He has some in stock in several woods and also does custom orders. I recommend him highly.
Thanks, Marilyn – I use some of his koma. He does make beautiful things! 🙂
Edit to my previous comment: The boards are called tomo dai. And Blue Bonnet is two words
So glad to hear that there was a happy ending. Today I was studying 2Peter in which Peter is reminding his readers to be steadfast and preserve in spite of trials and suffering. Your work is a beautiful example of working through ordeals. Thank you for sharing.
If ever I could be persuaded to try goldwork, your development of these letters is it. As I went back to your index, the spare leftover orts of plunged gold would be ideal for a fancy improvisational nest for an Easter Egg. But not this 2023, as your May deadline is a priority. Success ahead, Chris
Oh! Hey! That’s a great idea! I might be able to squeeze that in. I do have a beautiful display egg I usually put out at Easter, and it would be really pretty in a gold nest. Ohhhhh…. daaaarn. It’s packed away with my house stuff, though. No pretty egg this year. 🙁 Oh well – there’s always next!
Oh, Mary, your story of the board just lead me down memory lane – Surfer Girl was The Beach Boys’ 3rd album: “…I have watched you by the shore, standing by the ocean’s roar…”
You go, Surfer Girl!! Don’t give it up!!
Totally yummy chips! Thanks for sharing.