Woohoo! Time to launch the stitch-along for the Cornflowers Scissor Envelope, a pretty little embroidery project sporting lovely cornflowers, that finishes into an envelope-style case to hold your favorite embroidery scissors.
If you’re just joining us and the Cornflowers project is new to you – or your not familiar with how this will work – please take a look at this article from a few weeks ago. It will tell you what to expect with the project and stitch-along.
If you are interested in acquiring the materials kit for the stitch-along, you can find those available here. The convenient thing about the kit is that it has all the materials that you need to create the project, so you don’t have to source materials from multiple places.
The stitch-along will progress in short segments here on Needle ‘n Thread over the next month-ish. If you are a member of the Needle ‘n Thread Community on Patreon, you’ll find the lessons posted over there, too, in a handy PDF format that you can download and save to your computer or mobile device, and that you can easily print.
Let’s get started! Today, we’ll talk about materials, the design, design transfer, and project set-up.
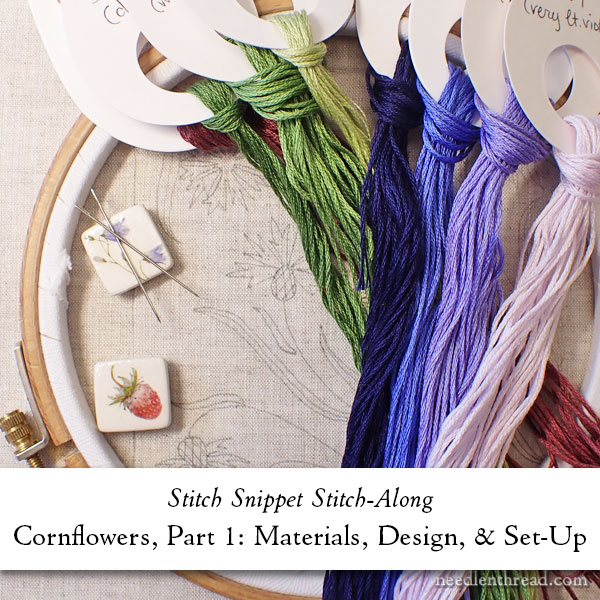
We’ll begin by discussing the materials used on this project, as well as tools I used while stitching.
As always, you can make substitutions if you wish! Just remember that the outcome will be different. With the finished scissor case, I think the weight of the fabrics (how thick / thin they are) will strongly influence the outcome and the ease in which you finish the embroidery into the scissor case.
If you use a heavier fabric than the fabrics on the sample, it will be more difficult to turn the sewn pieces and to sew them into the case. Not impossible! But more difficult.
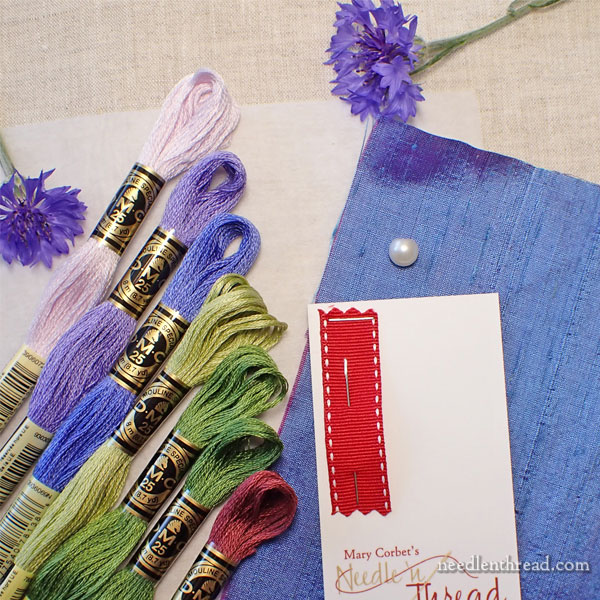
Materials for Cornflowers
The materials for Cornflowers are fairly straightforward. If you don’t have the Cornflowers materials kit, this is what you need to round up:
Ground fabric: I used a natural colored, high count embroidery linen called “Manuscript Vellum” here in the States, distributed by Access Commodities, and available through locally owned small needlework shops. Outside of the US, look for Graziano 6262 linen in “Melange.”
If you can’t acquire the same linen, look for a natural colored linen (or linen / cotton blend, if that’s what’s available), with a high thread count that will support surface embroidery. There is no backing fabric behind the linen. If you have to add a layer of backing fabric, it will make it more difficult to form the envelope during the finishing process. Because of this, linens with lower thread count (like many sold for counted work) won’t work as well. You want a full-weave fabric without gaps between the threads.
You’ll need at least a 9″ square of ground fabric.
Interfacing: Pellon #40 lightweight sew-in non-woven interfacing, 6″ square.
Lining Fabric: Shot silk dupioni in blue & purple. Shot silk is woven with two or more different colors in the warp and weft, so you get an iridescent blue / purple shimmer, depending on the lighting. I’m afraid I can’t give an exact source and color for this fabric. It is a specialty silk that I bought a while ago. If you don’t have any fine fabrics in your vicinity, your best bet is to search online for silk dupioni and explore different sources for it for a suitable color. You can substitute other fabric, too, of course.
You will need at least a 6″ square of lining fabric.
DMC stranded cotton: 24, 340, 3838, 823, 3348, 3347, 3346, 315
Button: I used an 8mm pearl bridal button for the closure. You can always substitute a different button of your choice.
Needles: a #7 crewel needle will work for all the embroidery. If you prefer to park your needles while you stitch, you may wish to have more than one on hand.
Other Helpful Supplies
Transfer Tools – Whatever tools you use for your favorite method of design transfer. I prefer a micron art pen in light grey, size 01, along with a light box or light pad (you can use a sunny window or a similar configuration). I also used a mechanical pencil to draw the outline around the design.
Hoop / Frame: The embroidery should be worked under tension in a hoop or frame. Any hoop 6″ or smaller will work. The smaller the hoop, the more frequently you will need to move it as you stitch the design.
If you use stretcher bar frames or similar, 8″ stretcher bars will accommodate the project. If you use a larger stretcher bar frame, you will need a larger piece of ground fabric.
Embroidery scissors: Small, sharp scissors are the best option for surface embroidery.
Sewing Thread: Natural colored sewing thread that matched the ground fabric is used for finishing.
Pins / Clips: I always have sewing pins and Clover mini-clips on hand when working my way through any finishing. You will at least need sewing pins!
Thread Drops: Completely optional, but I found these quite useful for organizing my threads on, especially for the greenery, where pre-cut threads that didn’t require “stripping” allowed me to work a little faster and more efficiently.
Needle Minder: Also completely optional, but if you like to park your threads when working with multiple shades (so that you don’t have to re-thread needles, etc.), a needle minder is indispensable. I found myself using two, one on each side of my frame, to hold my parked threads (with needles threaded and ready to use) out of the way.
Cornflowers Embroidery Design
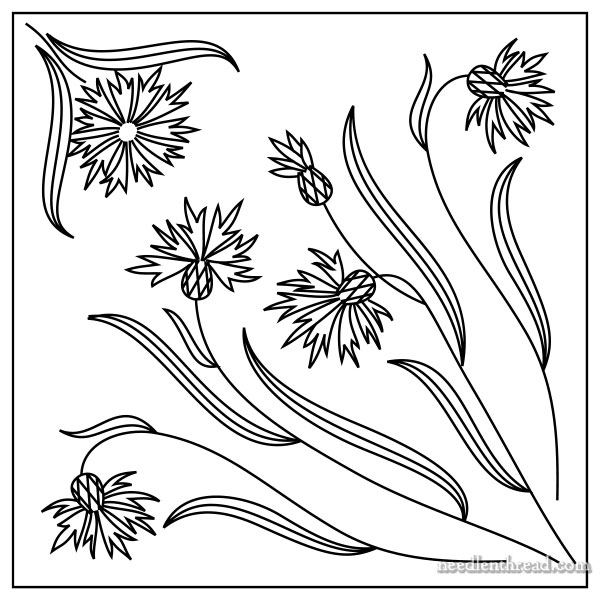
Below, you will find a link to the PDF for the Cornflowers embroidery design.
Save the linked PDF to your computer or mobile device, and print it from there. When you print, choose “actual size” or “100%” (whichever option your printer dialog box gives you), to ensure that the design prints at the correct size, which is 5″ square.
Cornflowers Scissor Envelope Embroidery Design – PDF download
Set-Up & Transfer
If you have a favorite method of design transfer, feel free to use it!
Start by ironing your linen with a hot iron, so that it is smooth and wrinkle-free. If you must spray the linen with water, you may, but make sure that the linen is completely dry before you do anything else with it. If there are ripples on the edge of the linen, it is not yet completely dry.
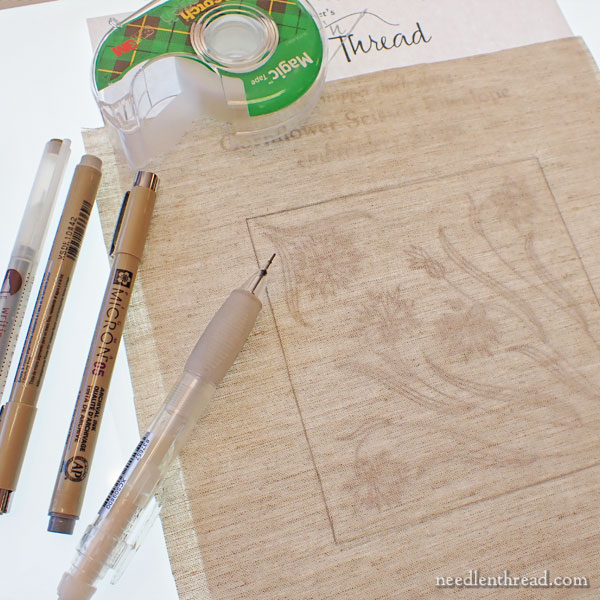
With this design, tracing is a pretty simple approach.
Measure out the 5″ square on your fabric and mark it using the pencil. The easiest way to do this is to rely on the “grooves” in the weave of the linen to give you a straight line that follows the grain. Hold your pencil at a low angle to the linen, and drag it slowly across the linen, keeping the point of the pencil in the groove at the 5″ marks.
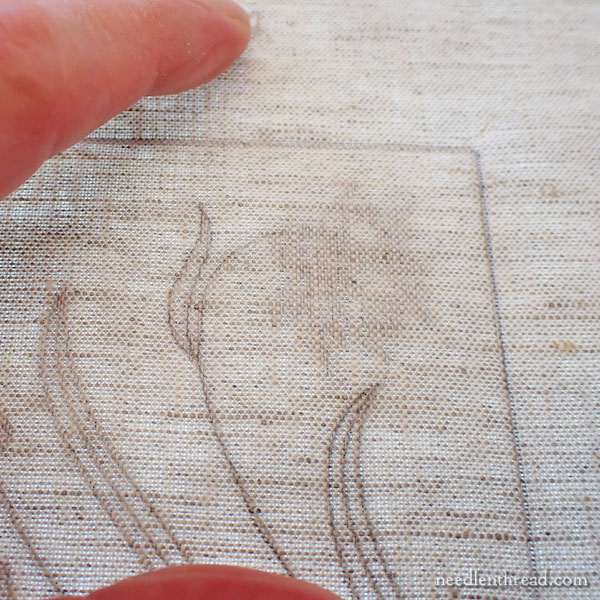
Tape your design to your lightbox or light source (sunny window) and tape your fabric over the design, centering it in the 5″ square.
Even though my fabric is taped onto the light box, over the printed design, I like to use the fingers of my left hand to hold the fabric down on the linen while I trace.
Trace your design carefully. Try not to “sketch” when you’re tracing an embroidery design. It’s best to draw continuous lines rather than sketchy lines. When you have to stop to reposition the pencil or re-situate your drawing angle, just lift the pen or pencil, and then start again in the same spot you left off. Don’t make hairy sketch marks.
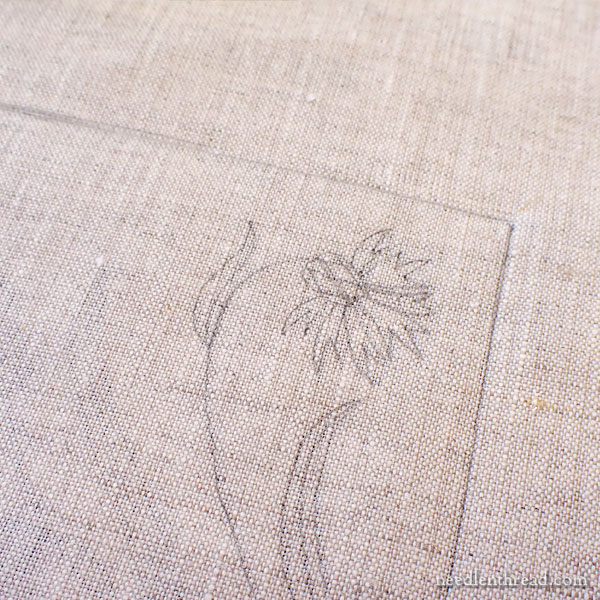
The above portion of the design is traced with a mechanical pencil with an 0.5 lead.
I find it more difficult to trace a free-flowing design onto linen with a mechanical pencil, because the pencil tends to “skip” on the weave.
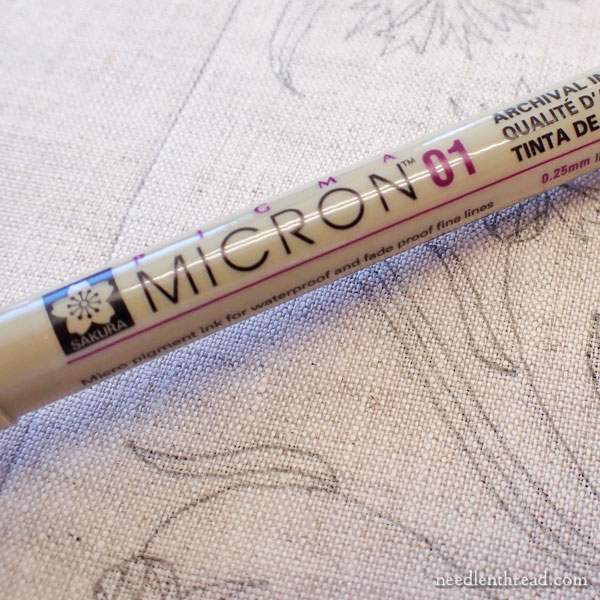
If I have to trace a design onto linen, I prefer a Micron Art Pen (by Sakura) in a size 01, in the light grey color.
The pen passes more smoothly over the linen, without needing to apply any pressure. You just need to barely touch the surface of the linen with the tip of the pen to get a nice, clear, discernible mark. It is best to lightly touch the linen than to use a heavy hand while tracing.
Don’t Skip this Small Extra Step
Whether you plan to sew by machine for the finishing process, or you intend to hand sew, there is one extra step you should take right now. Don’t skip this step! (You can do it later, but it’s easier just to do it now.)
Turn the linen fabric over and trace the outline onto the back of the fabric as well, following the exact same line that you marked on the front. This will give you a sewing guide, because the back of the fabric will be facing out when you do the finishing.
Frame (or Hoop) it Up!
With your design transferred, you can now frame it up if you’re using stretcher bar frames.
If you’re using a hoop, wait until you’re ready to start stitching to put the fabric in the hoop.
I used stretcher bars for my final sample, but I used a hoop for some of the intermediate steps of testing and some photographing. Since I use two hands to stitch, I generally prefer a frame that I can clamp into a stand, but either will work just fine!
Ready to Stitch!
Next week, we will begin stitching! We’re going to start with the stems, then move on to the leaves, then the flowers. Finally, we will finish the embroidery into the scissor envelope and add the button and loop closure.
All coming up! Stay tuned!


thank you for offering your followers such a nice little stitch along.
I hope to follow along and finish this beautiful design. Im not very good at filling in designs. or even outlining. Mine always look more messy for some reason that what others do. I hope to follow along and learn to do better. there are so many beautiful embroidery projects out there I want to do, but I never start because im so awful with my stitching. But as they say, practice makes perfect… or for me, at least hopefully better. : ) Thanks again.
Dear Mary,
I am really looking forward to stitching your beautiful Cornflower Scissor Envelope with you. Last night I reviewed the materials list and wonder if there is a thread color missing from the list you provided. Your top photo shows a dark, navy color, which the design needs but there is none included in the supply list.
Thank you.
Oh goodness, thanks, I corrected that.
I added a dark blue 823 after I had already finished the first sample. It is not included in the kits, and it wasn’t priced in the kits. I had completely forgotten that I added it to the second sample run. Thanks for bringing that to my attention – I will put out a notice.