August 30, 2012
Old Goldwork on Velvet: Some Finishing Touches
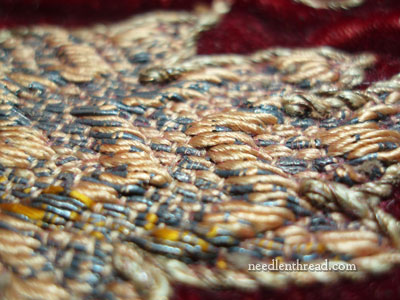
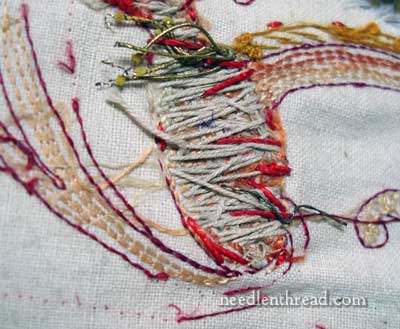
Remember the goldwork on velvet embroidery we were looking at the other day? Besides the actual stitchery, I found the finishing fascinating.
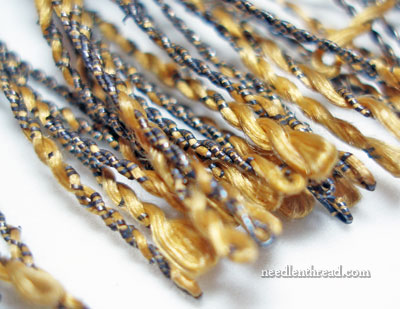
As I explained earlier, the piece is finished into a kind of panel, small “valance”, or something similar, that hung off a larger piece, and was cut from the larger piece. It was cut intact, as far as the panel itself goes, so that the trim is still around the outside, and the back fabric and inside “interfacing” are all included.
Imagine an unconnected pocket 27″ wide and 10″ deep, with fringe at the lower end of it, and an open cut along the top part of it, and you have the right idea of the construction of the piece as I have it now.