December 31, 2010
Myth Busting: My Needlework Space
Happy Last Day of 2010! May it pass in peace.
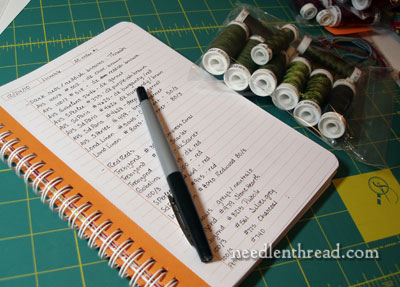
Today, I’d like to dispel a myth. When we were talking about keeping a Thread Log the other day, and I was mentioning keeping a notebook with thread lists and project details in it, I noticed in the comments that there was some underlying notion that I am … well. An Organized Person.
And as much as I’d like to say, “Certainly, I’m organized,” as if it were the most natural thing in the world for me to be organized, the fact of the matter is, I’m not. I’m not as organized as I would like to be, nor as organized as I should be. When it comes down to it, I’m disorganized. And right now, I’m Utterly and Completely Disorganized!
I’ll show you what I mean….