February 4, 2022
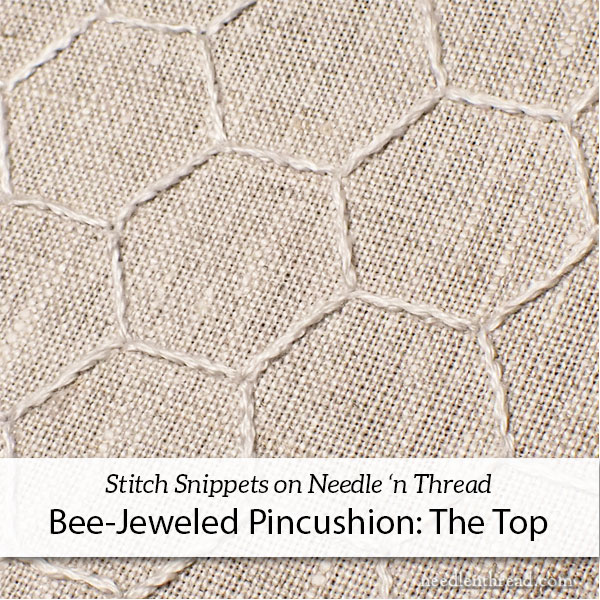
Bee-Jeweled Pincushion: Materials Information & Stitching the Top
Howdy, and welcome to the next installment of the Bee-Jeweled Pincushion project, which is part of the Stitch Snippets series here on Needle ‘n Thread!
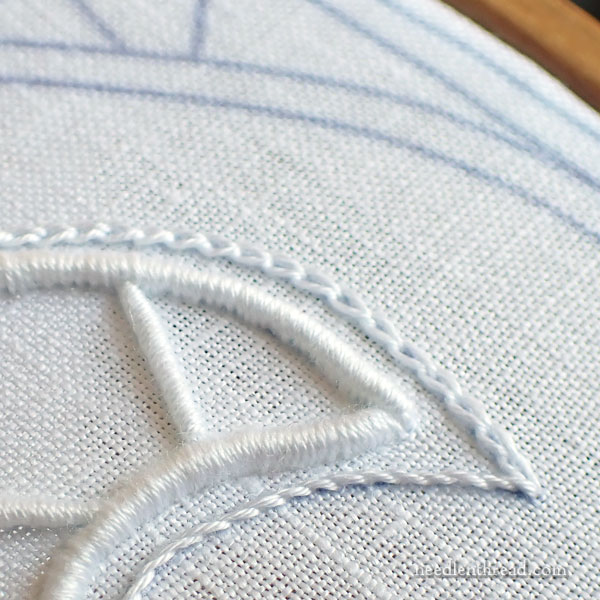
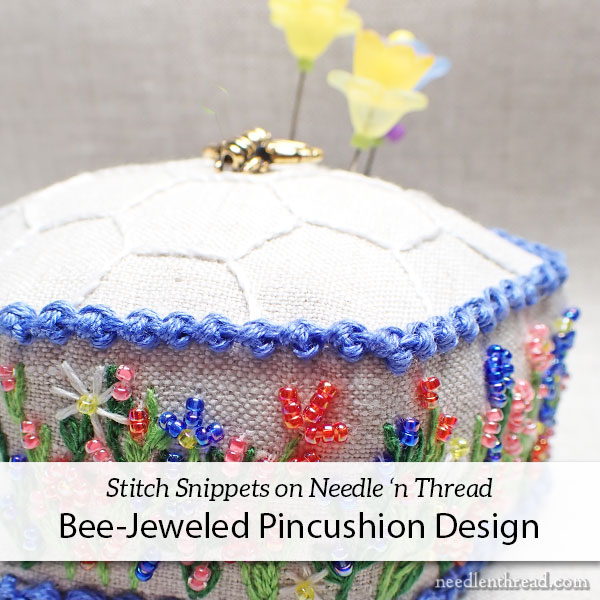
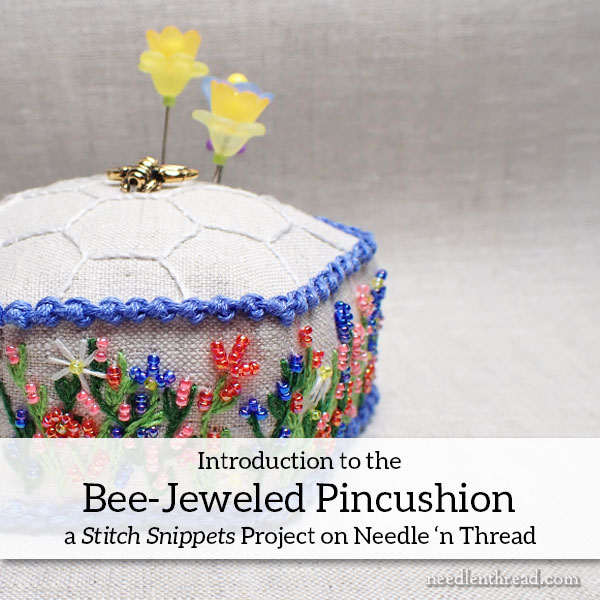
The idea behind this series is to take you step-by-step through small embroidery projects, and we’ve kicked of 2022 with a beautiful little pincushion. We’re going to embroider it and we’re going to assemble the parts into a pincushion that’s not only useful, but also mildly attractive.
It’s a fun project, and I hope you get a chance to try it out!
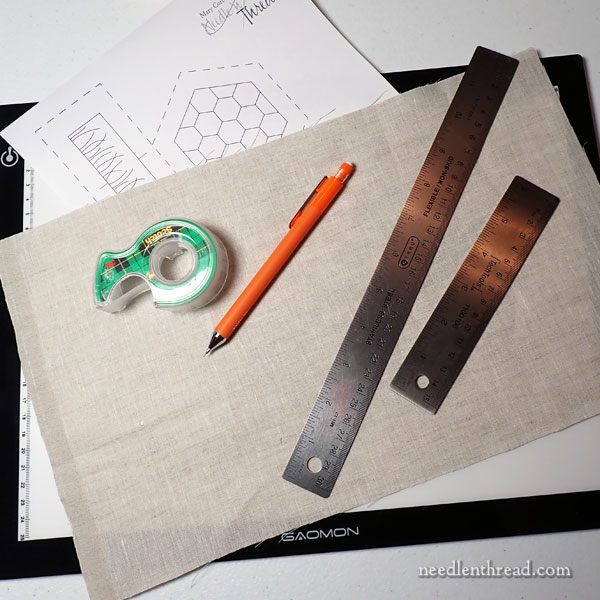
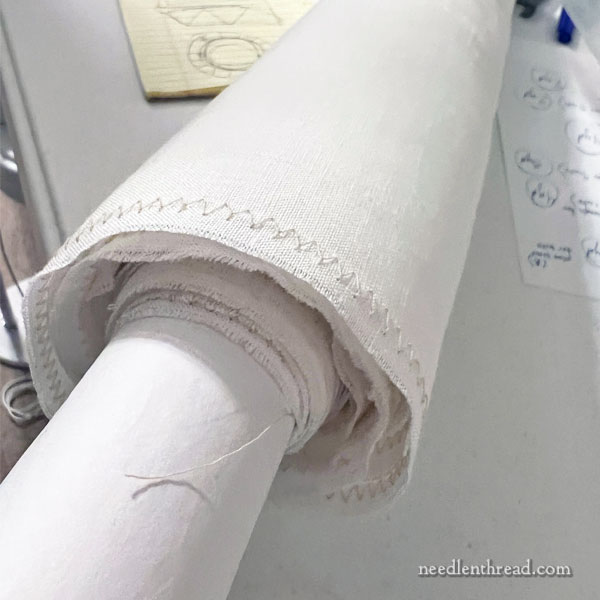
Last week, we chatted about fabric for the pincushion, and I showed you how I set mine up for stitching.
Before we launch into today’s short lesson, in which we embroider the top of the pincushion, I need to update you on materials and other news relating to the project. Please read carefully, so that you know what to expect in the coming weeks with this project. There have been some hiccups (which I will explain), so things are not unfolding as I would want them to. I expect them to straighten out within the week.
So let’s get started!
