


Moving on to the next word in the hand embroidered lettering series, today’s tutorial concentrates on a satin stitched initial letter, with the rest of the word worked in chain stitch. After all, who says the whole word has to be embroidered with the same stitches?!
I’ll be working with wool thread in this tutorial, embroidering the word “Fox.” If you’re a beginner at hand embroidery, you may wish to check out two videos: padded satin stitch and chain stitch. If you’re just joining in on these tutorials, I’ve got an up-to-date index of all the hand embroidered lettering tutorials, if you want to check out some of the previous concepts covered.
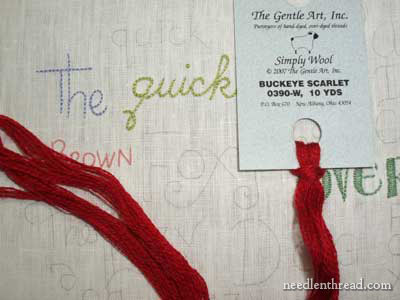
For this tutorial, I’m using Simply Wool from Gentle Art, Inc. This is a fine wool embroidery thread, and I really liked working with it. It’s a beautiful color of red, first of all, and secondly, the wool itself is slightly finer and softer than Appleton, while still retaining the typical look and feel of wool thread. If they had a broader color range (they only offer about 36 colors right now) and if it weren’t quite so expensive, it would be my wool of choice. Compared to Appleton, though, it’s really expensive – between $3-$3.50, depending on where you buy it, for 10 yards. (Appleton’s about $1.30 for 27 yards, and they offer 421 shades right now).
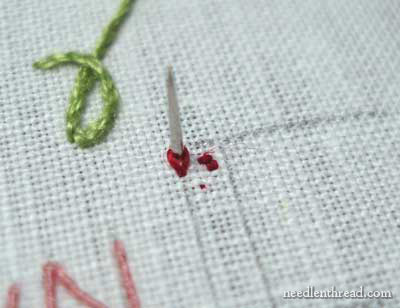
The spine of the F in Fox is thick, and I’m going to satin stitch it first. I could satin stitch it without padding it, but for this letter, I want it to lift up off the fabric a bit, so that it is definitely bolder than the rest of the letters in the word. So, I’m padding the satin stitch along the spine of the F. To begin, split stitch along both parallel lines.
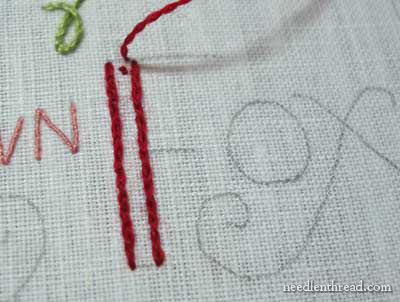
I stitched down the left line of the spine and up the right. Now, I’m going to add the padding between the two lines. I jumped over the left of the right split stitch line, and now I’m just going to fill that area between the two will very long split stitches – so, only about 3 or 4 split stitches straight down in lines.
You can see I ended up with 3 filling lines between the two outside lines, and again, those inside filling lines are made up of a few long split stitches. That’s the padding – now it’s time to start the satin stitching.
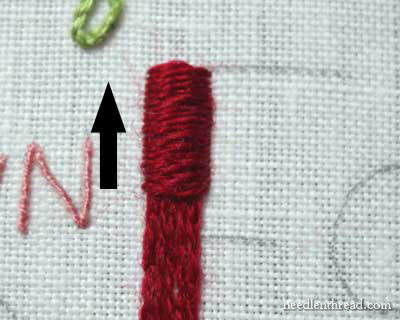
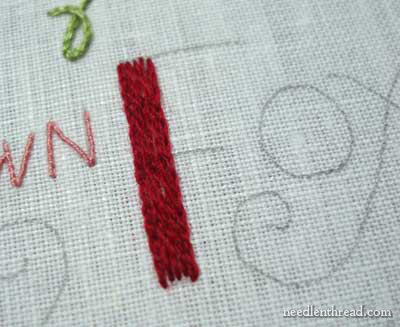
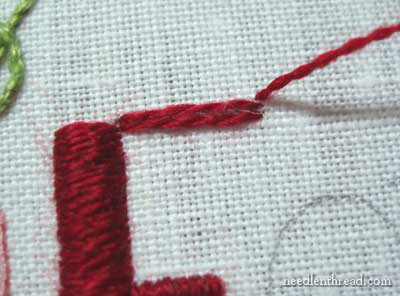
I’m working the satin stitch horizontal over the padded bar. On a shape like this, you can also stitch your satin stitch on a diagonal, but I used the horizontal on purpose. When you begin the satin stitch, don’t begin right on the edge of the bar. Begin around half-way up the bar, and then stitch to one end. Then go back to your starting point and stitch to the other end.
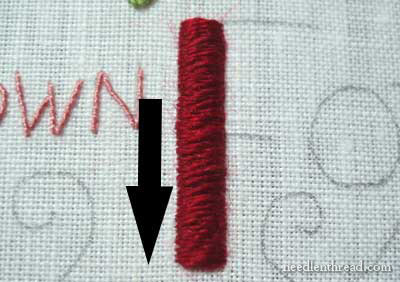
The arrows in both pictures above demonstrate this idea of starting in the middle and working to each end.
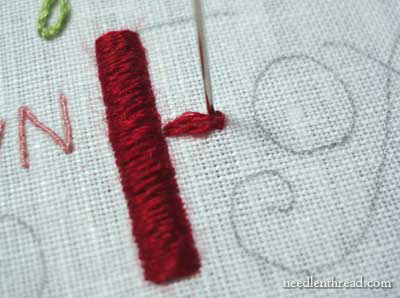
For the small bar on the F, I worked two long straight stitches side by side over the drawn line. They were obviously thicker than the drawn line, but that’s ok. I’m going to satin stitch over these straight stitches, in a manner similar to what is called “trailing.” Trailing is basically an overcast stitch (like a small satin stitch) worked over a long thread or group of threads used for padding. With this little bar on the F, I stitched one straight stitch out from the spine of the F to the end of the little bar, then went back to the spine and stitched another straight stitch right next to the first. Then, starting at the end of the bar – not next to the spine – I worked the overcast stitch over the bar. An overcast stitch is technically the same concept as a satin stitch, but, again, much smaller. I think it’s called overcast, because it is just going “over and over.” In some old books, you see it called “over and over stitch.”
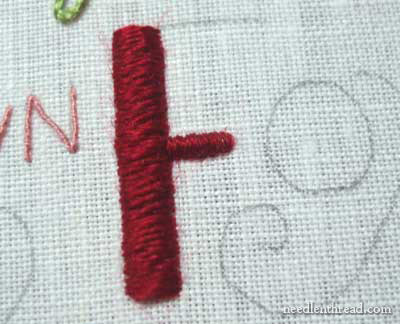
There’s the small bar.
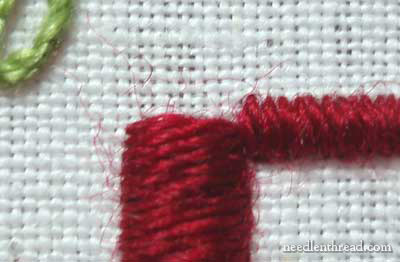
For the longer bar at the top of the F, I did the same exact thing – worked two long straight stitches side-by-side, and then worked the overcast stitch over them, beginning from the outside edge and working towards the spine of the F.
When I finished overcasting the top bar, this is what it looked like.
But I didn’t like this.
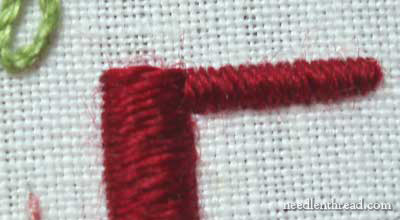
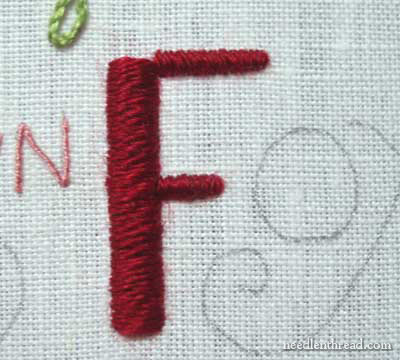
So I just added two more satin stitches at the top of the spine, to get it to look like this.
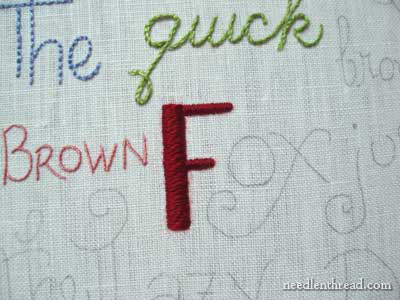
There’s the completed F. It’s nice and bold, and I really like the color!
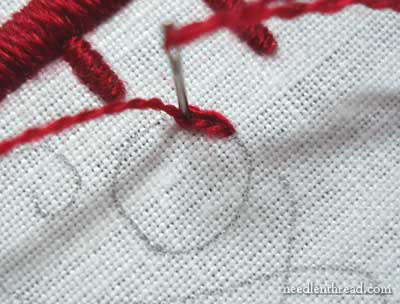
For the other two letter – O and X – I’m using chain stitch. I began the thread on the O in the same manner discussed in the previous lettering tutorials, so that I started stitching the chain stitch at the top of the O.
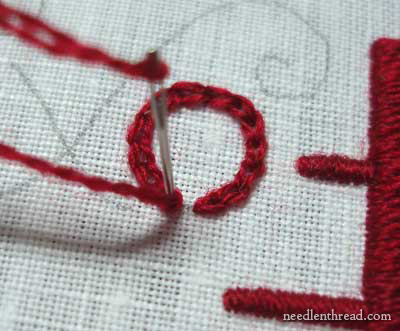
I’ve arrived here back at the top of the O, where it is practically time
to end the thread. I have room for one more stitch here.

And, in taking that last stitch, it slightly overlaps the first stitch. To end, anchor the last chain stitch in the middle of the first chain stitch. To end off your thread, turn your work over and run the thread under the stitches on the back of the O.

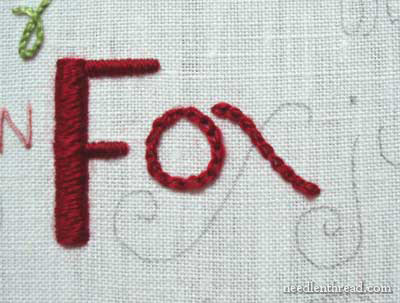
And there you have the F and the O.
I chain stitched the small bar of the X first.
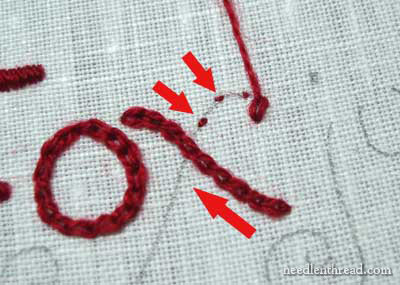
Then, turning my work over, I worked the thread under the stitches already there, to the cross on the X, as indicated by the red large arrow. Then I brought my needle up to the front of the work and took some tiny “stepping” stitches over to where I wanted to begin the chain stitch on larger cross of the X. These stitches are indicated by the smaller red arrows. The purpose here is to keep my thread from traveling across the back of the work where it might be seen from the front. This keeps the back of the work nice and tidy.
Then, I chain stitched down the cross to the intersection of the X, stopped at the intersection (I didn’t stitch over the other arm of the X), and then picked up the line on the other side, and continued to the tip.

And that is FOX.
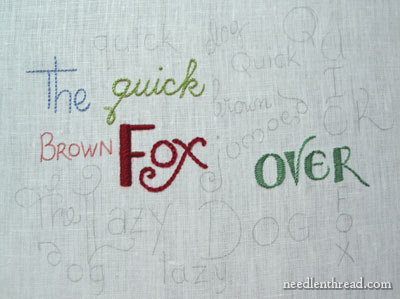
And here is the sampler so far!
Enjoy!
I'm really looking forward to being able to do these lessons!
I particularly loved the buttonhole stitch from yesterday.
I'm not into lettering, but I am really enjoying seeing these lessons. The little tips and techniques you are showing really solidify the lessons from the video tutorials. Thank you so much
Hi Mary, I am enjoying the tutorials immensely. My recent attempt at the President's challenge for my local Guild did not work out so well. I was trying to do to many different stitches in my flower petals, so I pulled out most & left the chain stitch. Now the petals are finished, so I just need to get back to finishing the centre of the orchid.
Thank you also for this post https://needlenthread.wpengine.com/2009/11/needlework-temptations-and-musings-of.html
as it gives me some idea of what to stock for my little needle work shop which I hope to get off the ground next year. A friend opened her shop and specifically stocked items that other guild members would order by mail. It has taken 3 years for some of those members to stop ordering online and go to her shop. Having some idea of which items I need to have is great. Thank you
Wow, lots of colors, tons of stitches. It is turning out to be a very lively and lovely piece. Like it alot!
This is shaping up so beautifully… Thank you for two lessons in two days!
hi mary,
wow! fantastic. Thank you for sharing,looking forward for more innovative designs.
thank you so much for all this information! I had the sudden urge to do a bit of embroidery but didn’t know where to start. I’m really happy with the results and the back is almost as pretty as the front.
Thank you so much for these tutorials! I’m trained as a painter but am trying to teach myself lettering embroidery for a specific piece of work and these are without doubt the clearest and easiest to follow tutorials I’ve found. Much appreciated!
Glad you like them, Kate! Thanks a bunch for your comment! ~Mary
je vous remercie j’ai appris beaucoup de chose avec vous, vous etes très généreuse
What is this font called? I would love to use it in a project but can’t find anything like it in my computers basic catalog of fonts.