


Today, we’re going to complete the right side of the sampler for Cotton Quartet, and then hopefully, we’ll move forward a little faster to catch up the left side!
A quick note to members of the Needle ‘n Thread Community over on Patreon: You already have this lesson in PDF format – it’s part of the second PDF that was already posted. I can fit a lot more in a PDF than I can in a blog article, so you’re already ahead on this! We’ll be moving forward again over there soon, too, finishing the left side and doing the embroidery on the inside lining.
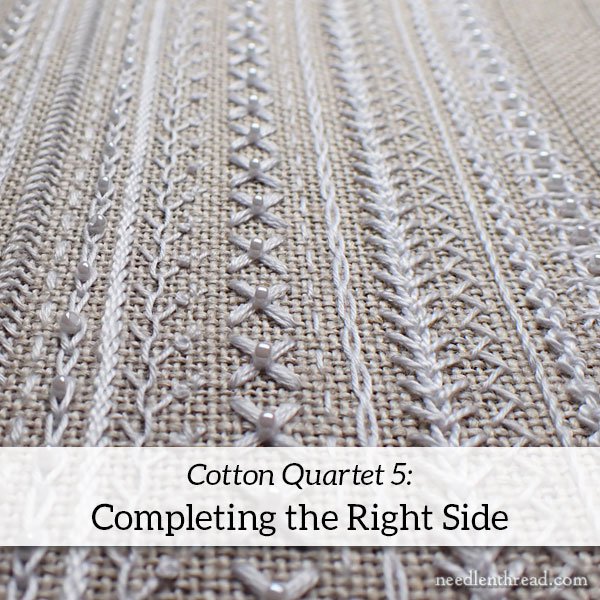
There are four more rows on the right side of the sampler, and they’re all worked in after we’ve worked to the edge with that complex band of chicken scratch (or gingham embroidery) that we tackled in the last installment.
The reason they are out of sequence was explained previously – I’m unfolding the project in the order I worked it. The bands were added in a way that helped maintain a random sort of balance across the sampler.
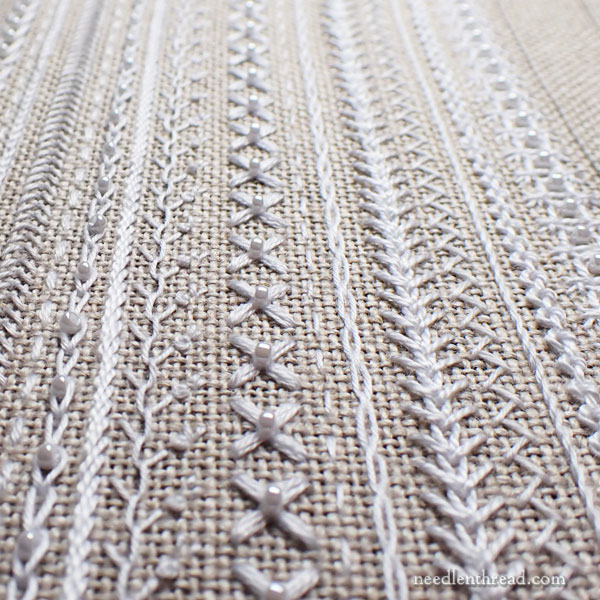
Today, we’ll go through bands N, O, P & Q.
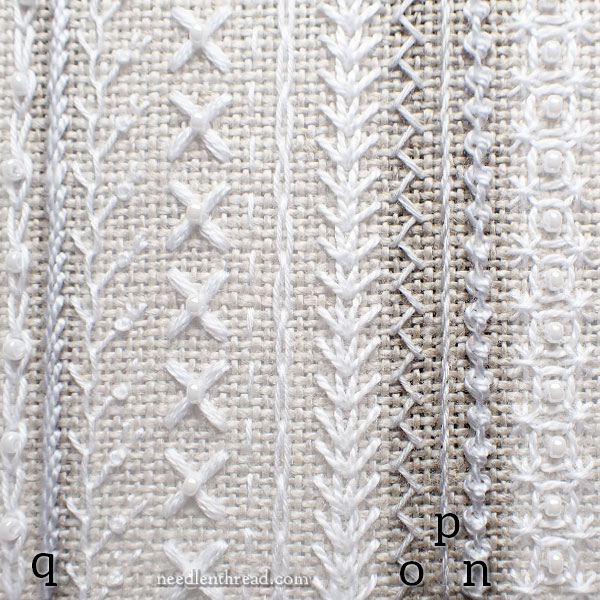
These four bands are fairly basic embroidery stitches, so nothing to fear! They vary in weight, thanks to the difference in threads and to the difference in stitches.
Some are airy and light, like bands O and P, while the others are textured and heavy (bands N and Q).
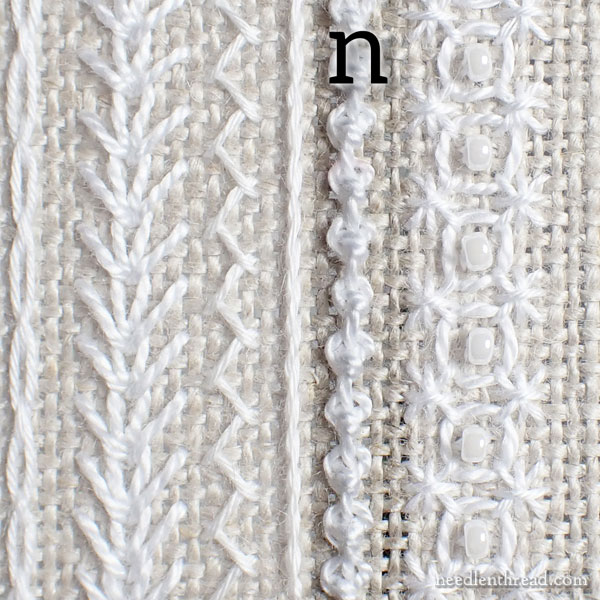
Band N, worked in perle cotton #8, is a line of Palestrina stitch knots.
The line is situated three threads to the left of the left side of Band M.
Each knot is worked over approximately three threads of fabric, although I used a crewel needle for this stitch and didn’t count it. You decide if you want to count it to make it super-even, or if you just want to eyeball it!
Hint: Don’t pull the stitches too tightly! You want the knots to be round and plump.
I worked it from top to bottom. As you near the bottom, gauge your stitch length to fill the space evenly.
You can find instructions for Palestrina stitch here.
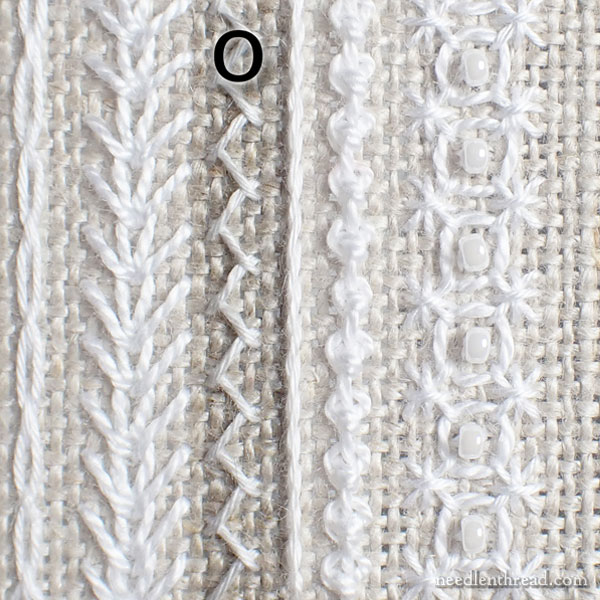
Band O is herringbone stitch worked in coton a broder. It works up easily with a tapestry needle.
The first straight stitch of the herringbone begins approximately five threads of fabric to the left of the center of the mock wheatear of Band L. The herringbone stitch is worked diagonally over thread threads of fabric, from side to side.
You can find instructions for the herringbone stitch here.

Band P was another afterthought, added to give a little more density between N and O.
It is a simple stem stitch worked in coton a broder. I used a crewel needle and didn’t count it intentionally, but you’ll probably find it’s very easy to space it if you end up stitching over the same number of threads in the fabric. Follow a single line straight up from bottom to top.
You can find instructions for stem stitch here.
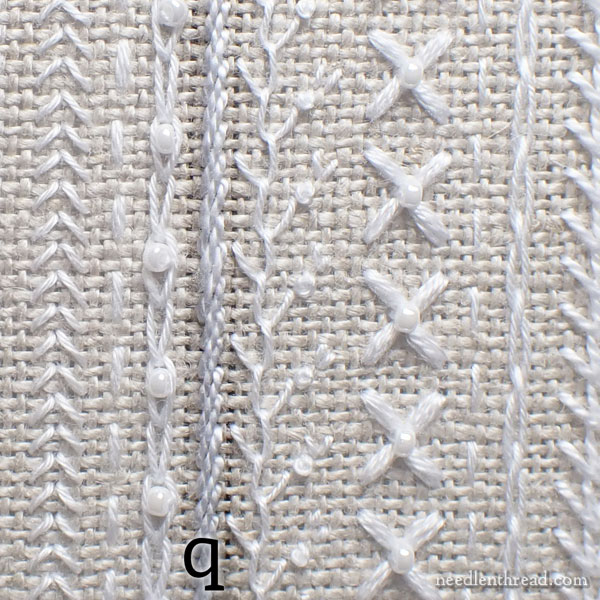
Band Q was another afterthought, added just to the right of the center band (A, from the previous PDF). It is worked in perle cotton #8.
It is a wide stem stitch. The stem stitches slant over two threads of fabric, in order to make the band rather wide and heavy. You can almost think of it as a slanting satin stitch, because it is one! When you slant a stem stitch so that the stitch ends up wide, you are essentially working a slanting satin stitch.
Follow the instructions for stem stitch, but work it diagonally over two threads of fabric so that the stitches are long and slanted.
And now you’ve completed the whole right half of the sampler cover for Cotton Quartet, as well as a little bit on the left side!
Next up, we will venture into most of the left side again, and get some of those bands finished.
Looking for More?
You can find all the articles for this project listed in the Cotton Quartet index here.
For those still waiting for Cotton Quartet materials kits, the last backorder of supplies is on its way here, so we will be in kit production mode again very soon. Once they’re ready, I will email you! The kits are an affordable way to gather all the materials for the project in one place, whether you plan to work the project now or in the future. If you want to be on the waiting list for the materials kits, drop me a line with the subject “Cotton Quartet Kit” and I’ll add you to the list!
If you have not subscribed to Needle ‘n Thread, why not consider doing so? Each article on the website will land in your inbox, so you don’t miss any tips, techniques, or tutorials – or just fun embroidery related topics! You can subscribe here.
Leave A Comment