November 1, 2011
Hand Embroidery, with Chopsticks
No, no. I’m not embroidering with chopsticks. But I am embroidering in the company of chopsticks. And I don’t mean that annoying piano piece we all learned as kids – you know, the one that can effectively drive even the most resilient person nuts in a matter of seconds?
I really do mean chopsticks, as in Asian eating instruments.
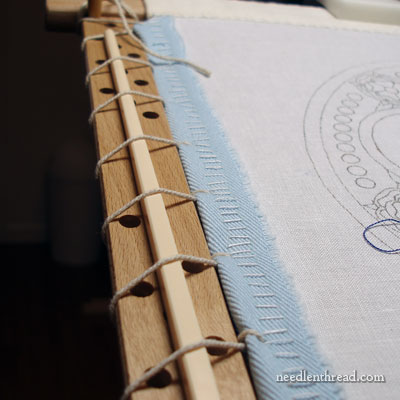
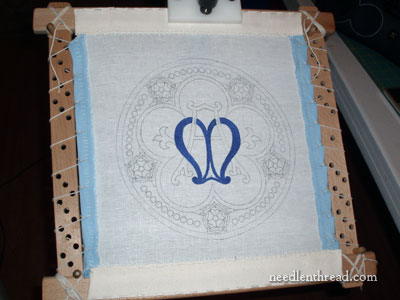
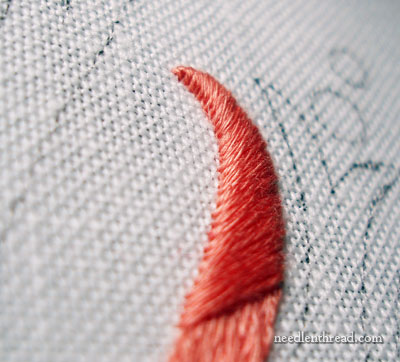
You may remember that a couple weeks ago, I showed you my slate frame set-up for the commissioned embroidery piece I’m presently working on. And you might remember I was worried about the close quarters of the piece within the slate frame, because it didn’t leave me any room for tensioning the piece further if I needed to.
Enter: the best part of Needle ‘n Thread. You.