


I almost titled this morning’s article Vile Bodies, as a nod to Evelyn Waugh (an author I like), who was born 118 years ago tomorrow.
However, Vile didn’t really work. Wee definitely works better, because the dragonfly body (or thorax) that we’re going to embroider today is pretty darned small, in the scheme of things!
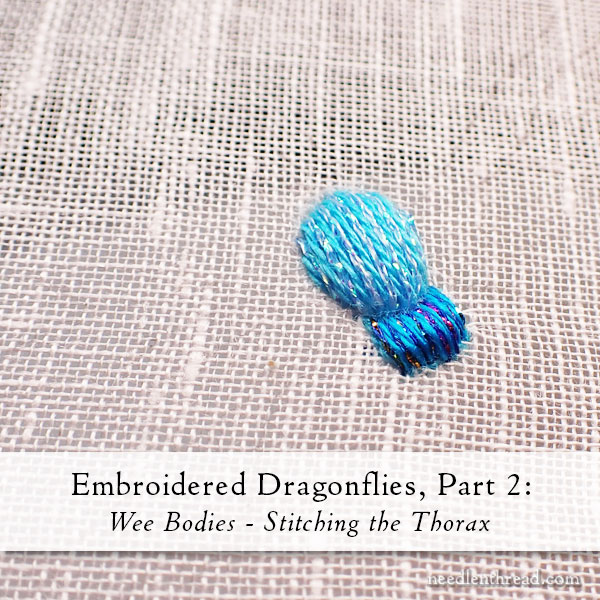
Today, we’re moving on with installment 2 of embroidering dragonflies, and we’re going to stitch the thorax.
If you’re just joining in on this tutorial series, we started with the introduction a couple weeks ago, and the first installment last week, where I talked the supplies I used and made the design available.
All episodes of this series are available under the main menu on Needle ‘n Thread, under Tips and Techniques, in the How to Embroider (Blank) Index. In that index, you’ll find all the tutorials that we’ve covered this year in the series.
So – the dragonfly body! C’mon, let’s do it!
To keep this project simple and very accessible to beginners, our dragonfly is pretty basic!
And yes, the colors are a bit stylized, to say the least. But I like them.
The parts of the thorax are embroidered in a highly padded satin stitch.
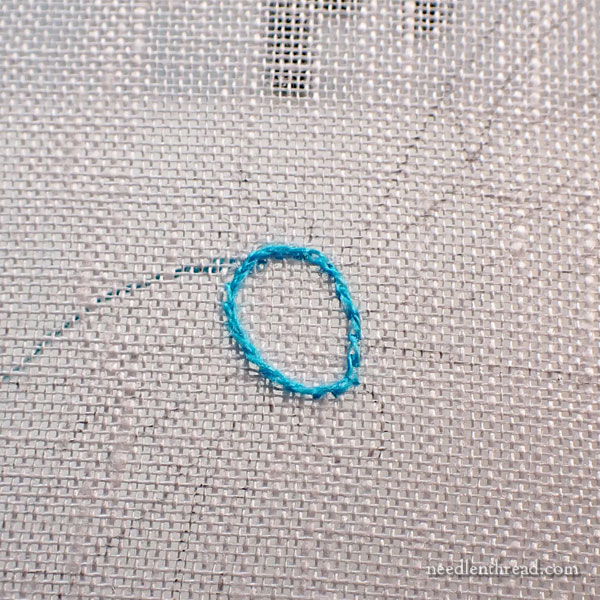
Start by split stitching around the outline of the larger part of the body, using one strand of DMC in 3846.
If you’re working on the Glass Linen that I talked about in the article on materials, you’ll notice that the linen is a very open weave. Don’t worry about it! Just split stitch, with small stitches, around the element. You’ll get used to the open weave. There’s no backing behind this fabric – I wanted an airy ground fabric – so it will take a little getting used to!
Another tip, especially if you’re working on the glass linen: watch your stitch tension! It’s easy to pull the fabric threads out of wack. Try to let your stitches rest comfortably on the fabric, without pulling them too much so that they tug the fabric threads awry.
If split stitch with one strand is difficult for you, you can use a split backstitch, or you can use a regular backstitch. A regular backstitch will not give you as smooth a line. You really want a smooth padding line here.
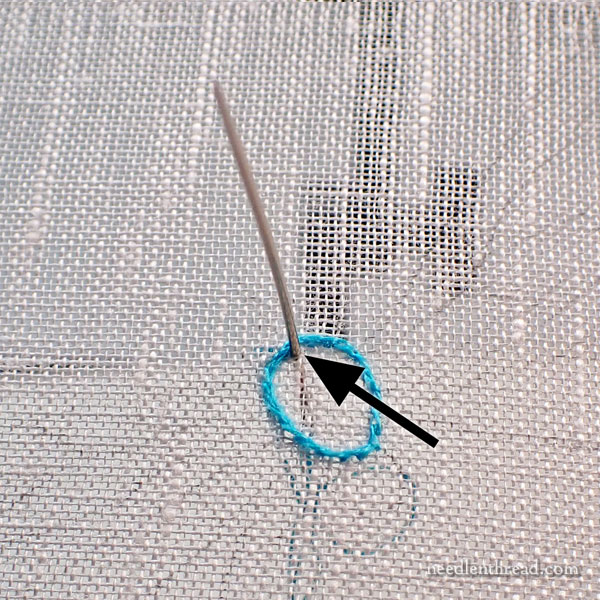
Once you’ve finished the split stitch line, move inside it to begin building up some layers of padding.
You can start close to the line, as shown here, or you can move a little more into the center of the shape to begin your padding. If you move towards the center a little, you’ll have a lot more room to add layers of padding. And that’s probably a good thing.
The padding is worked inside the split stitch outline, in what’s called a “surface satin stitch.” This simply means that all the padding stitches in what looks like satin stitch is on the front of the fabric only.
This diagram will show you the method for working the padding stitches in such a way that you don’t build up a huge lump of satin stitch padding on the back, only on the front:

Talking through that diagram would go like this:
Bring you needle up at A, go down at B. Come up at C, which is right next to B and go down at D. Come up at E (next to D), and go down at F.
The idea is that you’re stepping sideways between each long straight stitch on the front of the fabric, so that, on the back of the fabric, you’re just getting small straight stitches inside the shape, rather than a build-up of satin stitches.
Make sense? I hope so!
Every time you work another layer of padding, you’re going to work it perpendicular (or at an angle to) the previous layer.
Now, keep in mind that the final (real) satin stitch layer on this element will run vertically down the element.
This means that your last layer of padding cannot run vertically down the element, because the satin stitch wouldn’t sit as well on top of it.
With that in mind, you can work as many layers of padding as you need to, to achieve a nice plump bump.
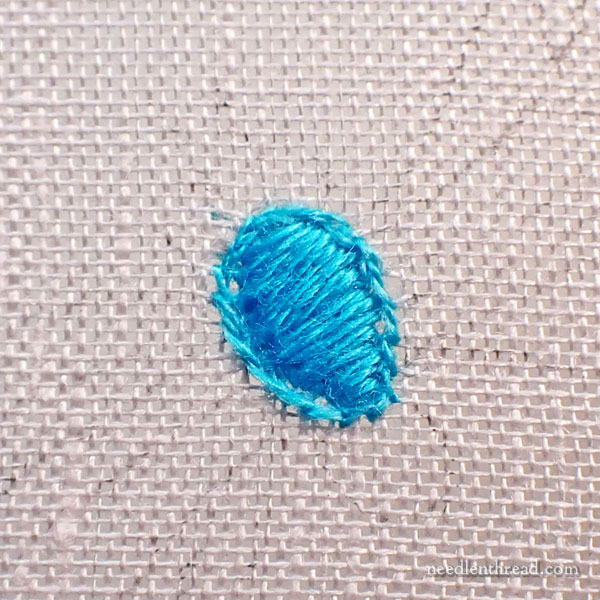
At this point, things are looking pretty plump. There are about 4 layers of padding at this point, starting with a vertical layer down the element’s shape, a horizontal layer across the shape, followed by another vertical, then another horizontal.
But one more layer would be nice!
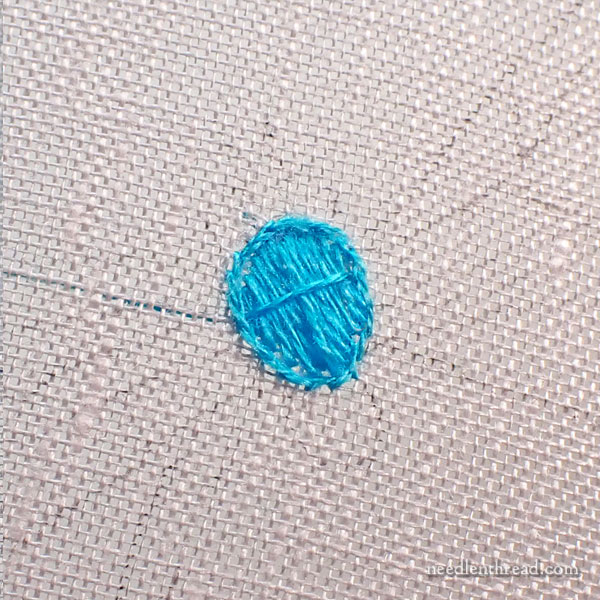
So this layer, instead of being vertical, is cut across the diagonal of the shape. Why?
Because the previous layer was horizontal, and the last layer of padding can’t be vertical. The solution for adding one more layer: Work a diagonal layer, so that the satin stitch (which will run vertical down the shape) sits on top of the diagonally-oriented padding stitches.
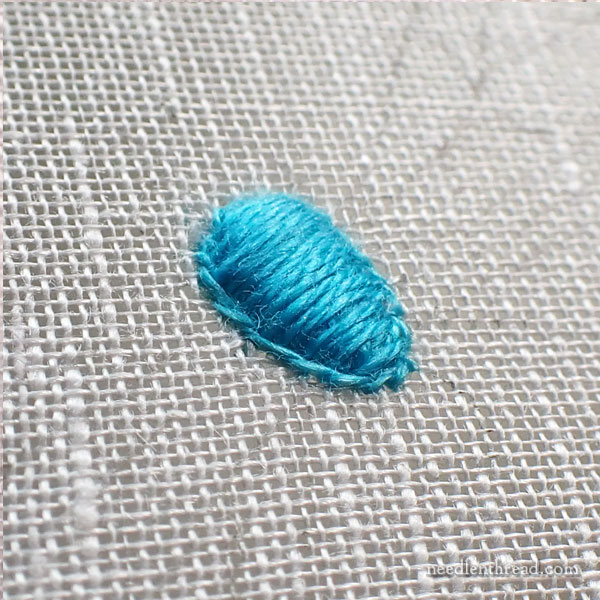
Five layers of padding in that tiny space is a lot – but it makes the top of the shape nice and plump and round and juicy.
And then we satin stitch!
For the satin stitch layer, it’s going to cover the split stitch outline, too.
Work the satin stitch vertically down the shape, starting in the center. Thread two needles: one with one strand of DMC 3846 (stranded cotton) and one with Au Ver a Soie metallic #4 in 049 (or whatever color or type of metallic – or even not metallic – that you’re using as a substitute).
Begin in the middle of the shape, with the stranded cotton, and work one vertical straight stitch down the shape, over all the padding layers and outline. Then, alternate a metallic strand and a cotton strand, working satin stitch to one side of the shape.
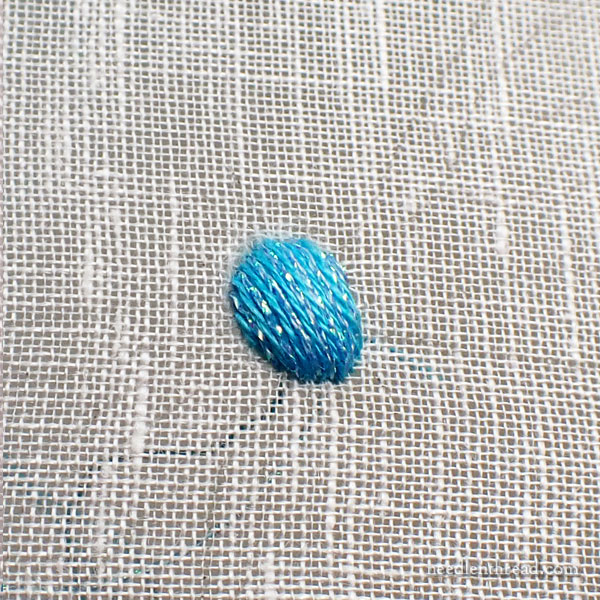
Then go back to the center and work the other side of the shape, to cover the shape completely with satin stitch in alternating threads.
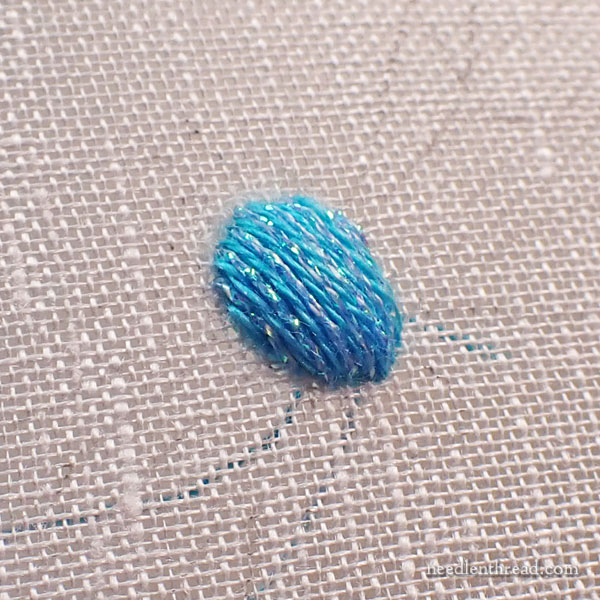
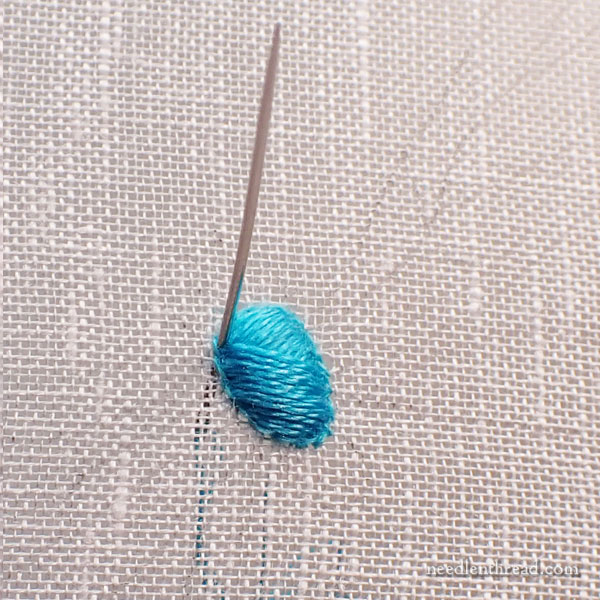
There ’tis. Isn’t it a delectable little mound of sparkle? I love satin stitch!
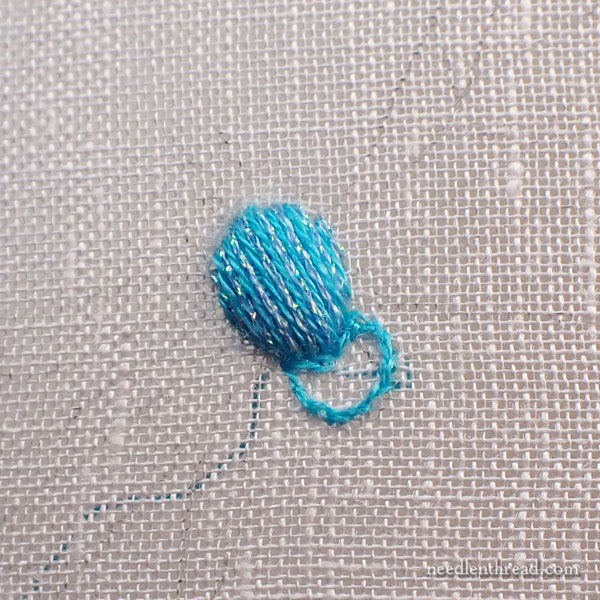
For the smaller element below this shape, you’re going to do exactly the same thing, starting with the split stitch outline in one strand of floss, 3846.
This is such a small element that you won’t be able to fit in too many layers of padding!
Work diagonally or horizontally as you need to. Things will get a little too tight if you try to build up too many layers, but we did manage four layers here.
Just make sure the last padding layer is not vertical down the shape, since that will also be the direction of this satin stitched element.

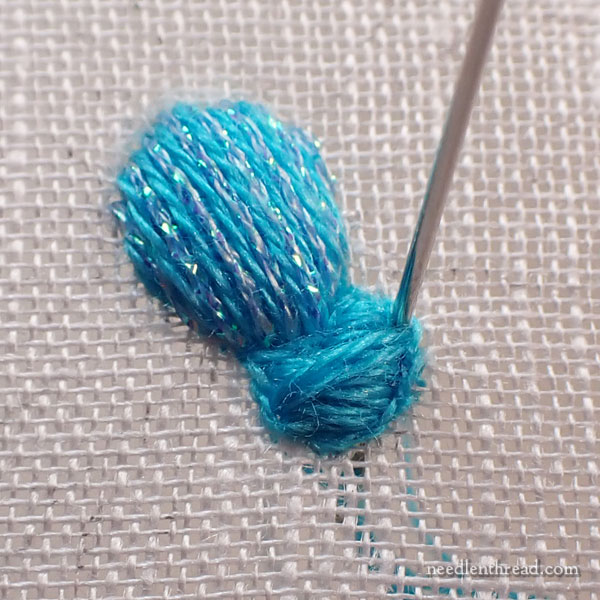
Work the satin stitch layer the same way, alternating one strand of 3844 and one strand of Accentuate 279.
Work from the center to one side, then go back to the center and work out to the other side.
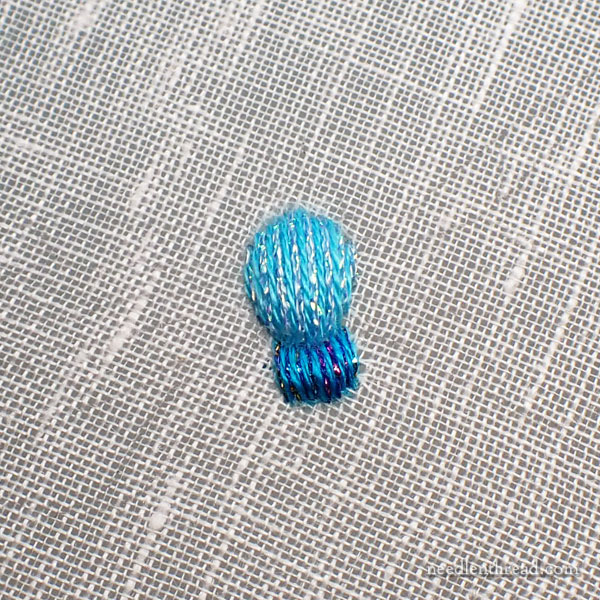
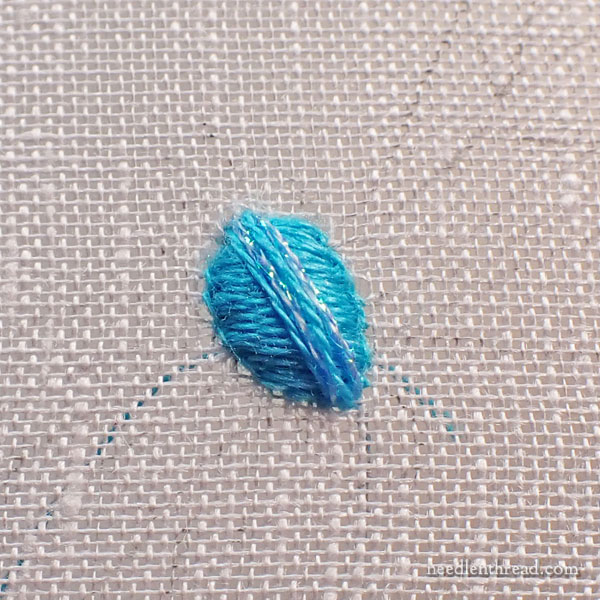
And there it is. The wee body.
You can see there’s a little bit of a tug in the lower left side of the embroidered area, which pulls the linen a little out of whack. If this happens, don’t fret about it! It’s ok! It won’t be noticed in the end.
Looking for More?
For members over on Patreon, you’ll find the materials, pattern, and this installment all rolled into one handy-dandy PDF to download, later today. Look for it!
Next time up, we’re tackling wings!
You can find all the tutorials in this series – and other How to Embroider (Blank) tutorials – listed in the index for these projects here.
Dear Mary
I really like the metallic thread you are using in the dragonfly it gives a lovely shine to the body element, I like the light and dark shades of the threads they contrast so well. I always find satin stitch difficult to line up against each other but the above tips and techniques especially the diagram that you have showed are really helpful and useful for further projects. I’m learning a lot from these How to Embroider series and the different techniques you use are so useful. Thank you for sharing with us the How to Embroider the Dragonfly project and all the useful tips and techniques you have shown.
Regards Anita Simmance
Excellent tutorial and escorting photos! Thank you very much. I’m pretty new to embroidery but wanted to learn my whole life. This design/pattern just tickles me!